

Draw a board on Miro
Many teams run workshops on Miro. Draw on Miro puts your event model there, so people who live in Miro can see it, move things around and comment, without needing Studio.
Before you start
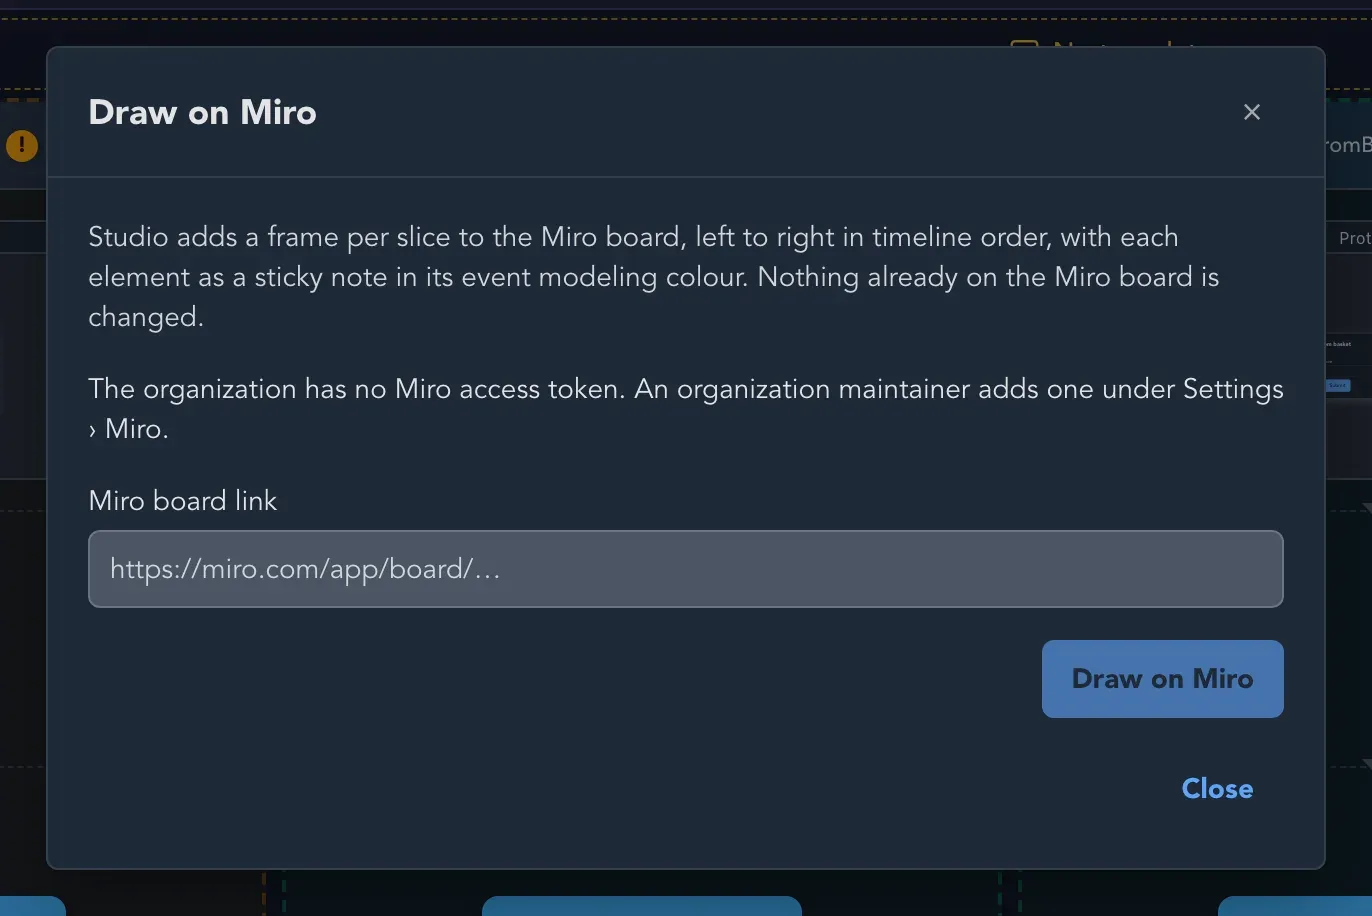
Section titled “Before you start”- Your organization is connected to Miro, which a maintainer does under Settings > Integrations. See Connect integrations. Without it, the dialog says the organization has no Miro access token and tells you to ask a maintainer.
- The token must be allowed to write boards, not only read them.
- You have the link of an empty or existing Miro board to draw on.
- The event model you want to draw is open on the board.
Draw the board
Section titled “Draw the board”- Select Project options at the top left, then Export, then Draw on Miro.
- In Draw on Miro, paste the Miro board link.
- Select Draw on Miro. It reads Drawing… while it works.
- When it finishes, Studio tells you how many frames and notes it drew. Select Open the Miro board to look.
How it is drawn
Section titled “How it is drawn”Studio adds one frame for each slice, left to right in timeline order. Each element of the slice is a sticky note in its event modeling color. Event modeling uses orange for events, blue for commands and green for read models, and Studio reads the same colors when you import a Miro board.
Nothing that is already on the Miro board is changed or removed. Studio only adds.
Check that it worked
Section titled “Check that it worked”Open the Miro board. You should see one frame for each slice of the event model, in order, with colored sticky notes inside.