

Track progress
Every slice carries a status that says how far along it is. Together, the statuses tell the team what is settled, what is being built and what is stuck, without anyone having to ask.
Change a slice’s status
Section titled “Change a slice’s status”-
On the event model board, find the slice. Its status shows in its header.
-
Select Change status in the slice header.
-
Choose the new status.
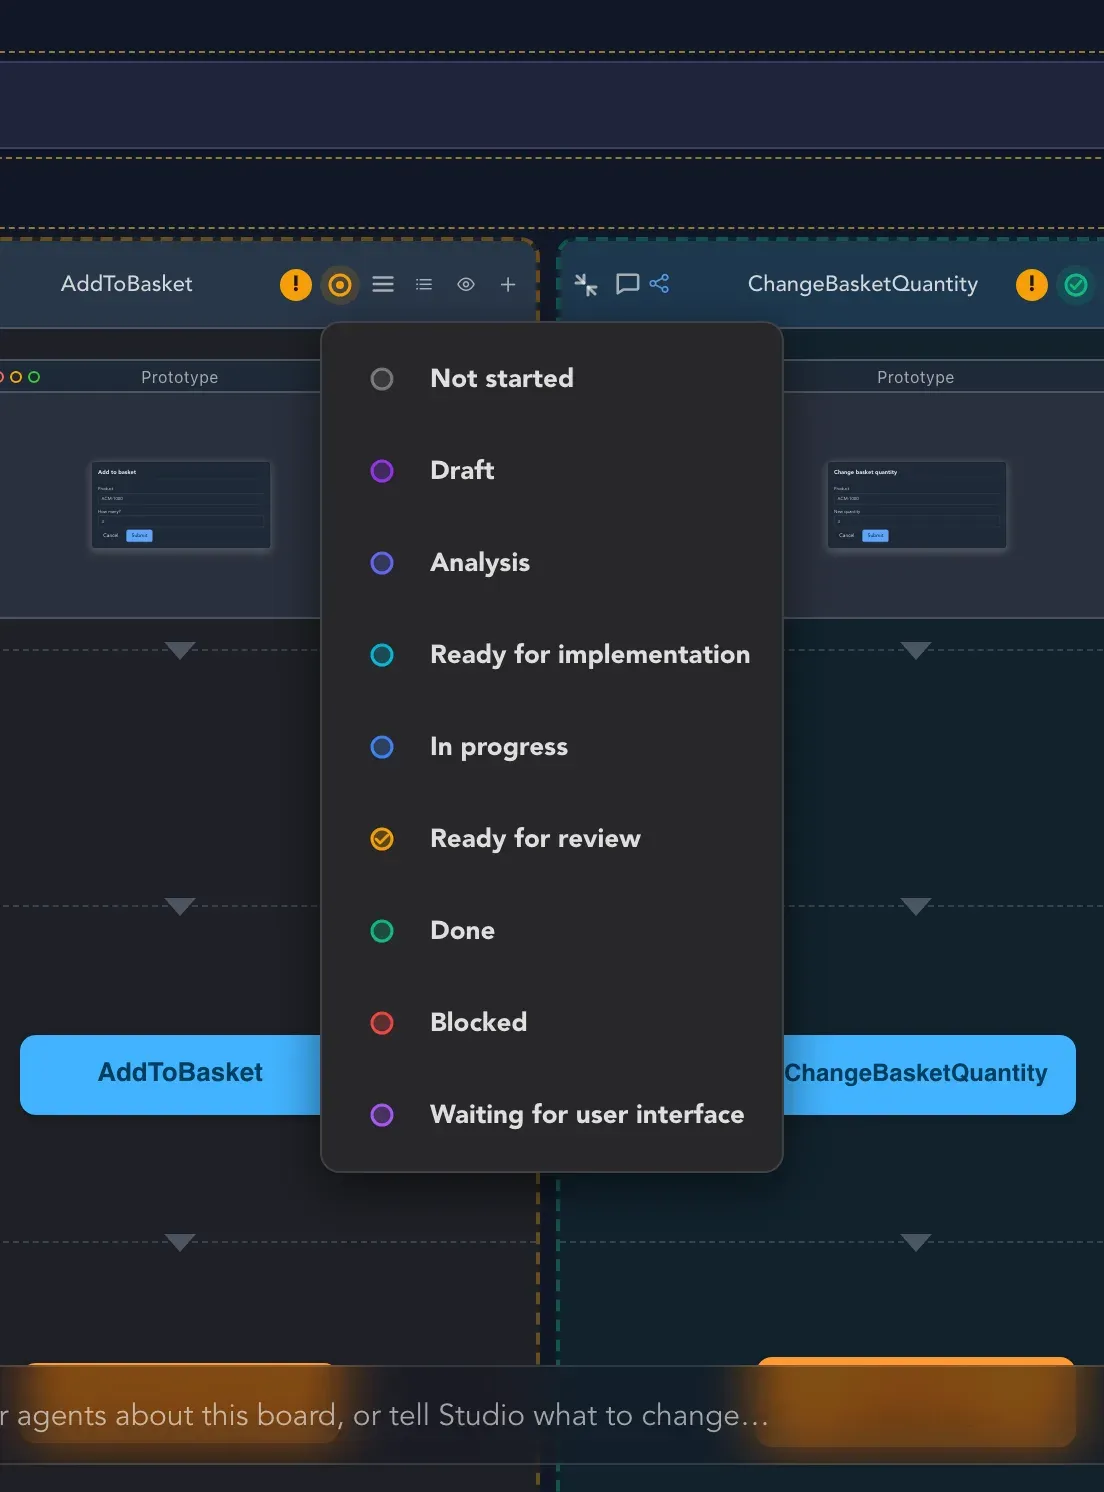
The statuses are Not started, Draft, Analysis, Ready for implementation, In progress, Ready for review, Done, Blocked and Waiting for user interface. Statuses and colors explains what each one means.
Block a slice
Section titled “Block a slice”Choosing Blocked opens Block slice with two questions: Why can it not be built? and Questions that need an answer, one per line. Write the reason and the questions the team has to answer before work can go on. The reason and the questions show on the Progress board.
When Studio sets the status for you
Section titled “When Studio sets the status for you”- While a slice is assigned to the System member or to an AI agent, Studio moves the status along and says Studio manages this status while the slice is assigned to the System member or an agent.
- While Studio is generating a slice, its status cannot be changed until the generation has ended.
Assign a slice
Section titled “Assign a slice”Assigning says who is responsible for a slice.
-
Open the slice’s menu with Slice options.
-
Choose Assign to, then pick who gets the slice.
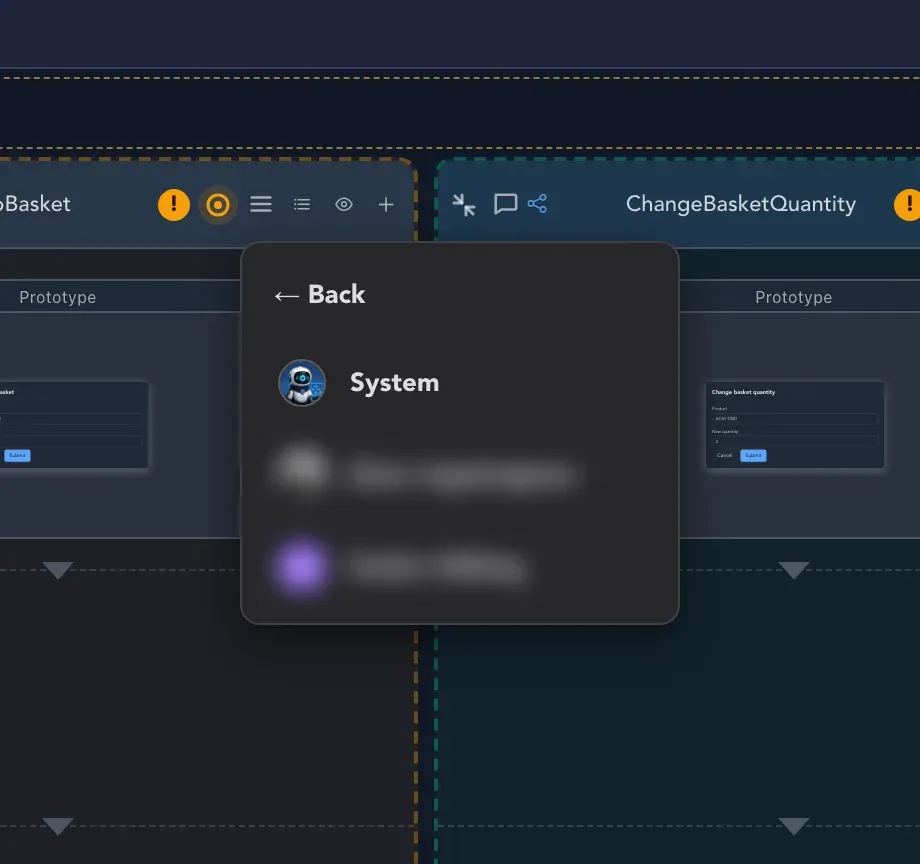
The list starts with the System member, then the AI agents that can generate code, then the people of your organization. Once a slice has an assignee, its menu offers Reassign and Remove assignee instead.
Assigning a ready slice to the System starts static code generation, and assigning it to a code-generation agent starts AI implementation. Assigning it to a person starts nothing. Generate and review code explains the rest.
See every slice on the Progress board
Section titled “See every slice on the Progress board”The Progress board shows all slices of a project in one place, one column per status.
-
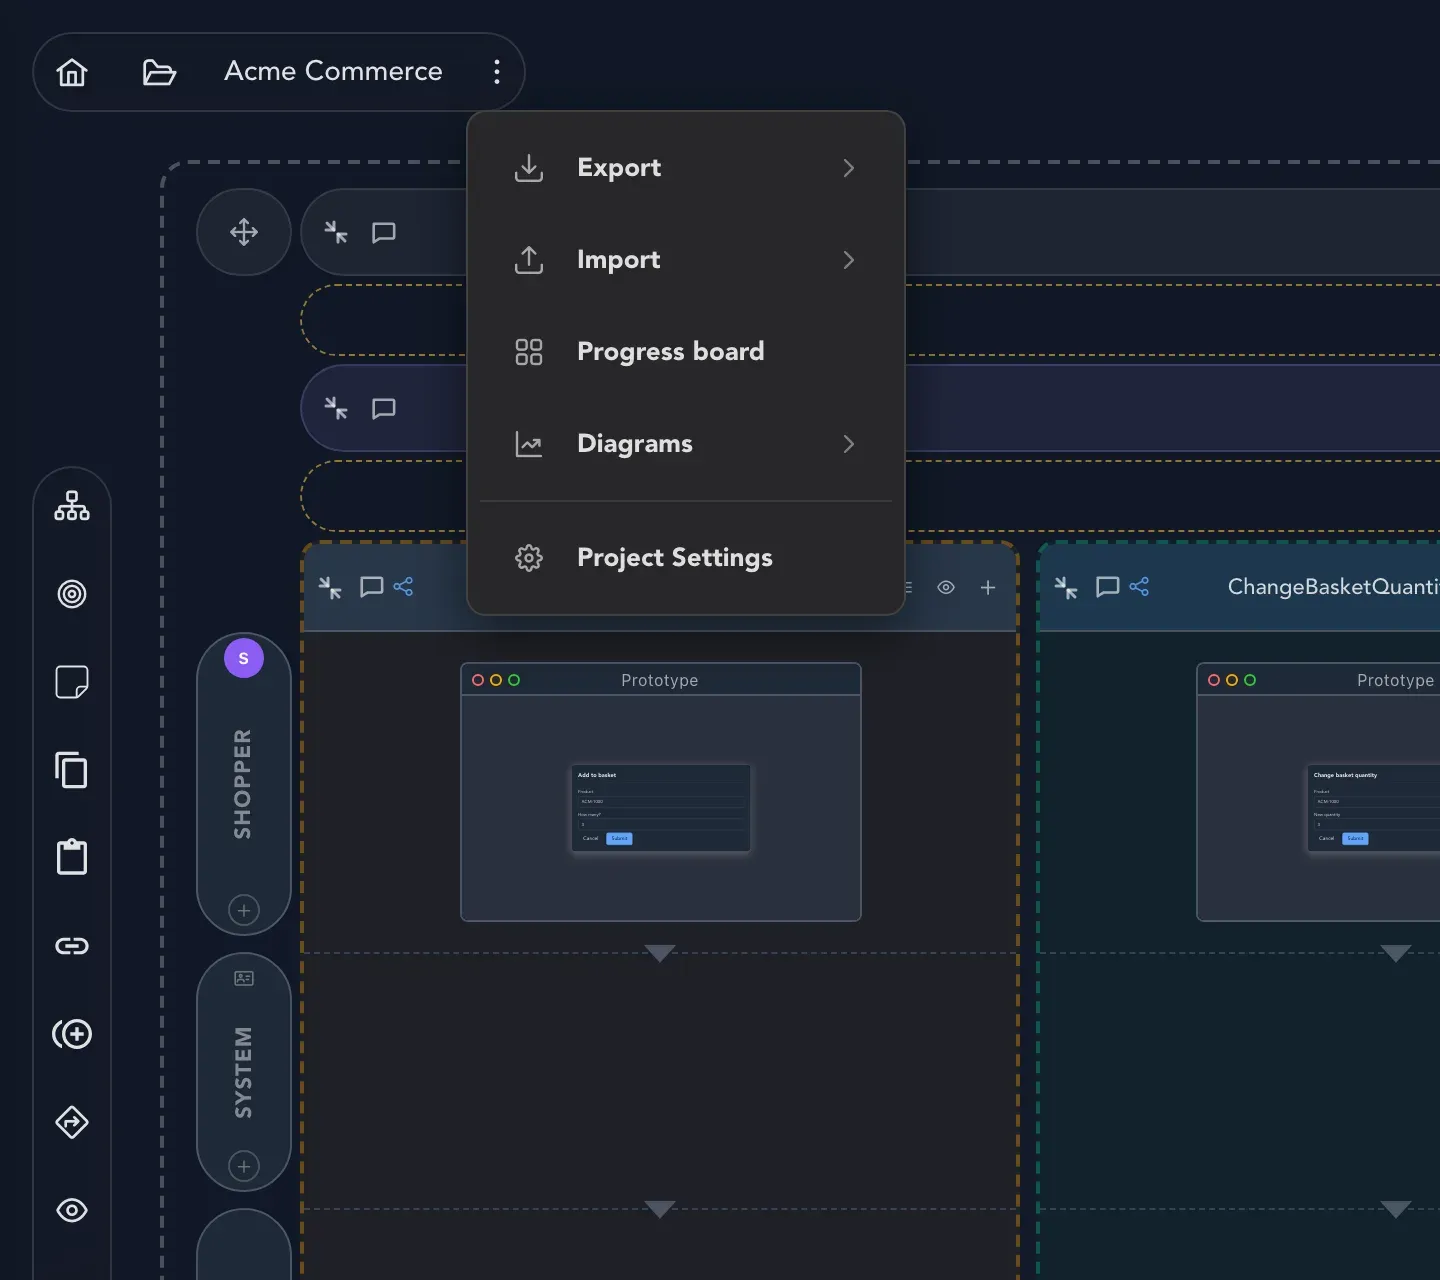
Select Project options next to the project name in the top bar.
-
Choose Progress board.
Every slice is a card with its name and where it lives: its event model, module and feature. A column header shows how many slices are in it. A column with no slices says No slices. A blocked slice shows its reason and its questions under the heading Questions that need an answer.
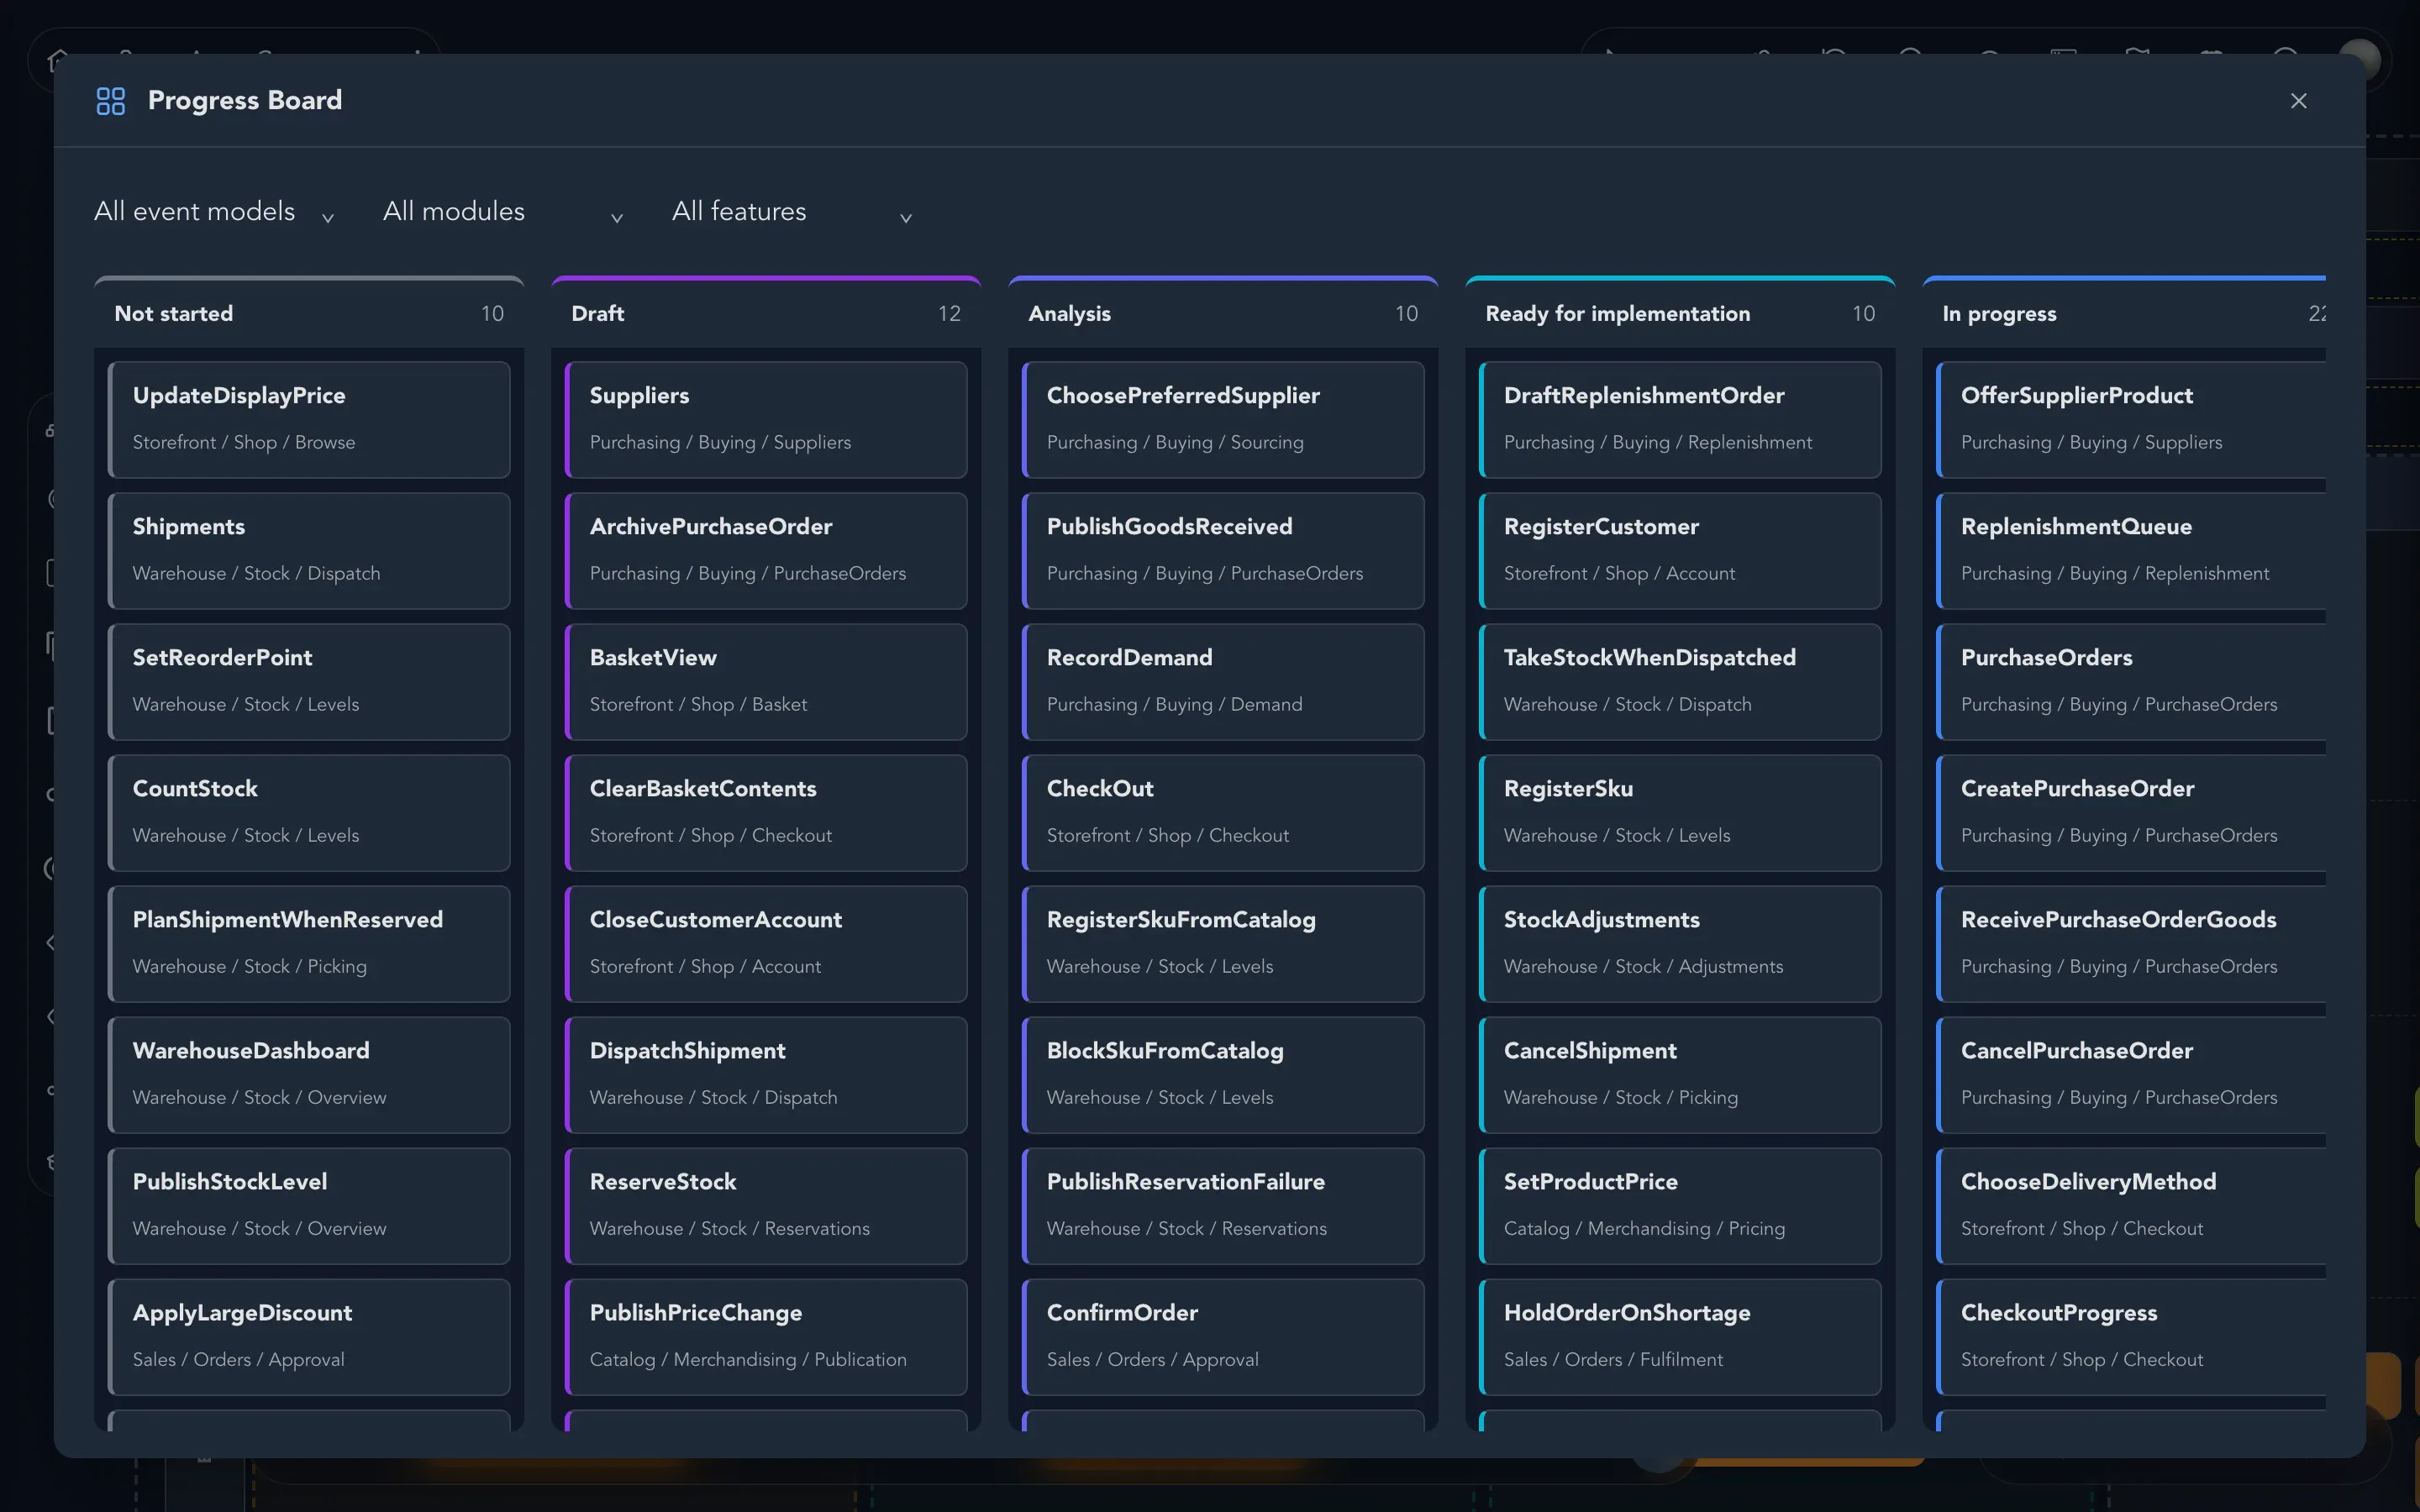
Use the filters at the top, All event models, All modules and All features, to look at one part of the project. The board is for reading: change a slice’s status on the event model board.
Keep issues in step
Section titled “Keep issues in step”If your team tracks work in GitHub, Jira or Linear, you can link a slice to an issue and have the slice and the issue follow each other’s status.