

Describe an event
An event is a fact that happened and is never taken back, so it is named in the past tense: BasketLineAdded, not AddBasketLine. Here you add events and describe them. For the idea behind them, read Commands, events and read models.
Add an event to a slice
Section titled “Add an event to a slice”-
On a slice, select Add Event to create a new event.
-
Name it in the past tense. Double-click the name to rename it later.
-
To use an event another slice already records, choose Add existing event and search with Search events… instead. The slice then shows a reference to the event, and Go to source takes you to the slice that produces it.
Studio checks the order for you. A slice that reads an event must sit to the right of the slice that records it.
Open the event editor
Section titled “Open the event editor”Select the event card. The event editor is where an event is changed, and its layout matches the command editor. Its sidebar lists Properties with how many there are, Constraints and Tags. If the slice is done, or the board is read only, the editor opens read only.
Describe its properties
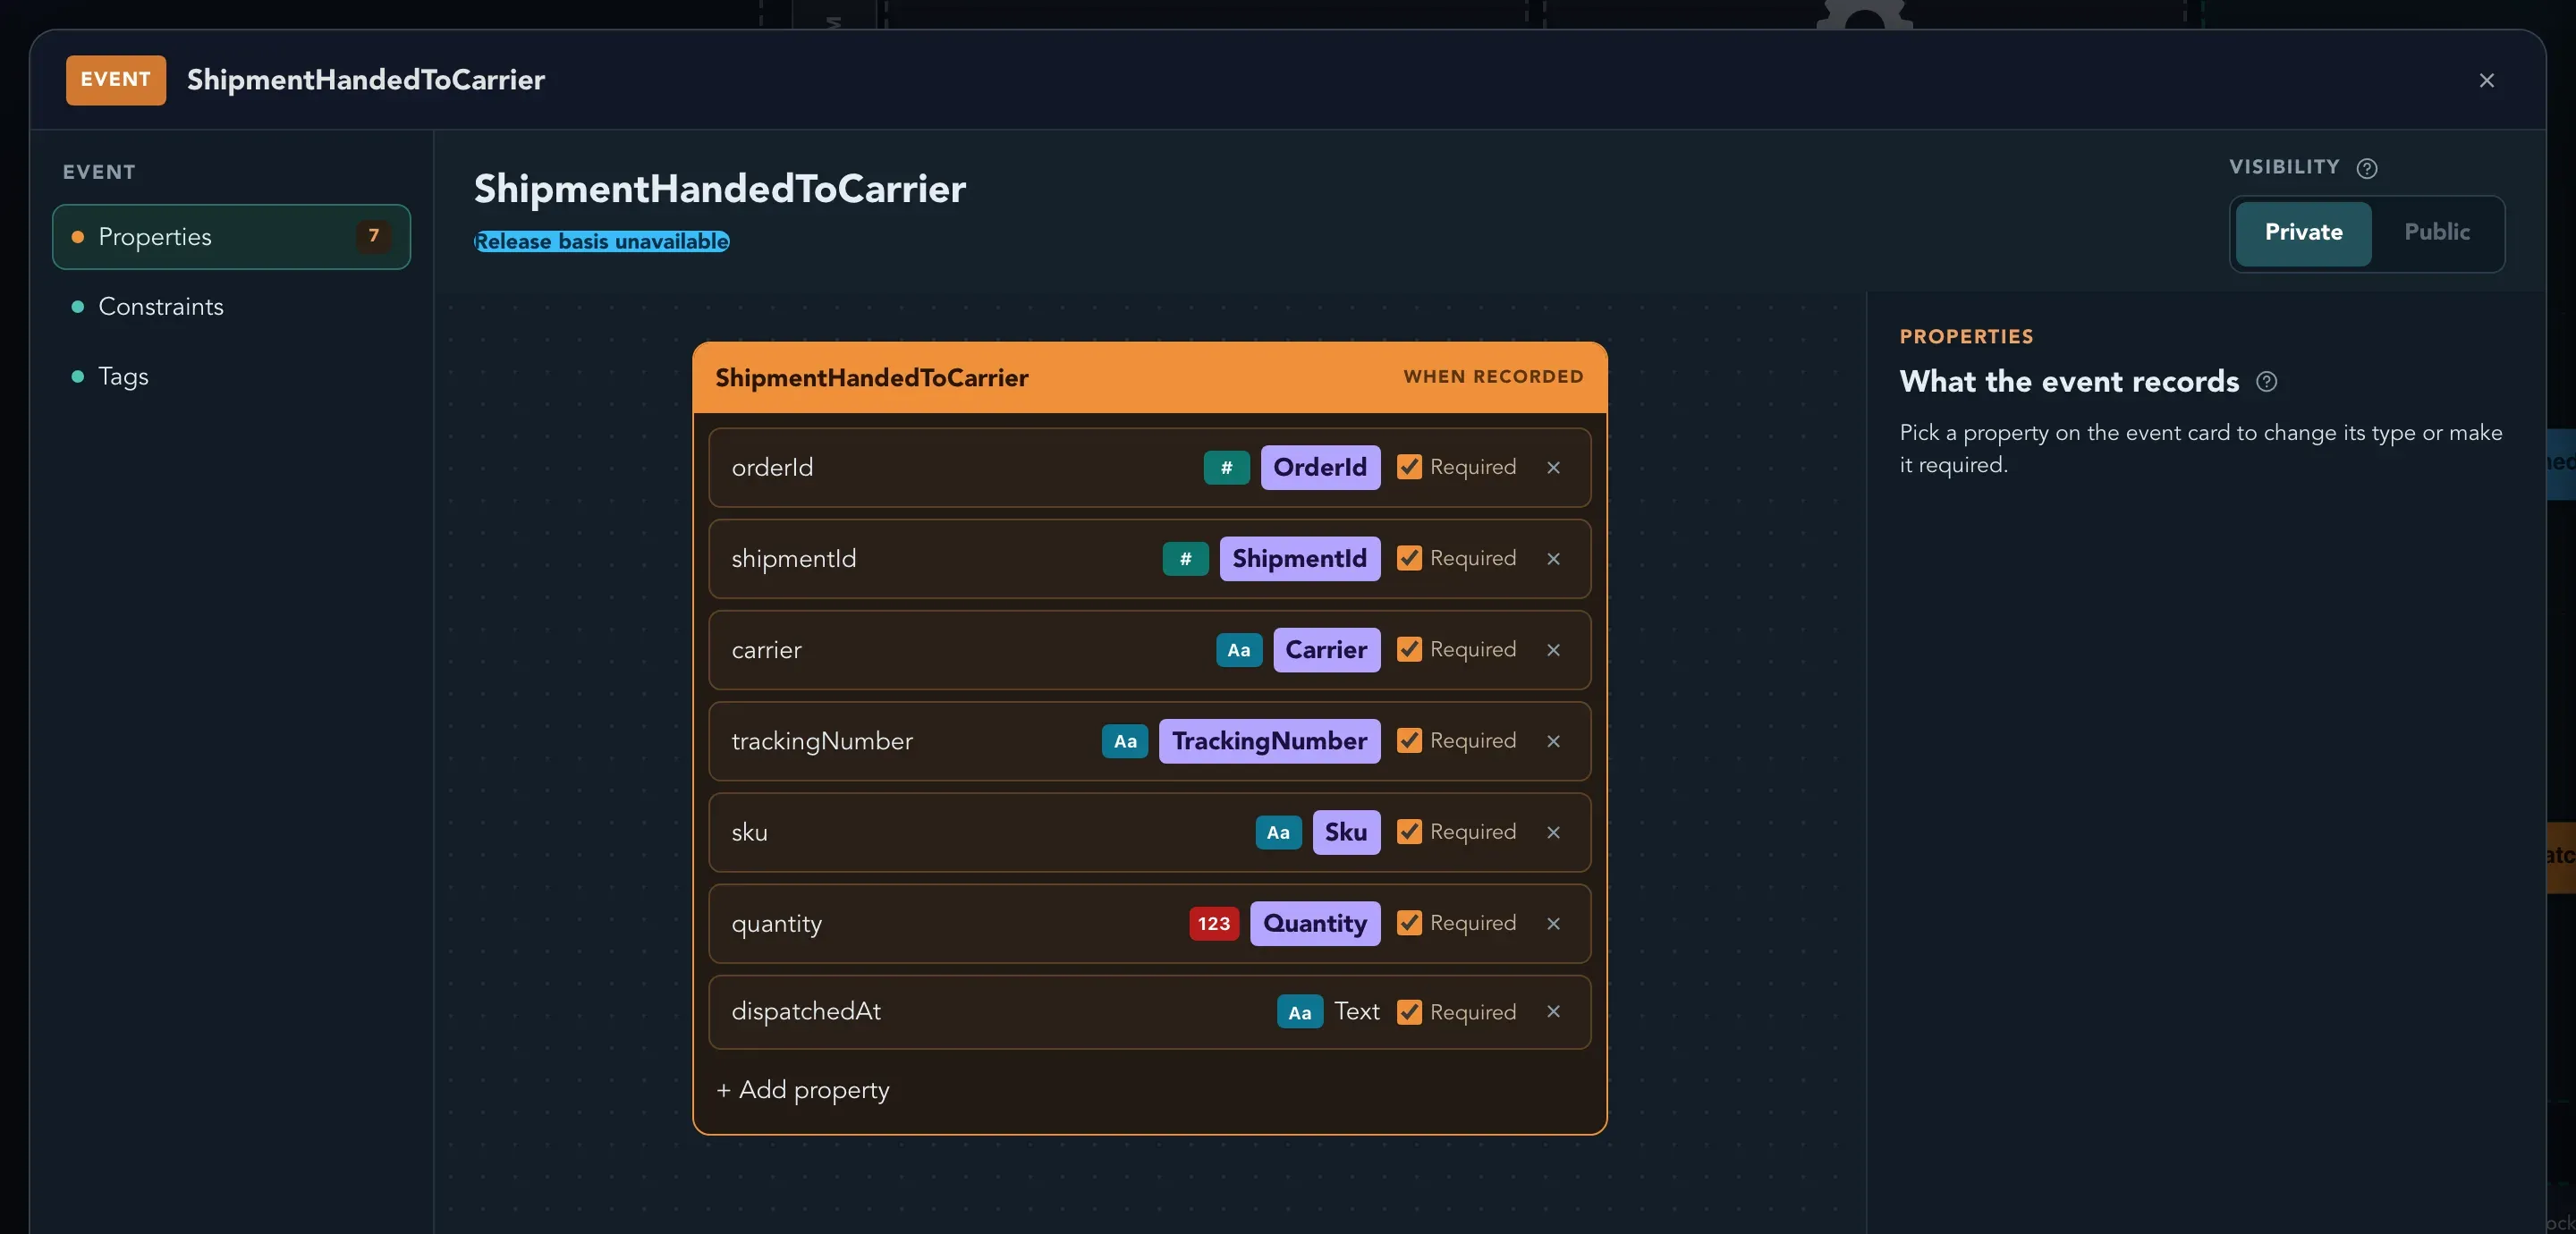
Section titled “Describe its properties”Each property has a name, a type or a domain concept, and whether it is required. Pick a property to rename it, change its type or make it required in the inspector beside the card. In the picture above, each row of the card is one property of ShipmentHandedToCarrier, with its type on the right and a Required tick. Select Add property under the last row to add another.
An event never decides a property’s value itself. The command decides it, and the event copies it. If a command value has no matching event property, or an event property has no command value to fill it, the checks bar tells you. See Commands and rules.
Make an event public
Section titled “Make an event public”A private event is a fact the application keeps to itself. A public event is a contract that other applications can use.
-
In the event editor, find Visibility.
-
Choose Private or Public. The help next to the choice explains each.
Only an output translation publishes a public event, so a public event that no output translation produces is flagged. See Translations and public events.
Add tags
Section titled “Add tags”In the event editor, open Tags, then add or remove tags. Tags are saved as you change them. The Events page of the application lists its events.
Take an event into a constraint
Section titled “Take an event into a constraint”Some facts must never happen twice, such as an order number. A constraint is enforced when the event is written, wherever it is written from.
-
Open the event editor and select Constraints in its sidebar, or hover the event card and select the small lock that appears in a corner of it.
-
Studio lists the constraints of the domain, each with a name and a kind: Unique event type or Unique by properties.
-
Tick the constraints the event takes part in. For a unique-by-properties constraint, tick the properties under it.
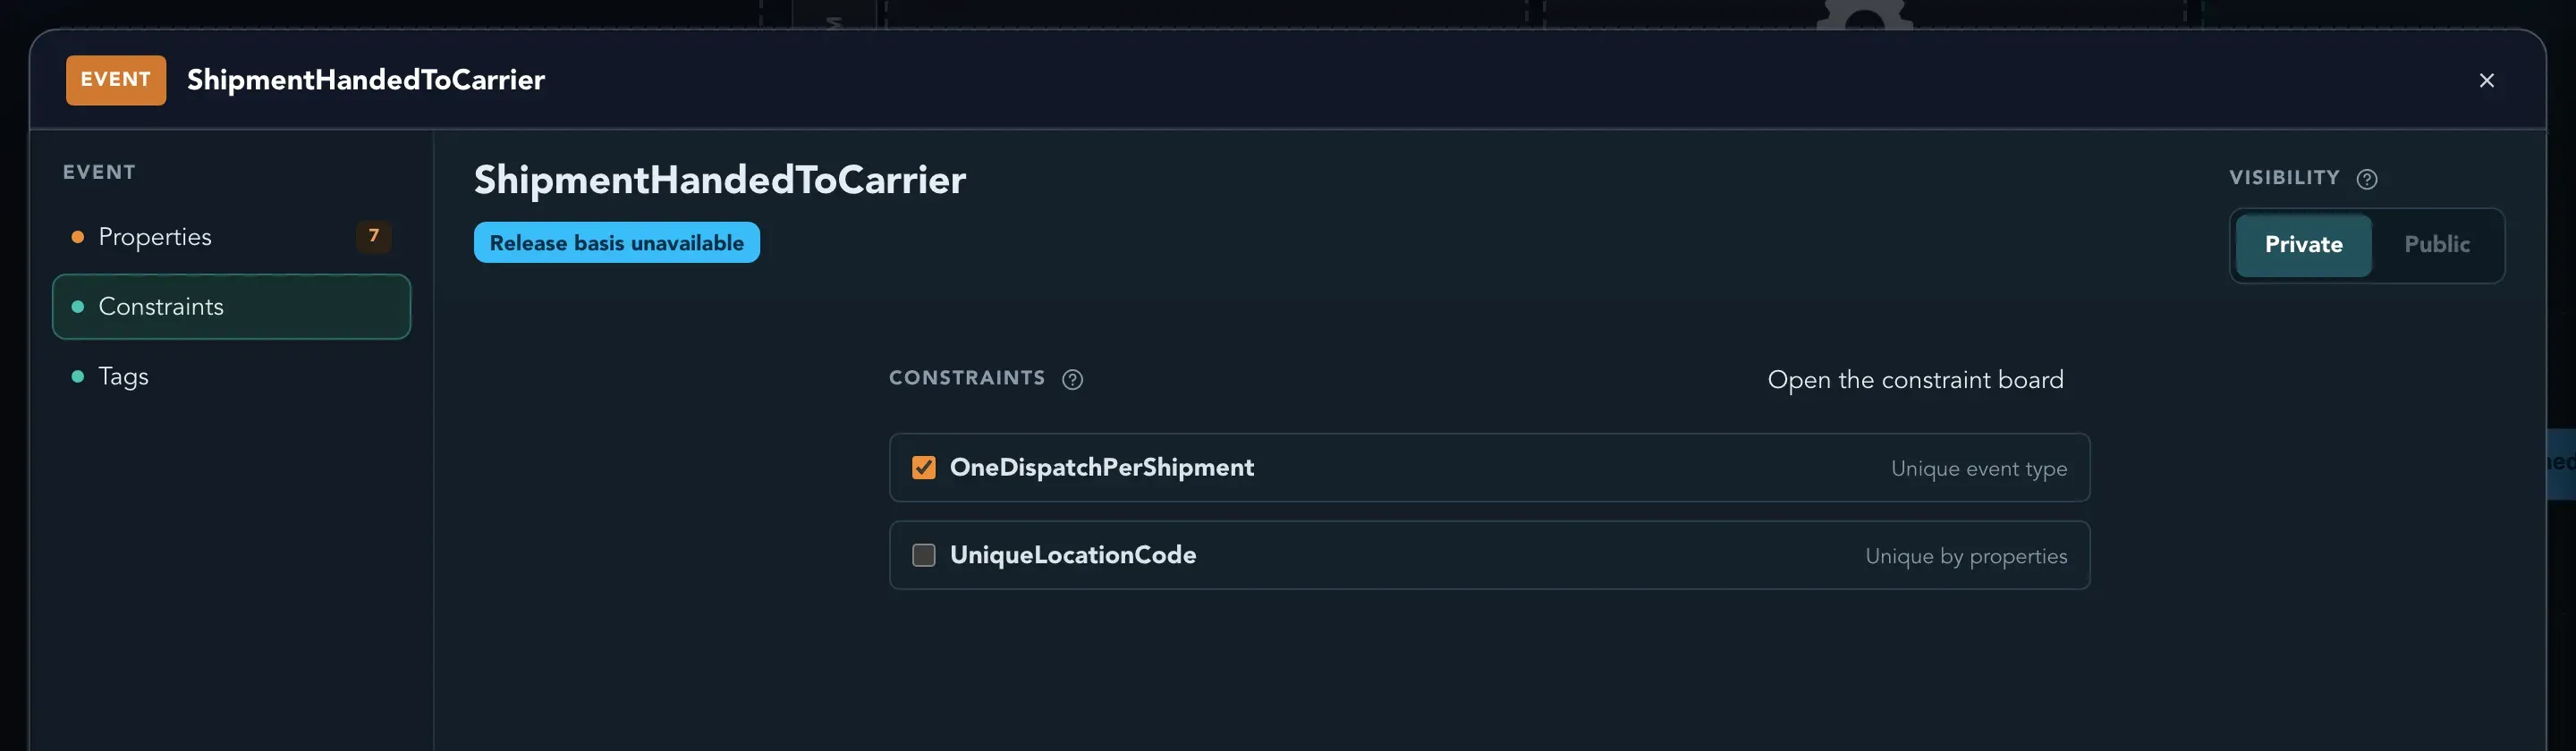
Only a private event can take part in a constraint. Constraints are defined on the domain’s constraints board; select Open the constraint board in the dialog to go there.
Delete an event
Section titled “Delete an event”Delete an event from its card. When other slices refer to it, Studio warns you before it removes it.
Check that it worked
Section titled “Check that it worked”The event card shows its properties, the lock shows the constraints it takes part in, and the checks bar of the command that produces it shows no problems.
Related pages
Section titled “Related pages”- Read models, projections and queries: what the events become.
- Copy, paste and duplicate: show the same event somewhere else as a linked copy.
- Constraints: define the rules that events take part in.
- Brainstorming: start with events before you have a model.