

State machines and workflows
A state machine describes the stages something goes through in its life, such as an order that is placed, paid, packed, shipped and delivered, or cancelled along the way. A workflow describes what happens, step by step, once something starts a run: an order that is paid has to be reserved, picked, shipped and followed up.
Where a state machine records where something is in its life, a workflow does the work along the way.
State machines
Section titled “State machines”A state machine follows a read model and moves between states as the domain’s events arrive. It follows the facts and never decides them: an order is not Shipped because the machine says so, but because a shipment was dispatched.
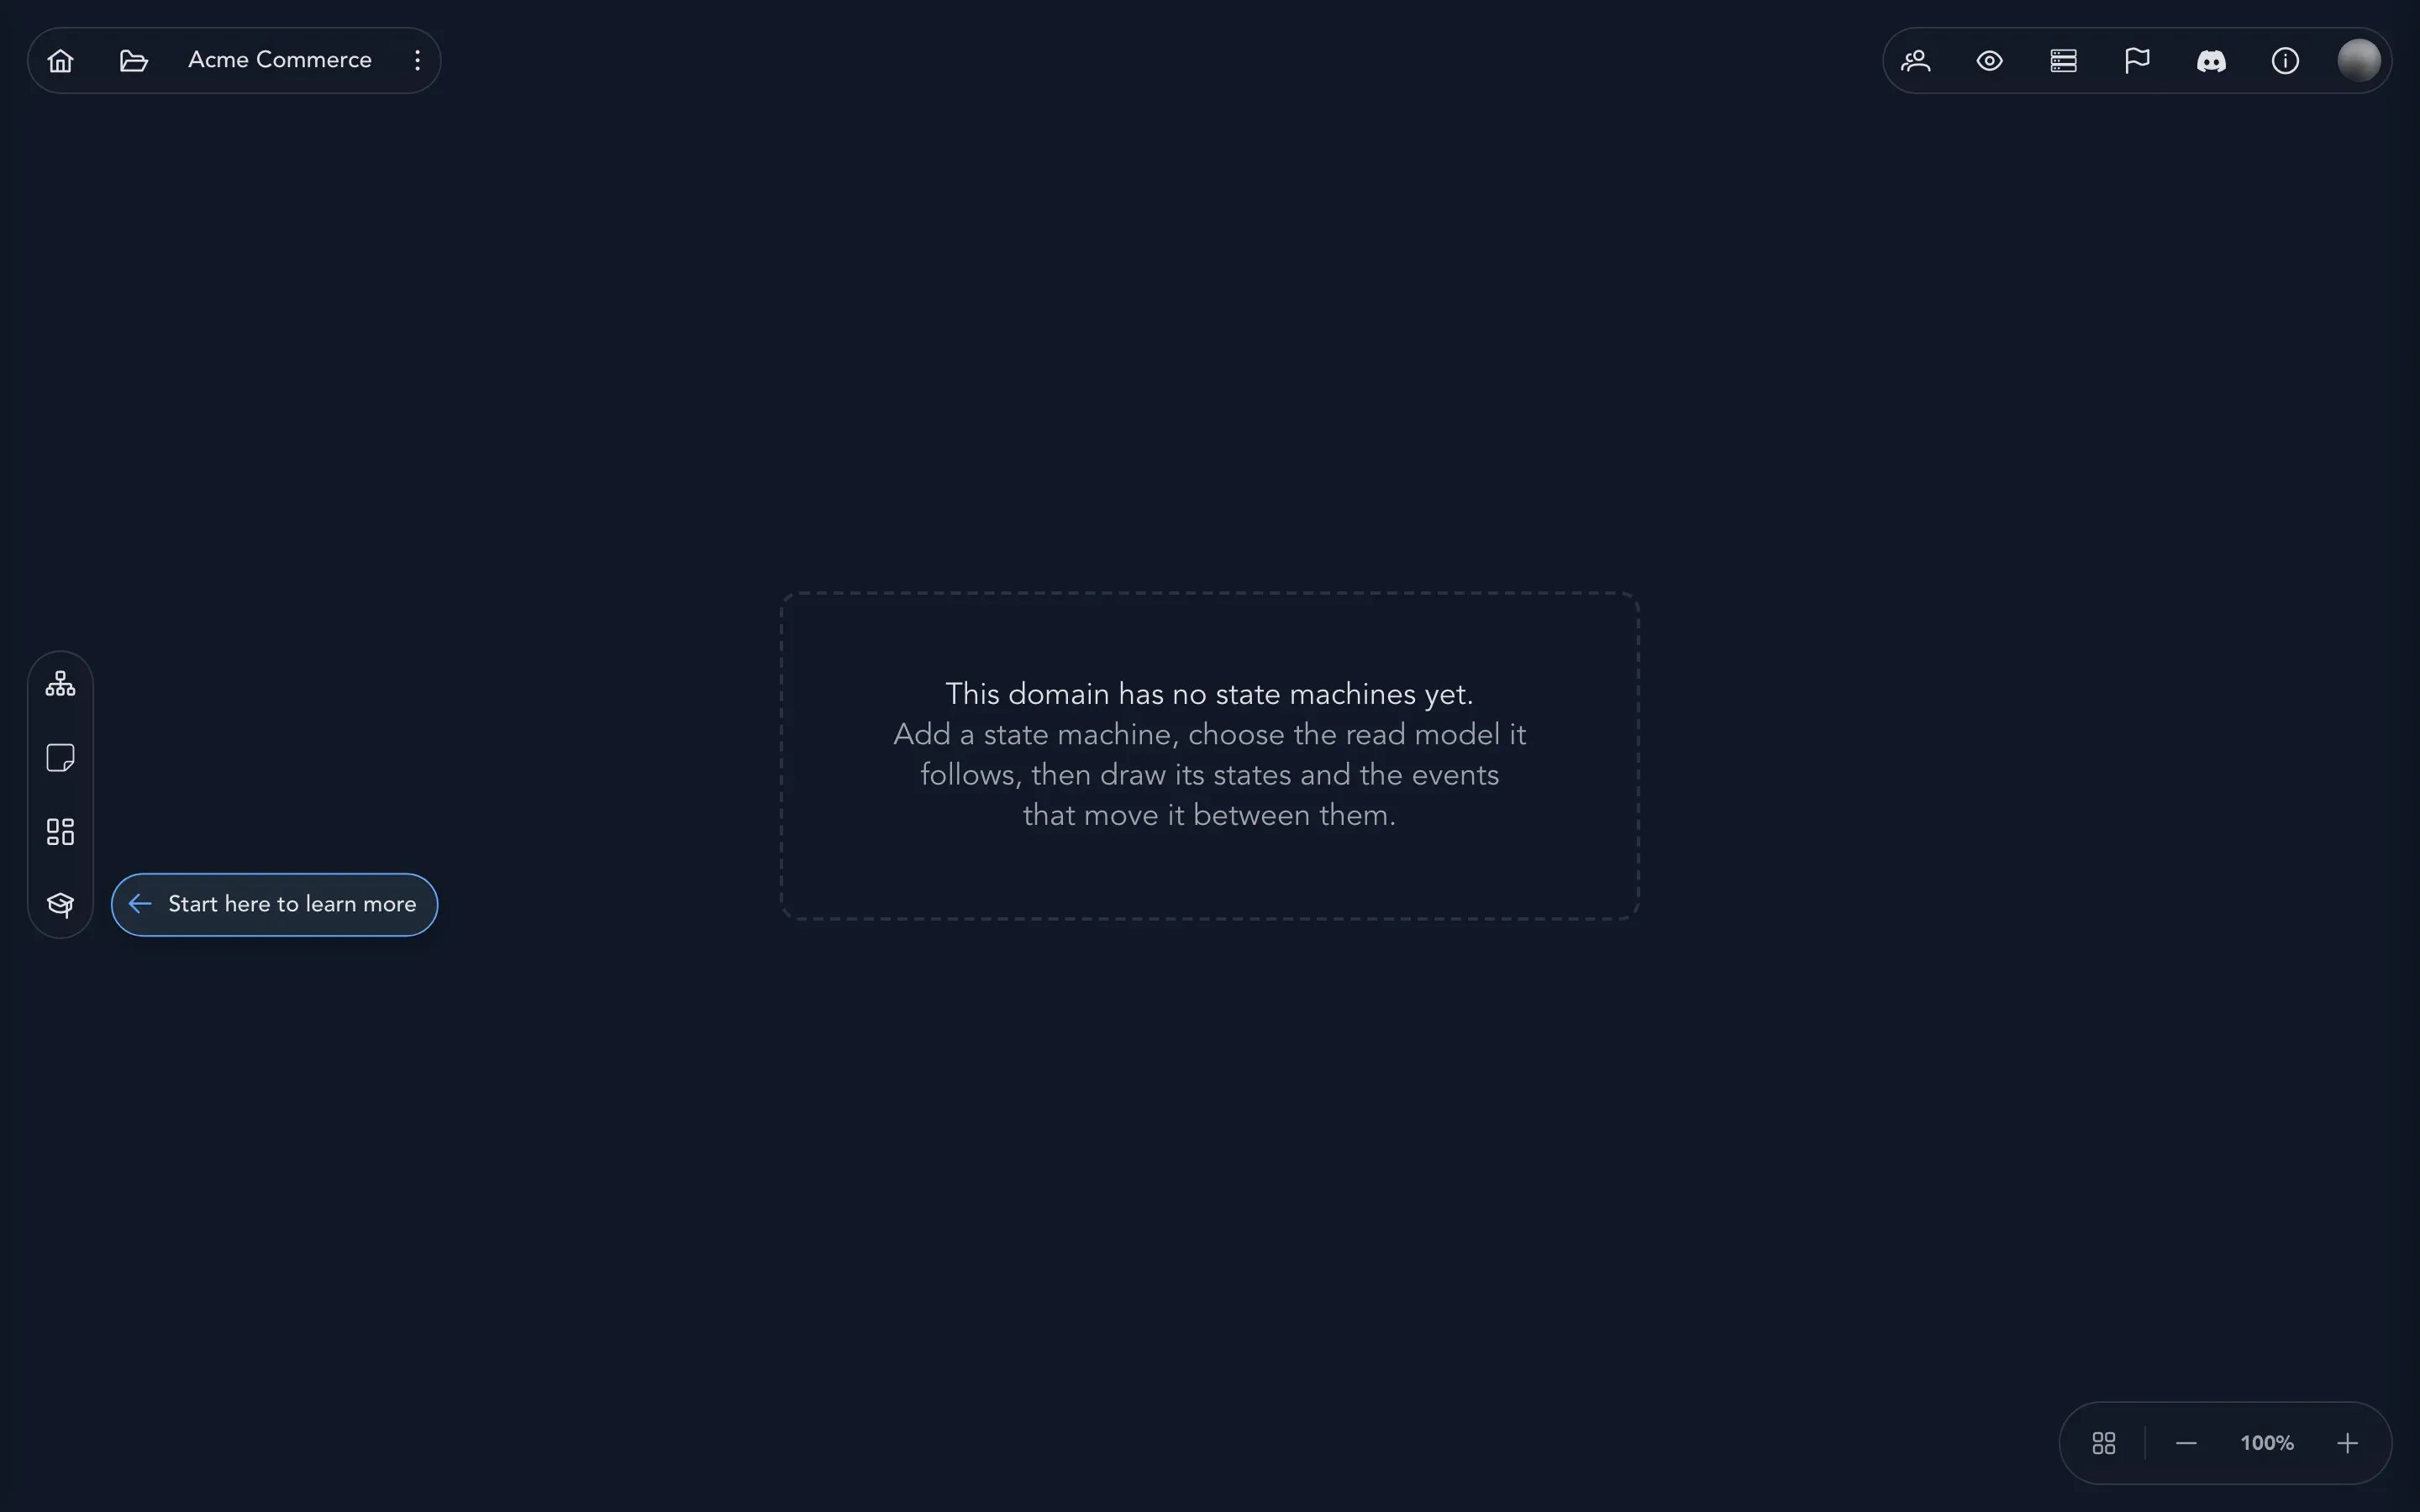
Add a state machine
Section titled “Add a state machine”- In the project drawer, expand your domain and select State machines.
- Select Add State Machine in the toolbar. A card named NewStateMachine appears.
- Double-click the name and call it for what it tracks, such as
Order lifecycle. - Select Open the state machine editor on the card and, under Follows, choose the read model it follows, such as
Order. Do this before you draw anything that depends on it, because guards are written over that read model.
Each card shows a live thumbnail of its diagram, the read model it follows, its states and the events it reacts to, the workflows it starts and how its specifications fare.
Draw the states
Section titled “Draw the states”The editor has three tabs besides the generated code: Design, Simulate and Used in. Design is where you draw the machine.
- Select + Add state for each state the thing can be in: Placed, Paid, Packed, Shipped, Delivered and Cancelled. Each has a name and a description of what being there means.
- Exactly one state is the starting state (Starts here), where something new begins.
- States that end the story, such as Delivered and Cancelled, are marked Final (Mark final). A final state allows no transitions out of it.
Say which events move it
Section titled “Say which events move it”A transition says: on this event, move from one state to another. For example, a payment-captured event moves Placed to Paid. To add a transition, drag the dot on a state onto another state, then choose the event under On event. You choose events from the domain’s own events. An event that arrives when no transition leaves the current state is ignored, so the machine stays where it is rather than guessing.
A transition can have a guard, a condition over the read model the machine follows. Select + Add a guard and compare a property with equals, not equals, greater than, less than, is set or is not set. A return event might move Shipped to Refunded only when the order’s return reason is set.
Do something on entering a state
Section titled “Do something on entering a state”Select a state and + Add what happens to have entering it send a command or start a workflow. The machine says that something should happen when the thing gets there, and the command or workflow does the work. The workflows a machine starts are listed on its card under Starts, and the editor’s Used in tab lists them with the state that starts each.
Try it out
Section titled “Try it out”The Simulate tab runs the machine without touching anything real. Choose an event and see which state the machine moves to, or why it did not, and say whether a guard holds. Step by step you can walk an order from Placed to Delivered, or watch a bad sequence get ignored.
Select Save as specification to keep a simulated run as a specification: the events that arrived, the guards that held and the state the machine should end in. Specifications run again every time the machine changes, and the card’s footer reports how they fare. The editor also checks the machine for problems, such as states that can never be reached, dead ends and specifications that no longer hold. The card shows how many problems it found.
Workflows
Section titled “Workflows”A workflow is a graph of steps. Something starts a run, and each step does its work and leaves through a named outlet to the next one.
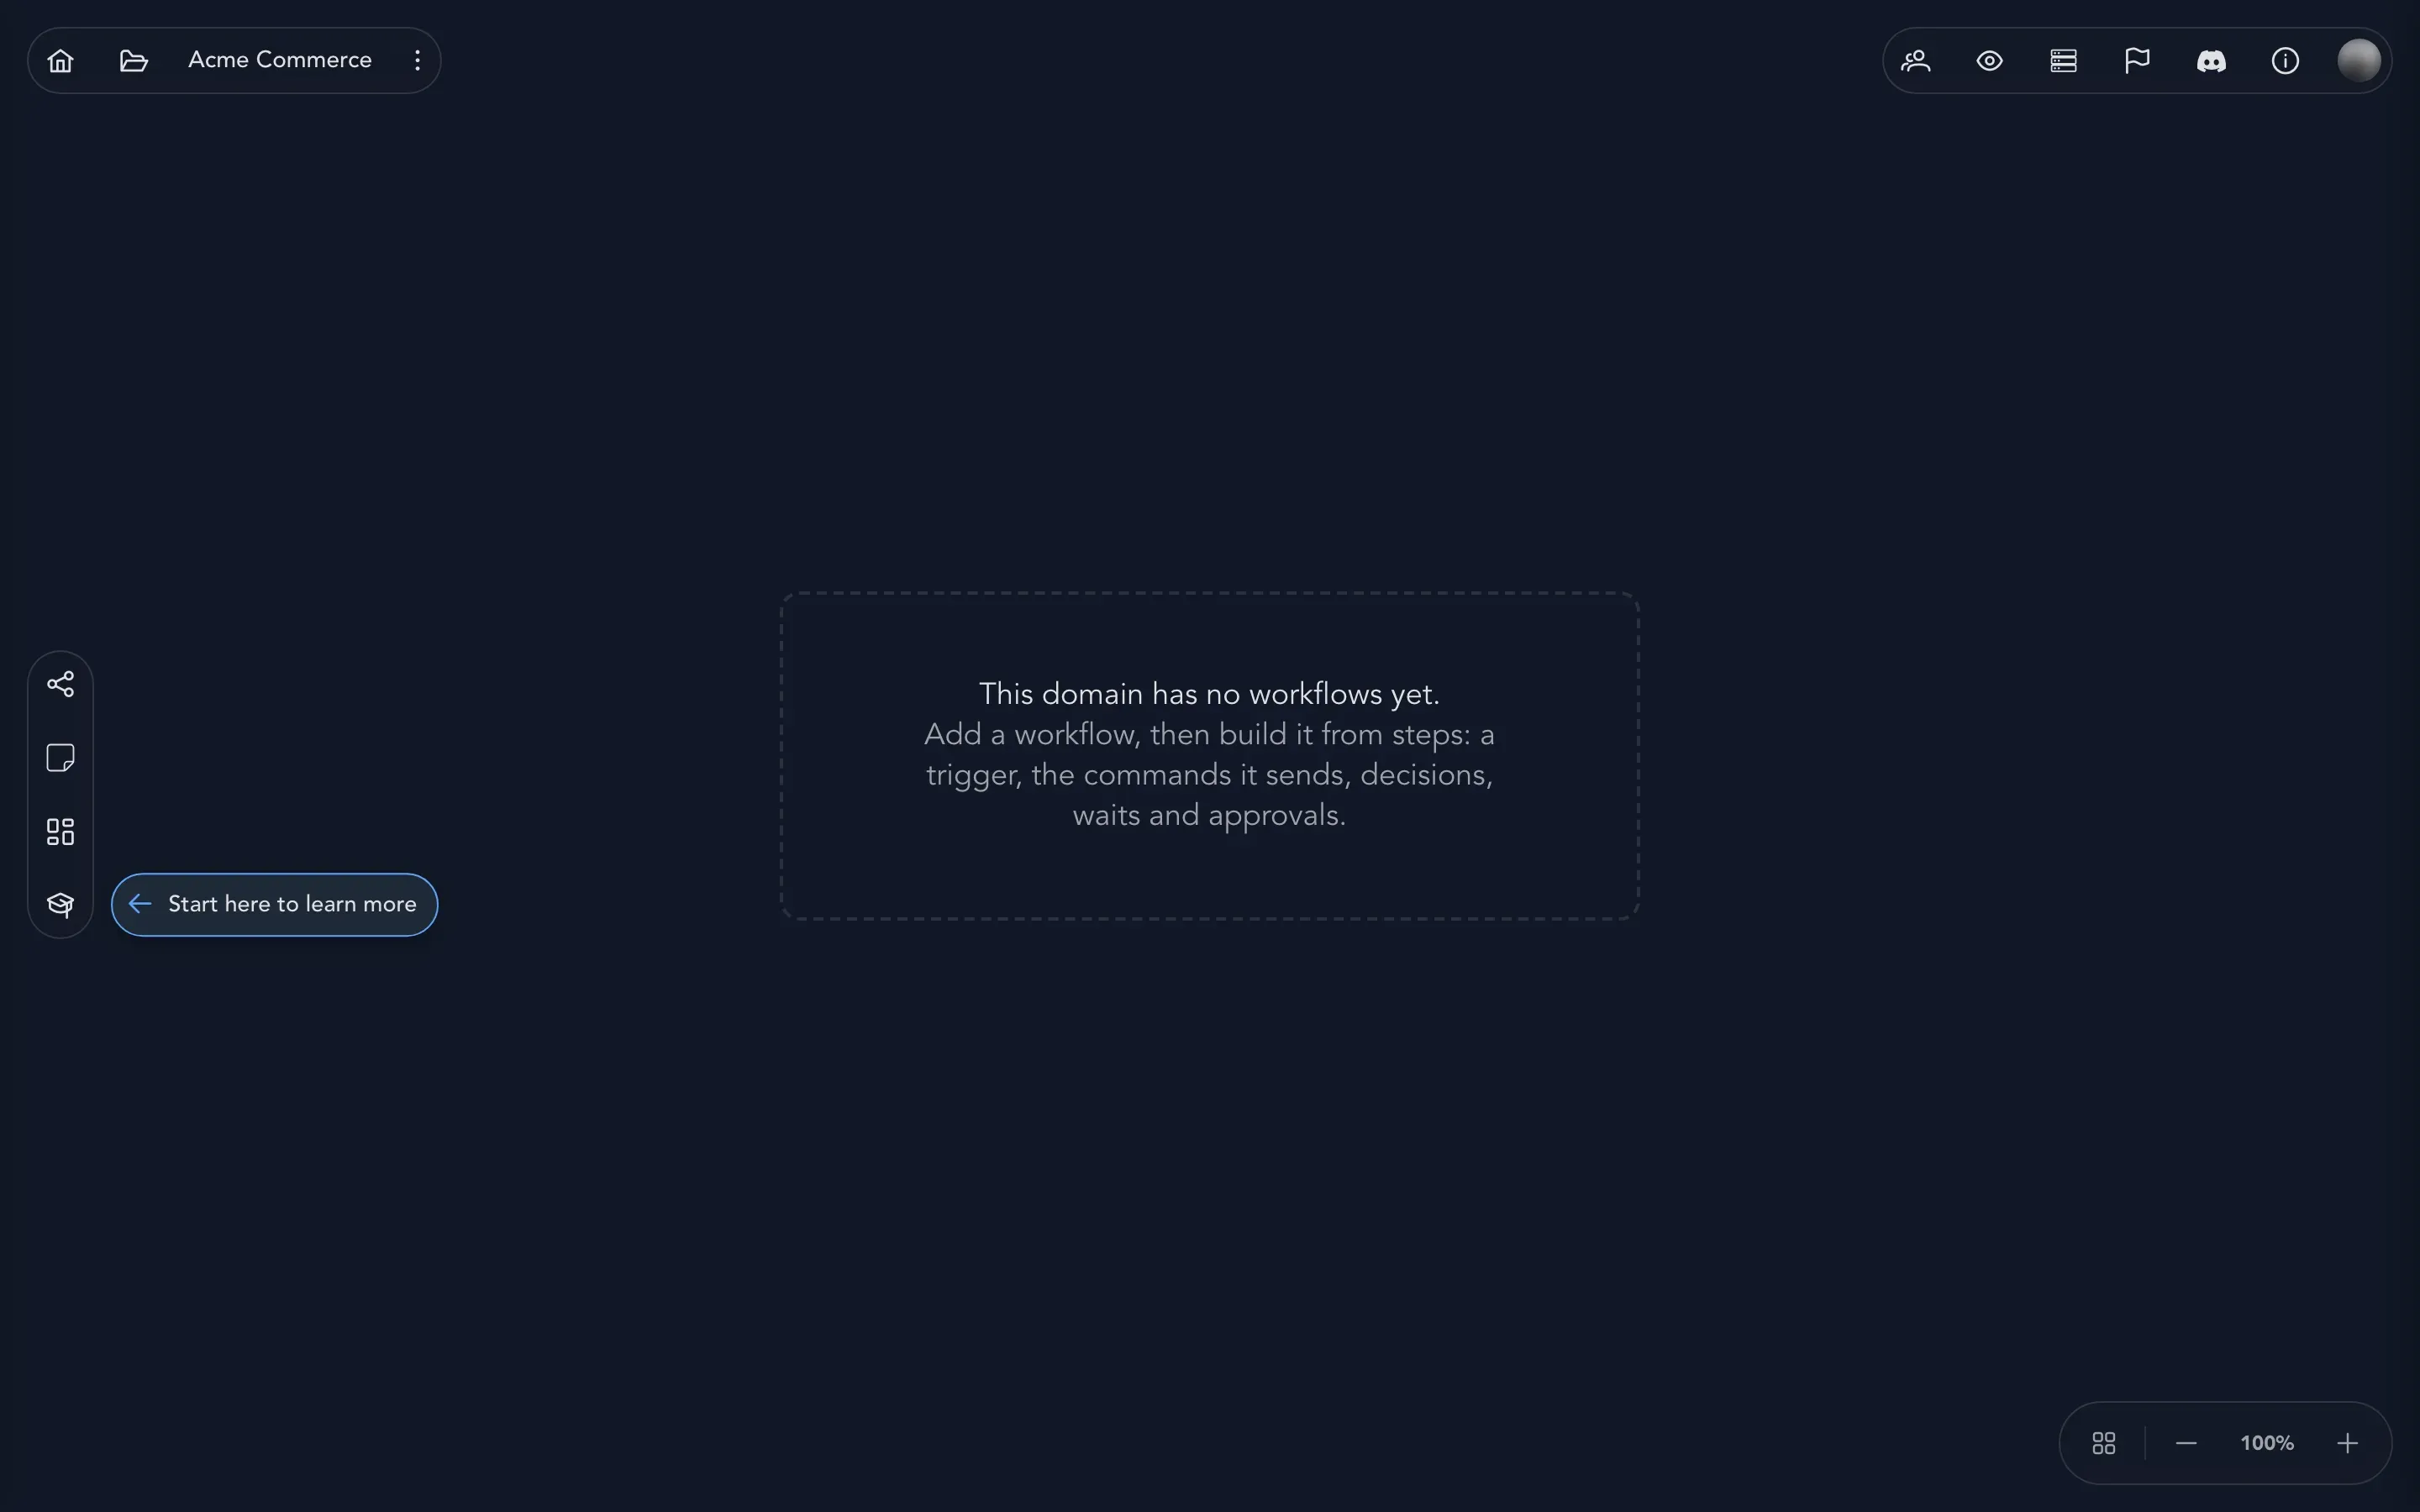
Add a workflow
Section titled “Add a workflow”- In the project drawer, expand your domain and select Workflows.
- Select Add Workflow in the toolbar. A card named NewWorkflow appears.
- Double-click the name and call it for what it does, such as
Fulfill order. - Select Open the workflow editor on the card and, under One run per, choose the subject, a read model such as
Order. A workflow runs once per subject, so there is one run for each order, and the card says so under One run per.
Choose what starts it
Section titled “Choose what starts it”Every workflow starts with a trigger. In the editor, under Starts, there are four kinds:
- On an event: a domain event arrives.
- On a state: a state machine enters a state.
- On a schedule: a time comes round.
- By hand: a person starts a run.
A workflow that follows a state machine, such as Fulfill order following Order lifecycle, starts when an order enters Paid. The card names the trigger under Started by.
Add the steps
Section titled “Add the steps”Add steps from the Add a step palette. The kinds are:
- An action sends a command. It can try again when it fails, and it has two outlets: next, and failed for when the tries run out.
- A decision chooses a path. You name its outlets yourself, such as in stock and backorder.
- For each does the same work for every item in a list, then carries on once every item is done.
- A wait pauses a run until an event arrives or a time has passed. If the time runs out, the run leaves through expired instead of resumed.
- An approval asks a person, for example a warehouse lead, to accept a backorder within a day. Its outlets are approved, rejected and expired.
- A join is for where branches meet. It waits for all of its branches, for the first one, or for at least a number of them.
Give every wait and approval an expiry, so a run that never hears back still ends up somewhere.
Connect the outlets
Section titled “Connect the outlets”Drag from an outlet to the step it should lead to. Every outlet has a name, and a name is a promise about what happened: next, failed, approved, expired. A run that leaves through a bad outlet (failed, rejected or expired) with nothing connected to it fails. Send those outlets somewhere a person will see them, such as a step that opens a case for support.
Try it out
Section titled “Try it out”The Simulate tab walks a run through the graph without sending anything. Select Start a run, then answer each step the way it could really go, so you can follow the happy path, the backorder or a failure. The editor also looks the workflow over while you draw, for example for steps that are never reached or waits that can last forever. The card reports the number of problems, or No problems.
Arrange and remove
Section titled “Arrange and remove”Arrange, the last tool on both canvases, lays the cards and notes out in tidy rows. Add Sticky Note keeps unsettled questions beside the cards. To remove a state machine or a workflow, use the trash can in its header and confirm. The workflows a removed machine started stay where they are, and runs that are under way are not affected when a workflow goes.