

Model your first behavior
In this tutorial you model one small behavior from scratch: a shopper adds an item to a basket, and the basket keeps count. It is the same shape as the Basket feature in the Acme Commerce sample, built from an empty project. It takes about fifteen minutes, and every step ends with something you can see.
Before you start
Section titled “Before you start”- You need to be signed in with a seat in your organization. If you are not, start with Sign up and start your trial.
- You do not need AI. Everything here is done by hand.
- The screenshots in this tutorial come from the Storefront board of the Acme Commerce sample, which has the same controls as the board you will build. Your own board will look emptier, because it starts empty.
- Names must be unique in your organization, for a project and for an application. If Studio refuses a name, add your initials to it.
Part 1: Set up your project (3 minutes)
Section titled “Part 1: Set up your project (3 minutes)”-
Select Projects in the top bar to open the project drawer, and then select Add Project (the + at the top of the drawer).
-
Enter
Corner Shopas the Name. You can leave Domain Description empty. It is only used by AI assistance. Select Add Project.Studio opens the project. Its overview says No applications yet and Add the first application to start modeling this project.
-
Select Add Application. Enter
Corner Shop Onlineas the Name, and describe it in a few words if you like. Select Add Application.The application appears under your project in the drawer.
-
In the drawer, expand your application, hover over Domains and select the + that appears. Its tooltip reads Add Domain. Enter
Storefrontas the Name and select Add. -
Under your new domain, hover over Event Models and select the +, whose tooltip reads Add Event Model. Enter
Storefrontas the Name and select Add.Studio opens the new, empty board.
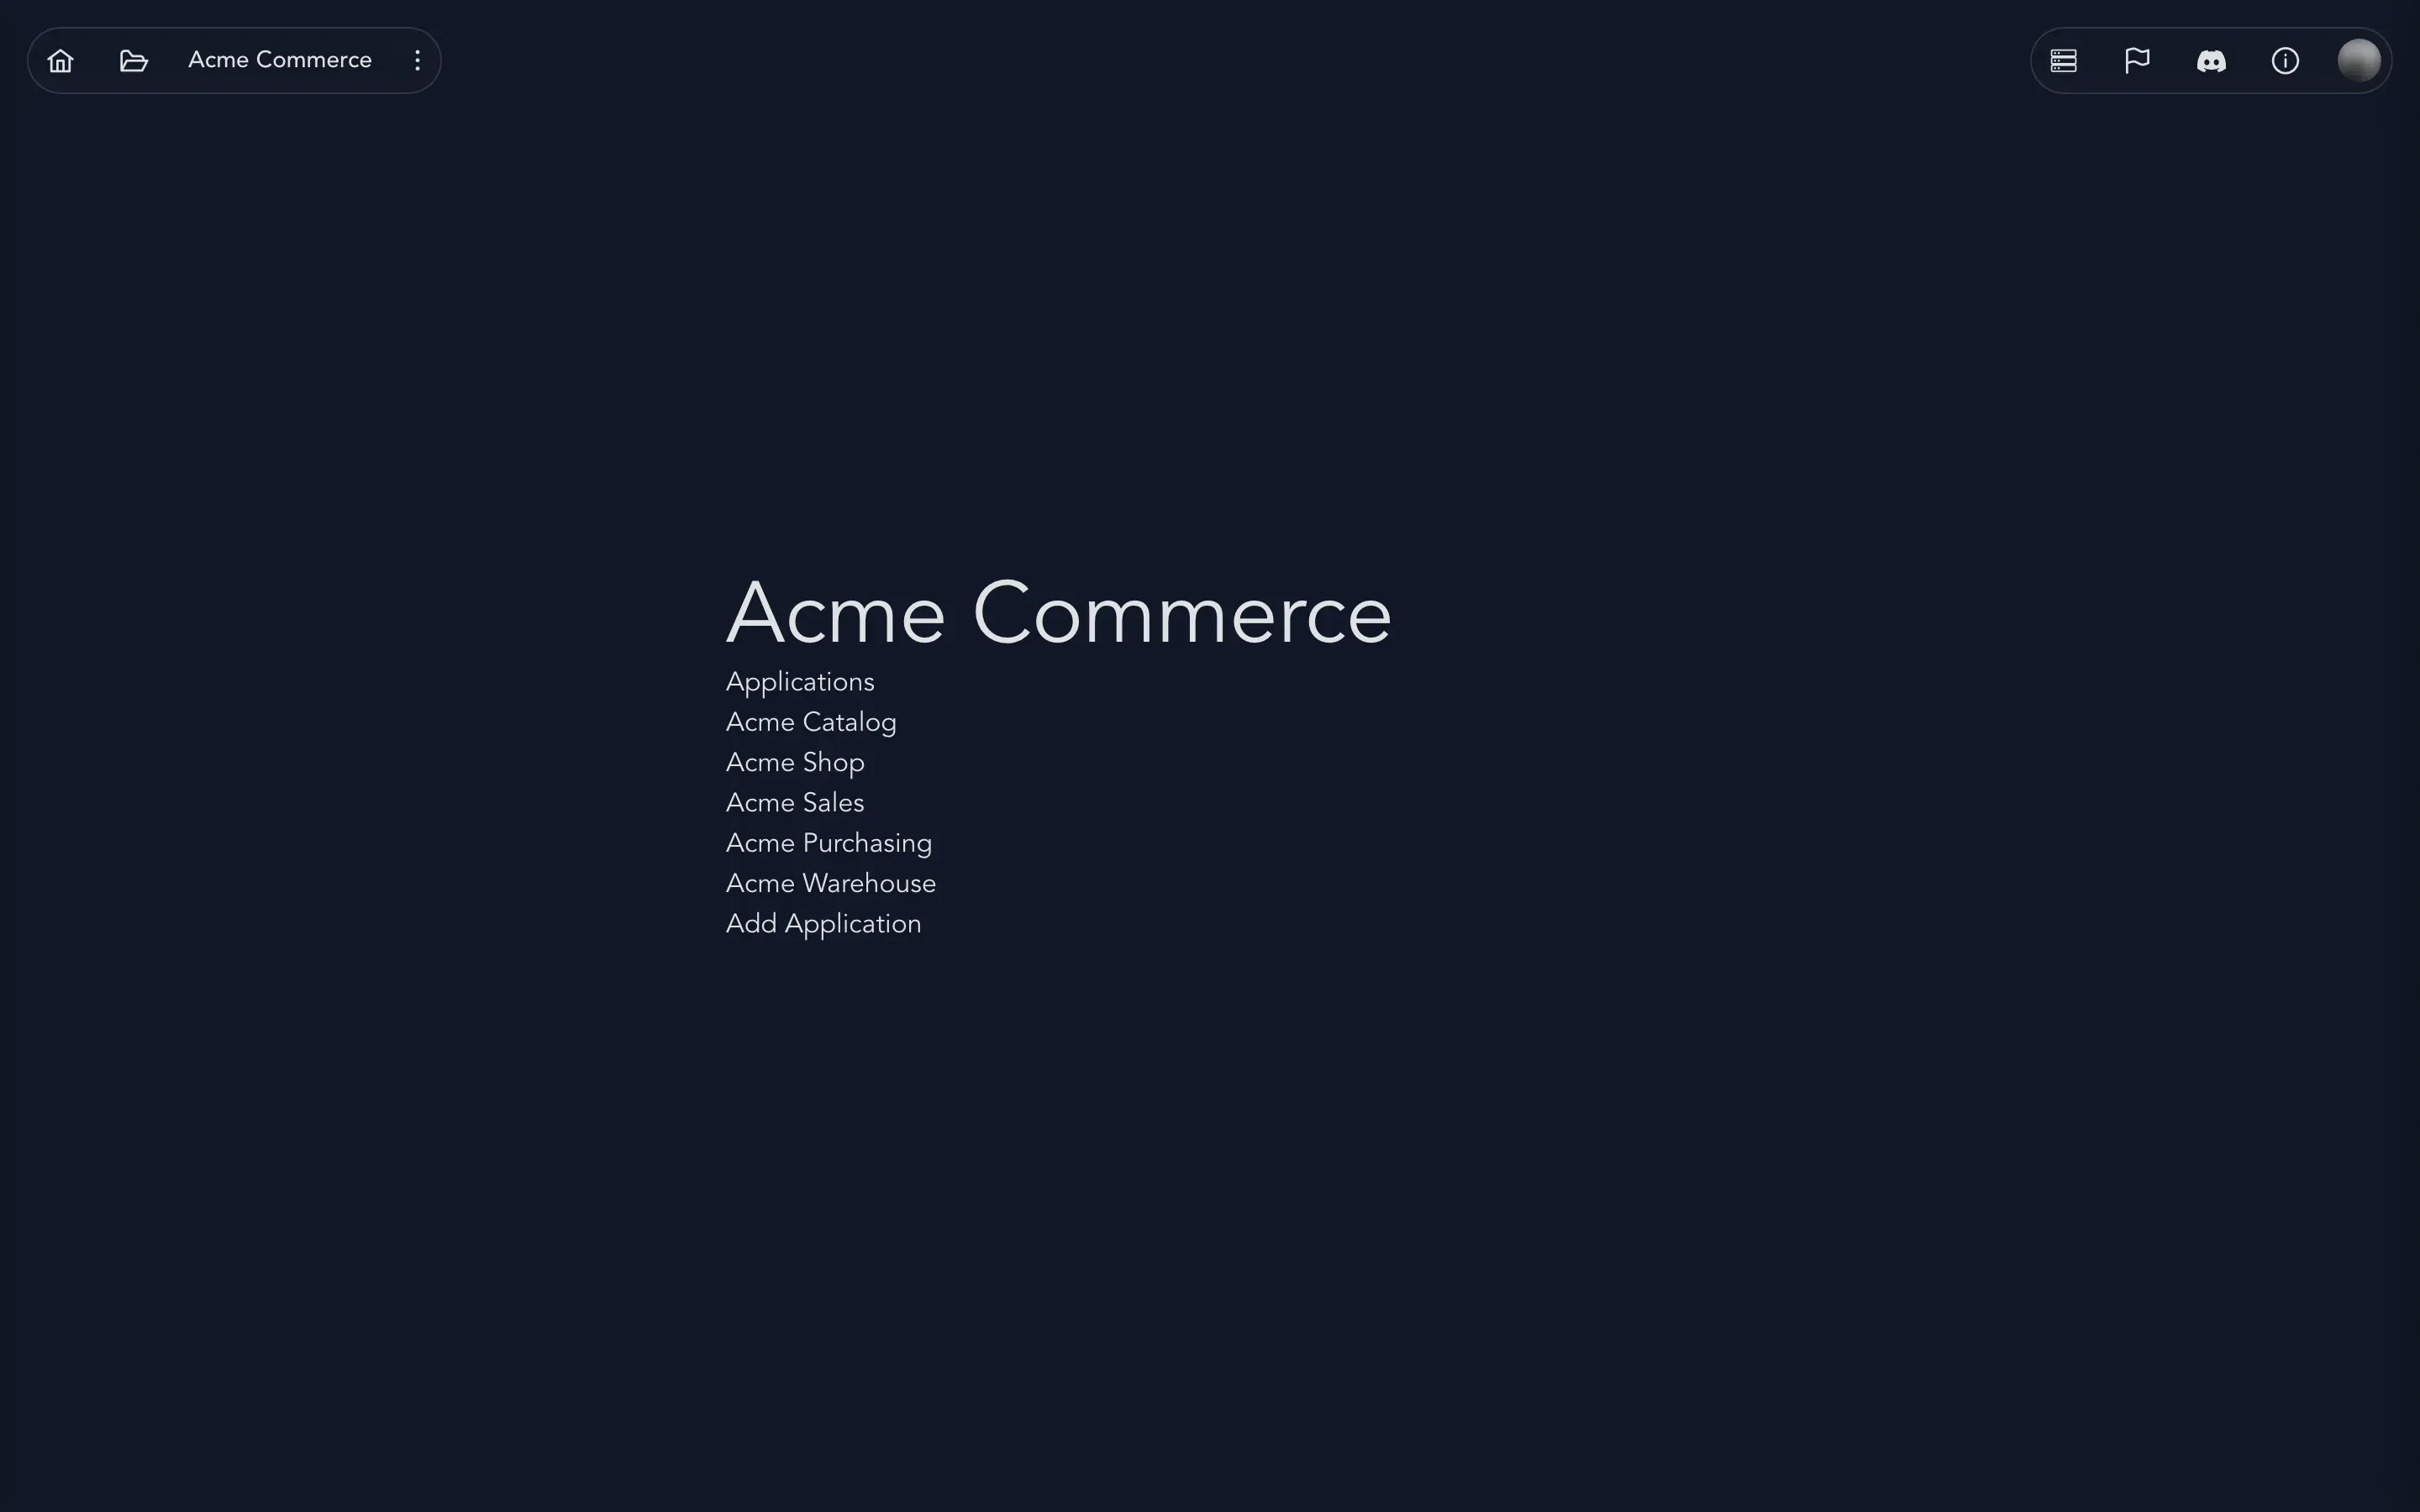
You now have the whole structure: a project, an application, a domain and an event model. The board is empty and hints that you add a module with the sitemap icon. If you want to know why the work is organized this way, see Find your way around.
Part 2: Add a module and a feature (2 minutes)
Section titled “Part 2: Add a module and a feature (2 minutes)”A module is one area of the business. A feature groups related behavior inside it.
-
In the toolbar on the left edge of the board, select Add module. It is the first button, the one with the sitemap icon.
-
Studio puts a module near the middle of your view. Double-click its name and rename it to
Shop. -
In the header of the module, open the Add menu and choose Add Feature. Double-click the feature’s name and rename it to
Basket.
You should see a module called Shop with a feature called Basket inside it. The feature is empty, and says so. More about both in Add modules and features.
Part 3: Add a behavior that changes something (4 minutes)
Section titled “Part 3: Add a behavior that changes something (4 minutes)”Now the heart of it. A state change slice is one behavior where a person asks for something and the system records it. Slices come in four types; this is the one you will use most.
-
In the header of the Basket feature, select Add (the + button), choose Add Slice, and then choose State Change. Studio describes it as UI drives a command that produces events.
-
A new column appears. Double-click its name and rename it to
AddToBasket.The column holds a command called Command and an event called Event, and a row that says who does it. Studio adds a row named UI for the person using the screen.
-
Double-click the blue command card and rename it to
AddToBasket. Commands are named like instructions. -
Double-click the orange event card and rename it to
BasketLineAdded. Events are named in the past tense, because they are facts that already happened.
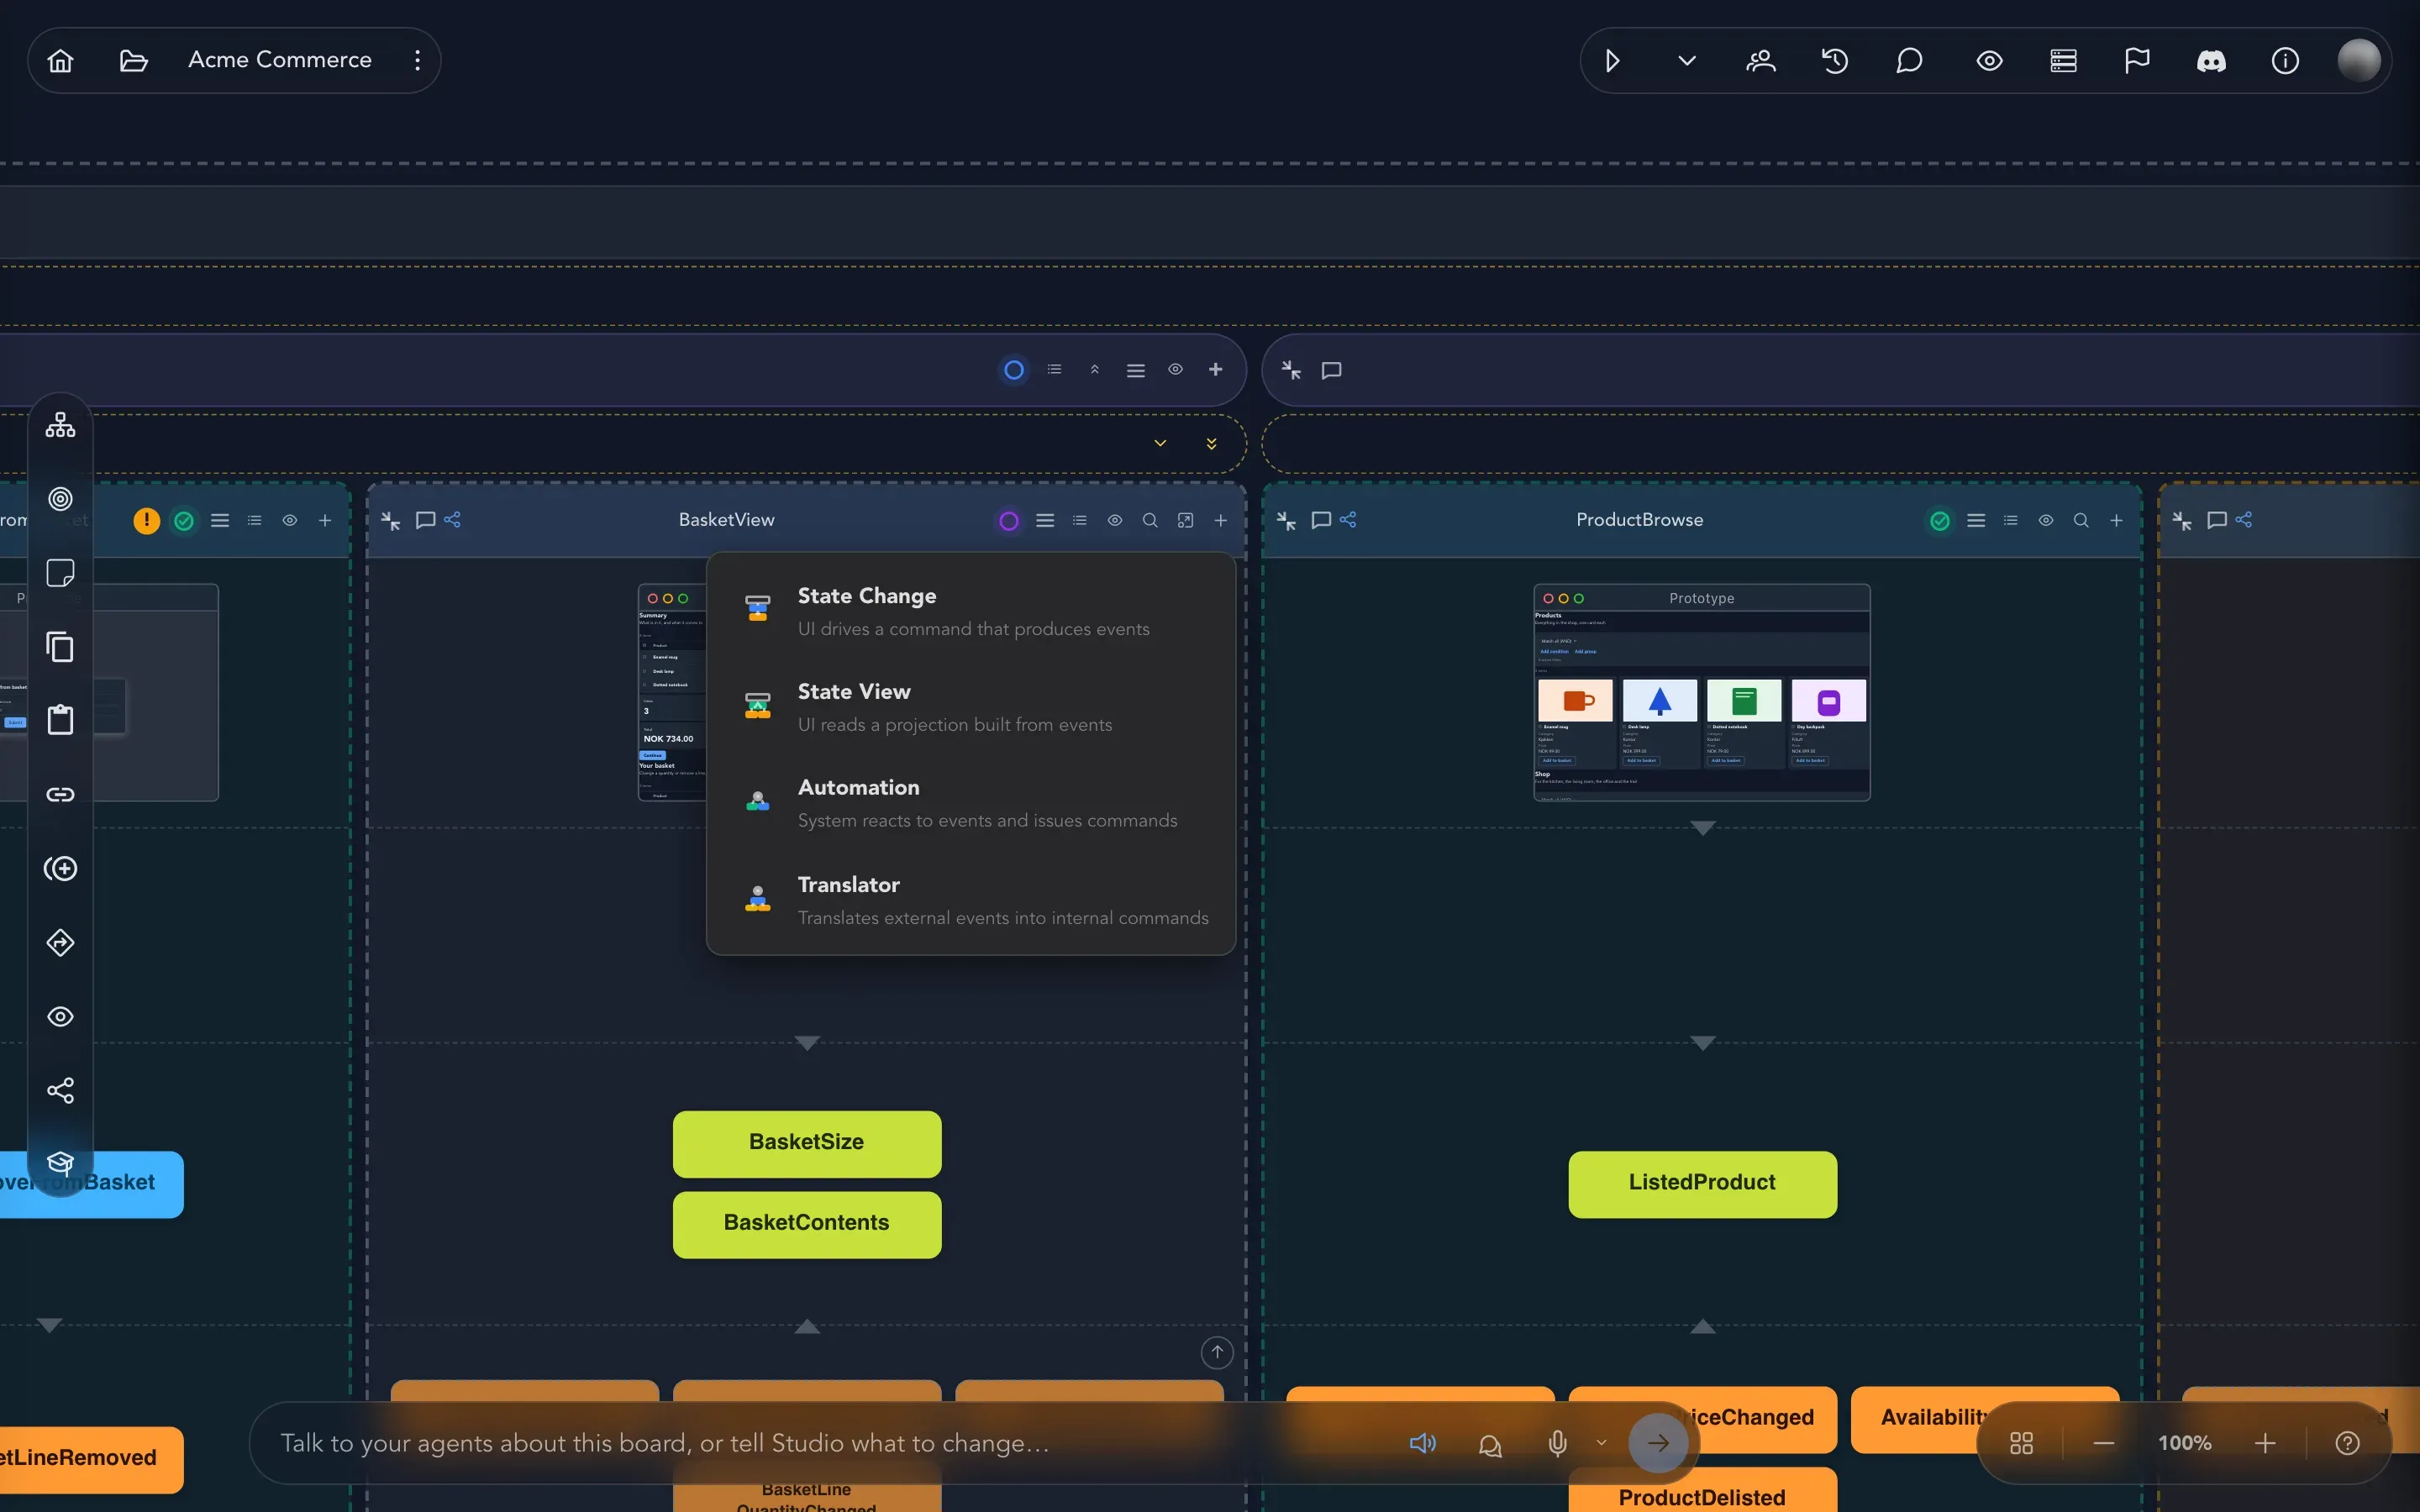
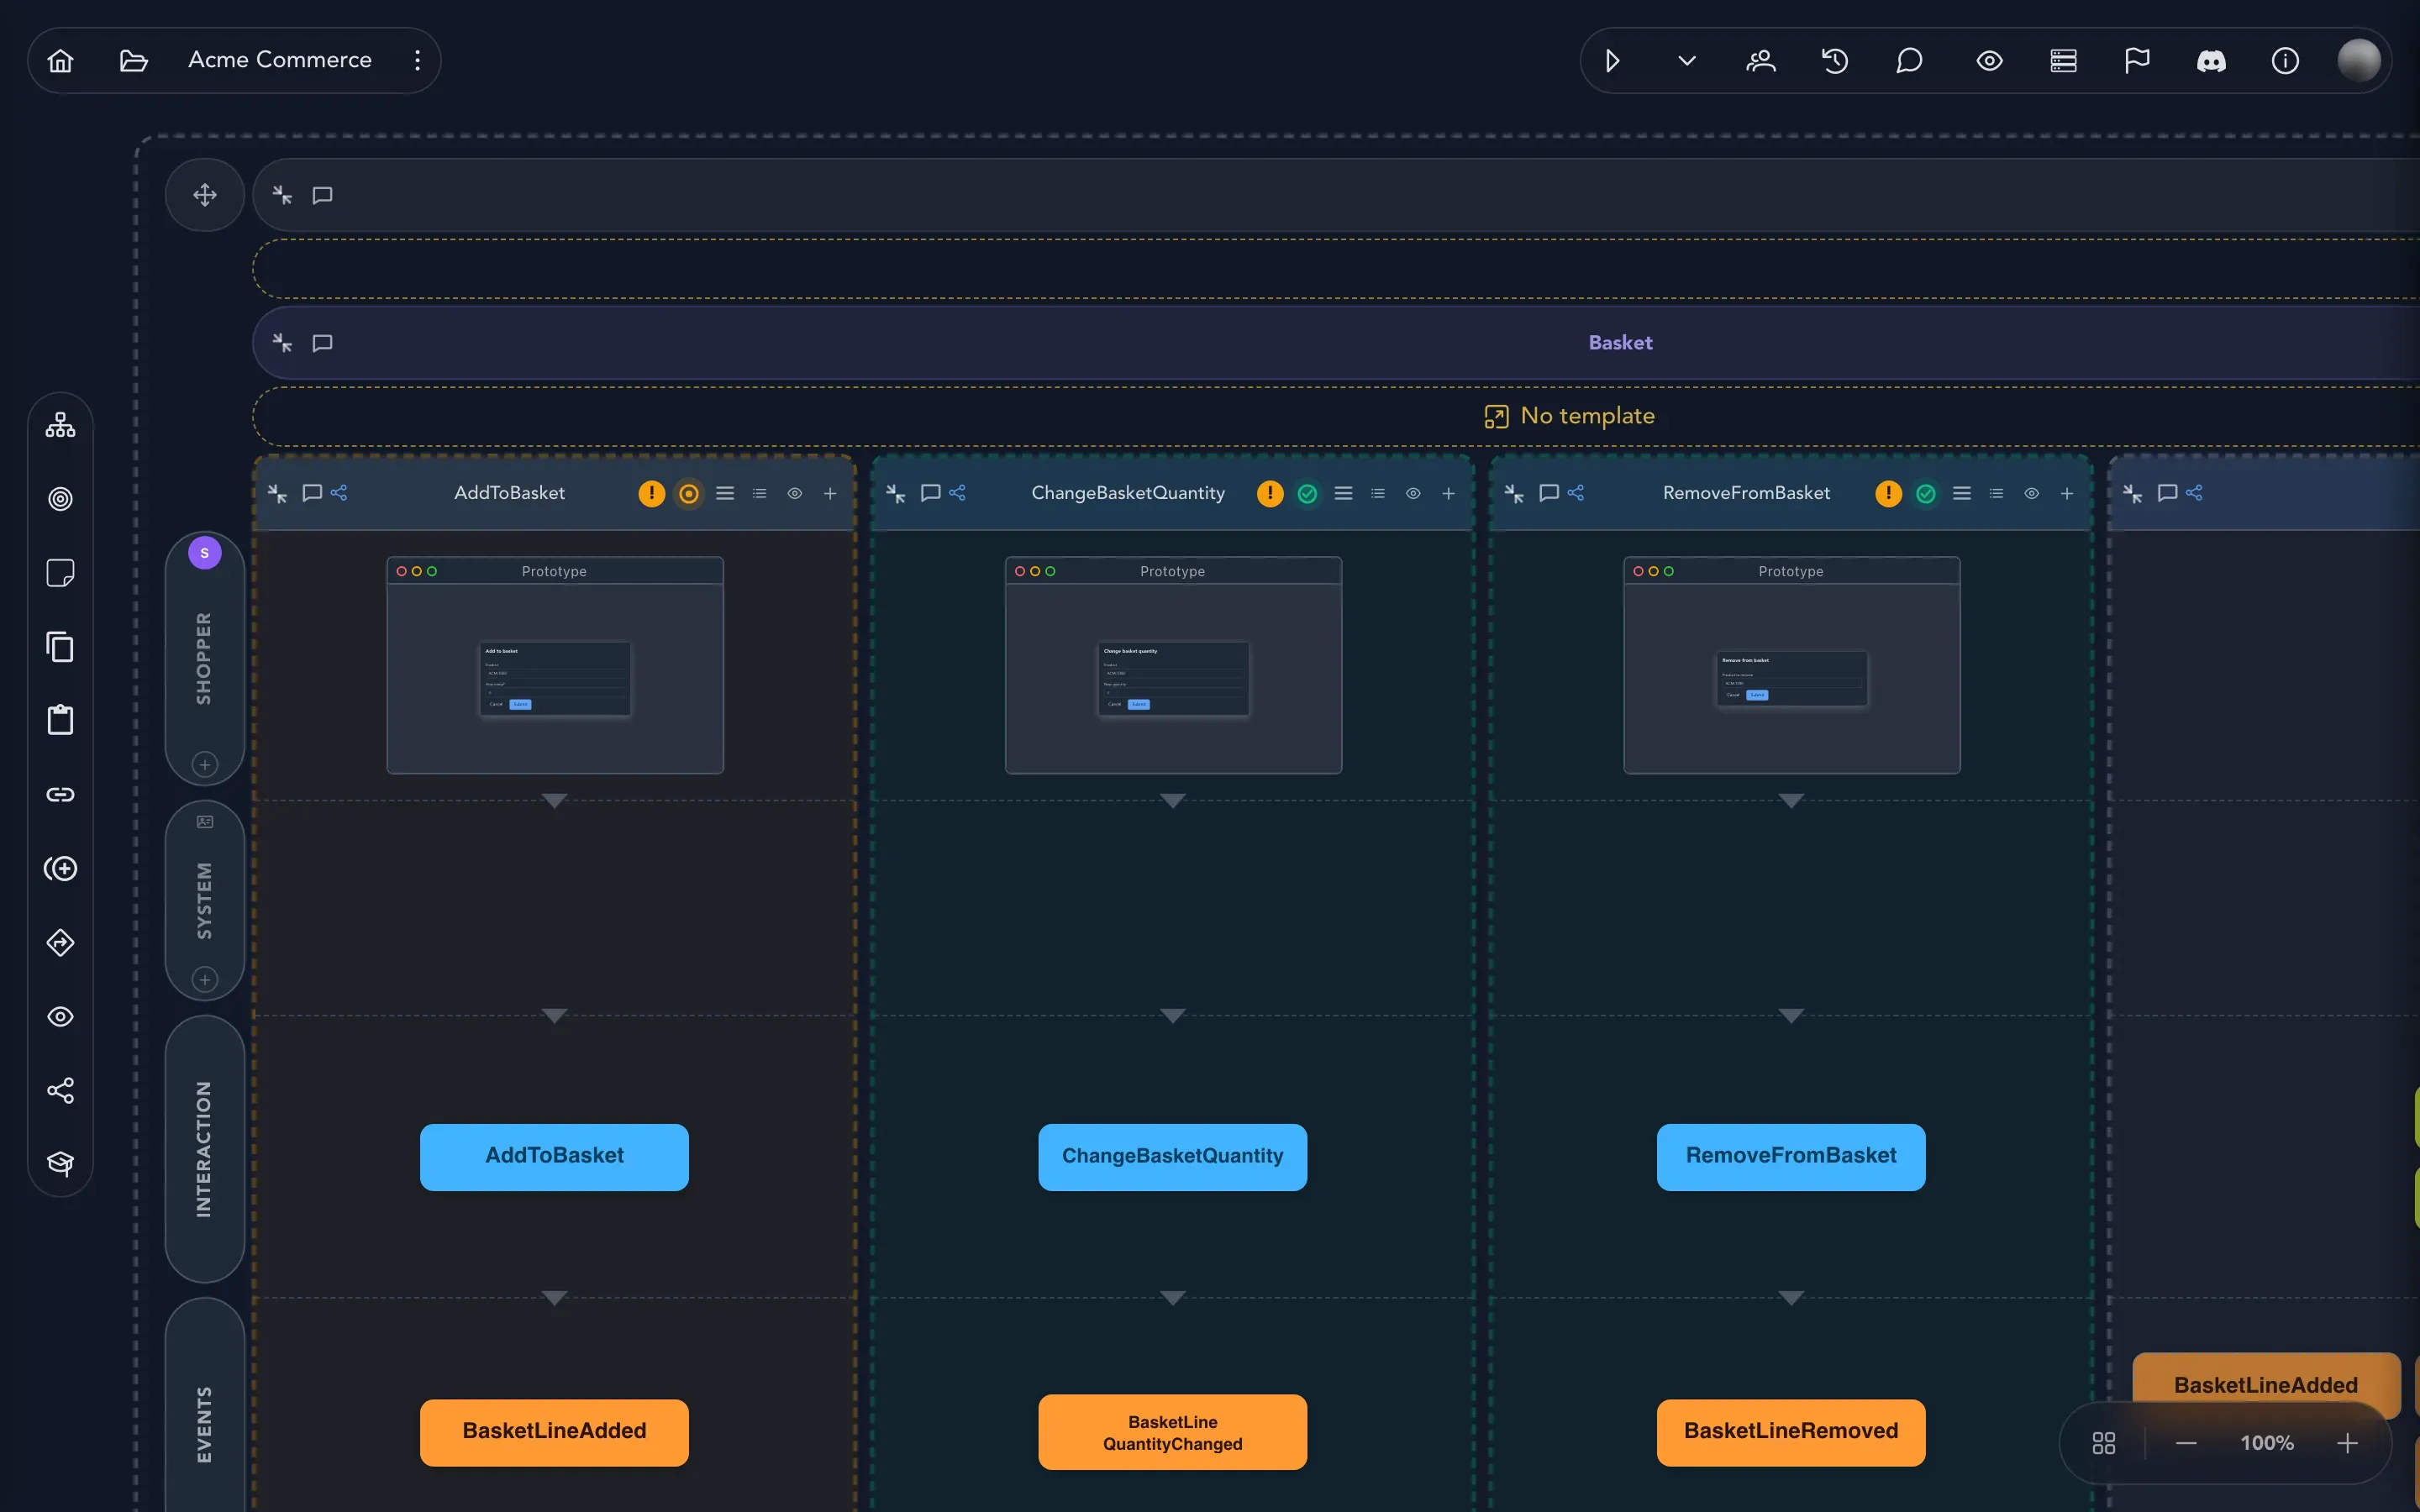
You should see a column with a blue AddToBasket card above an orange BasketLineAdded card, the same shape as the first columns of the sample’s Basket feature:
Say what the command carries
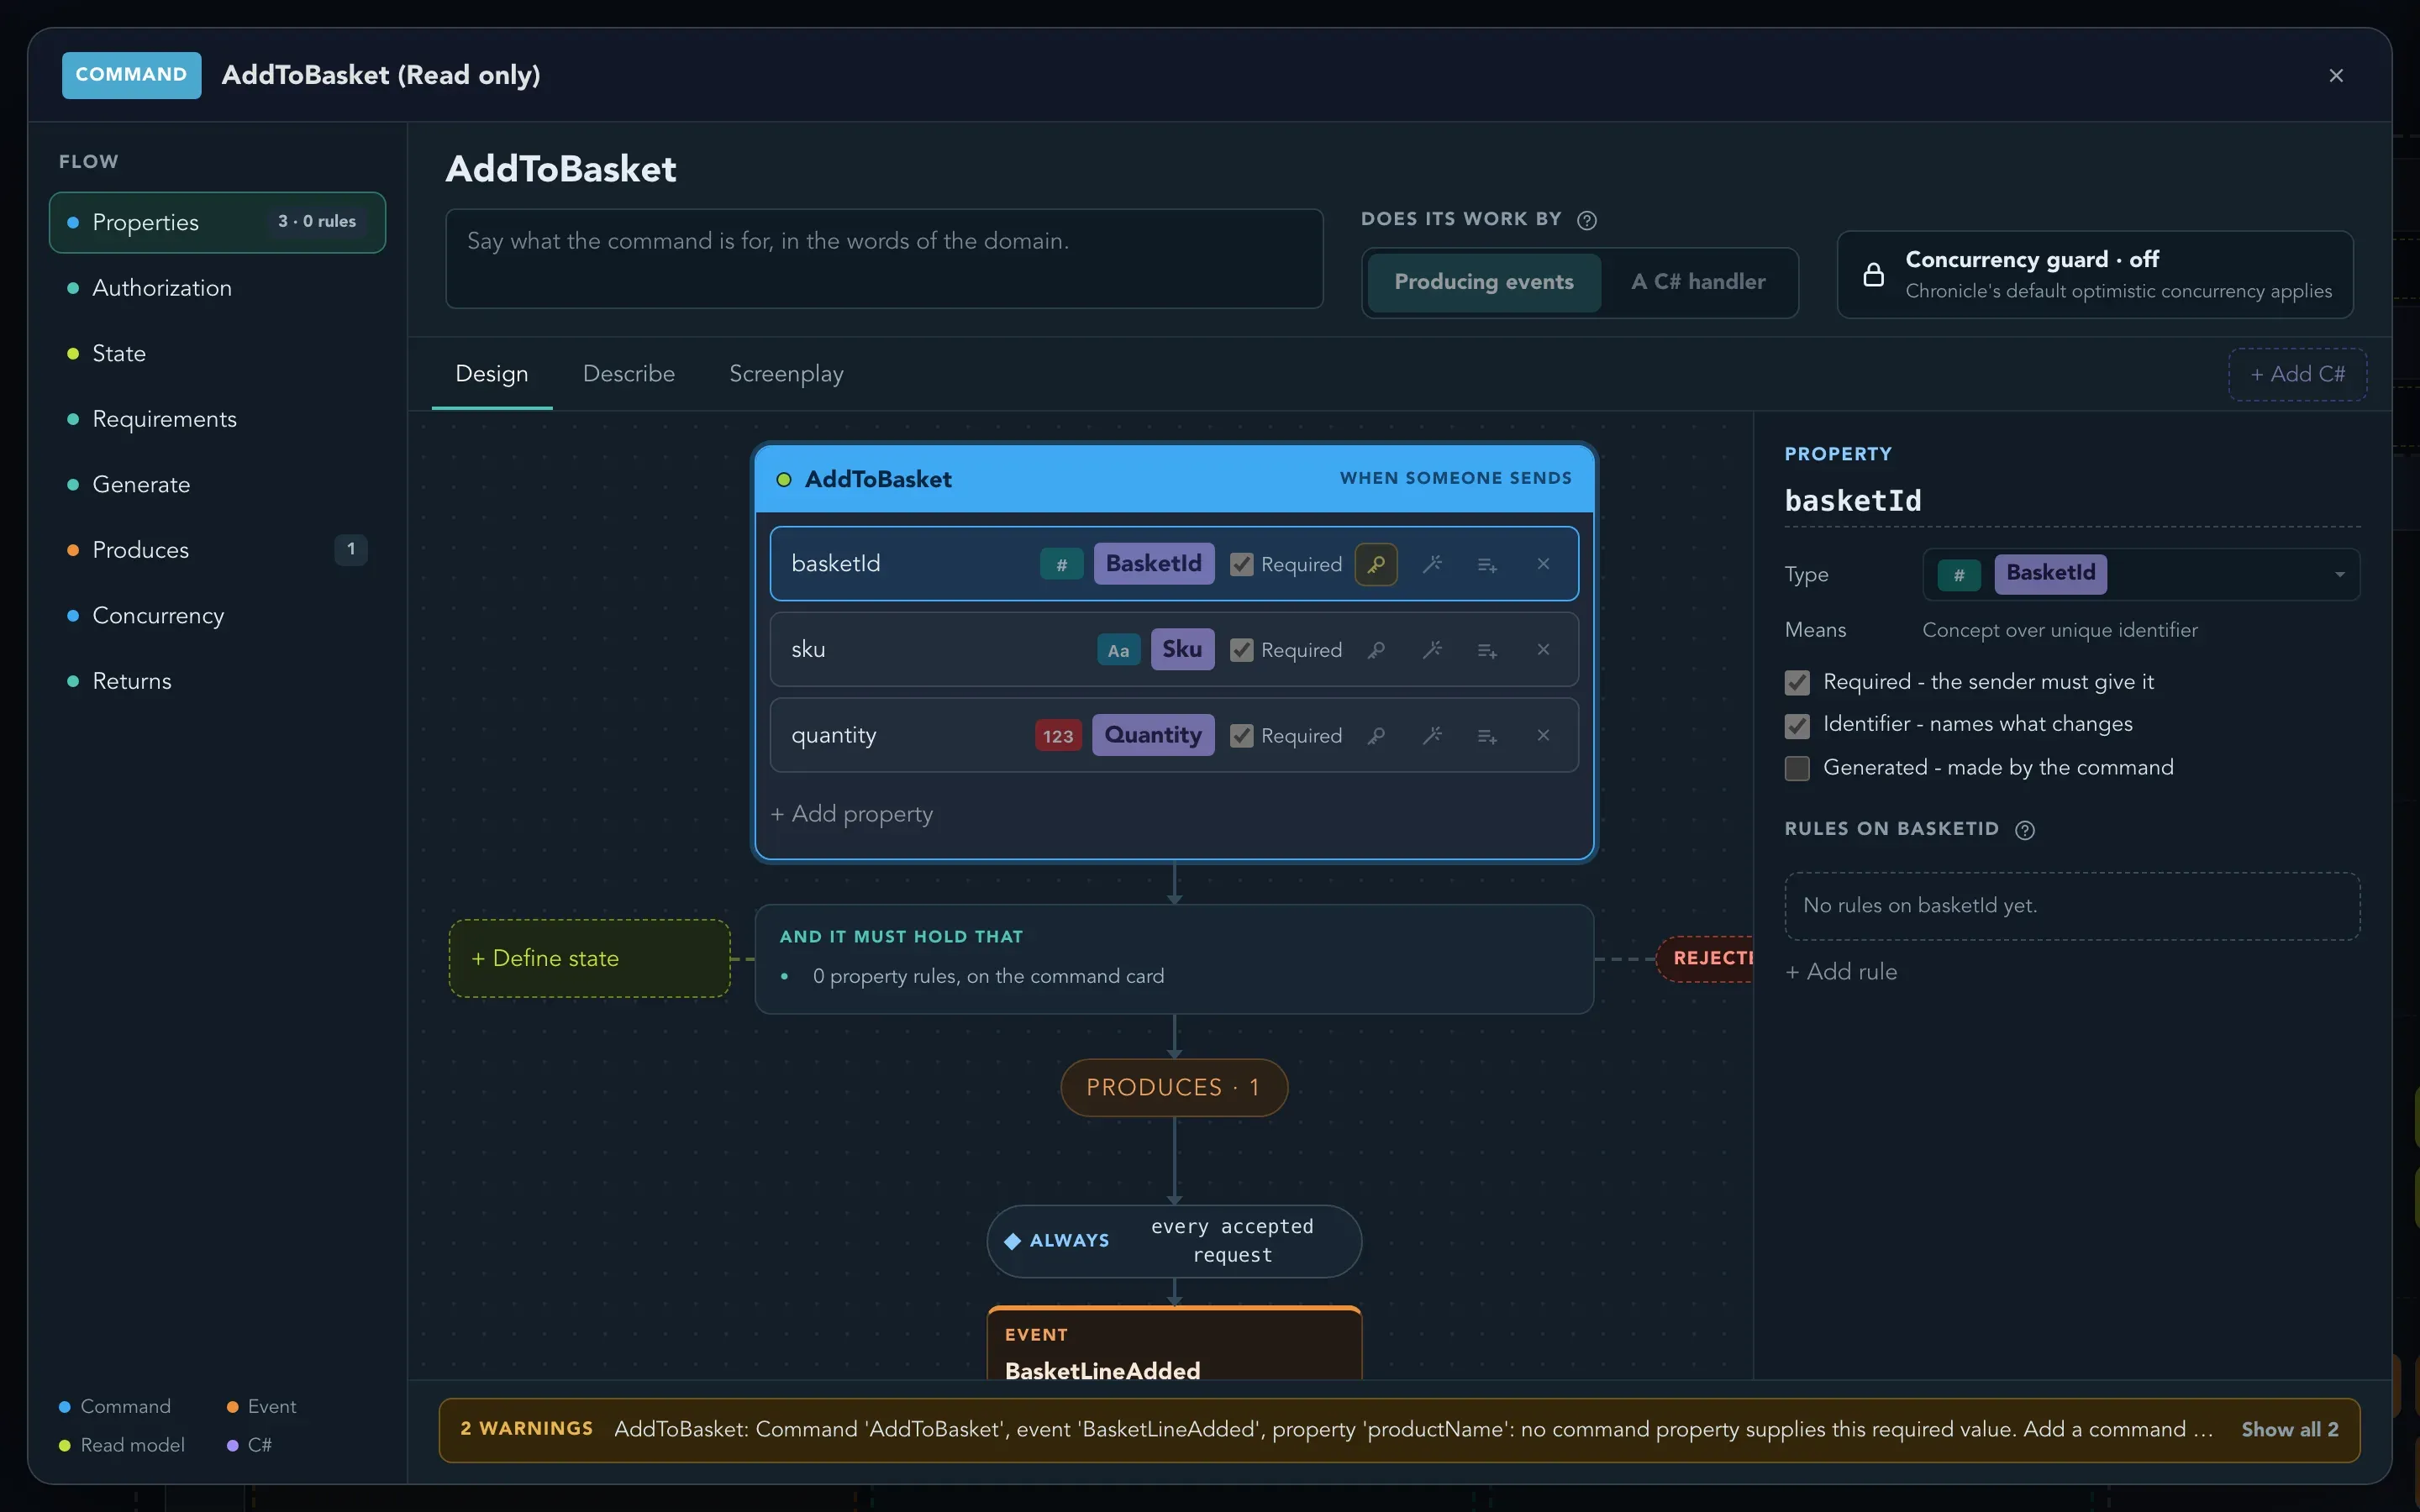
Section titled “Say what the command carries”Select the AddToBasket command card to open the command editor.
-
Select + Add property, double-click the new property’s name, and rename it to
basketId. In the panel on the right, tick Identifier - names what changes. This says which basket the command is about. -
Add a second property,
sku, with the type Text. -
Add a third property,
quantity, and change its type to Number. Use the type menu in the panel on the right, or the type field on the property. -
Make sure all three are Required - the sender must give it.
-
Close the command editor.
Say what the event records
Section titled “Say what the event records”Select the BasketLineAdded event card to open the event editor. An event records what happened, so it carries what changed: not which basket (that is the identifier, and Studio keeps it with the event), but what was added.
-
Add the property
skuwith the type Text, and the propertyquantitywith the type Number. Use the same names as on the command: the event takes its values from the command property with the same name. -
Close the event editor.
Open the command editor once more and look at the bar at the bottom. It lists any problems with the model, and says how many warnings there are. It should say that everything is fine. If a warning names a property that no command property supplies, check that the names on the event match the names on the command exactly.
Part 4: Give it a screen (2 minutes)
Section titled “Part 4: Give it a screen (2 minutes)”A screen shows what the person sees while the slice happens.
-
In the UI row of the slice, select Add UI prototype (the small + in the corner), and choose From scratch.
-
The screen editor opens over the board. Select Data, and then Generate the form. Studio makes a field for each property of the command. The drawer says Every property is on the form.
-
Close the editor. It saves your screen.
You should see a small thumbnail of the screen on the slice, in the UI row, above the command.
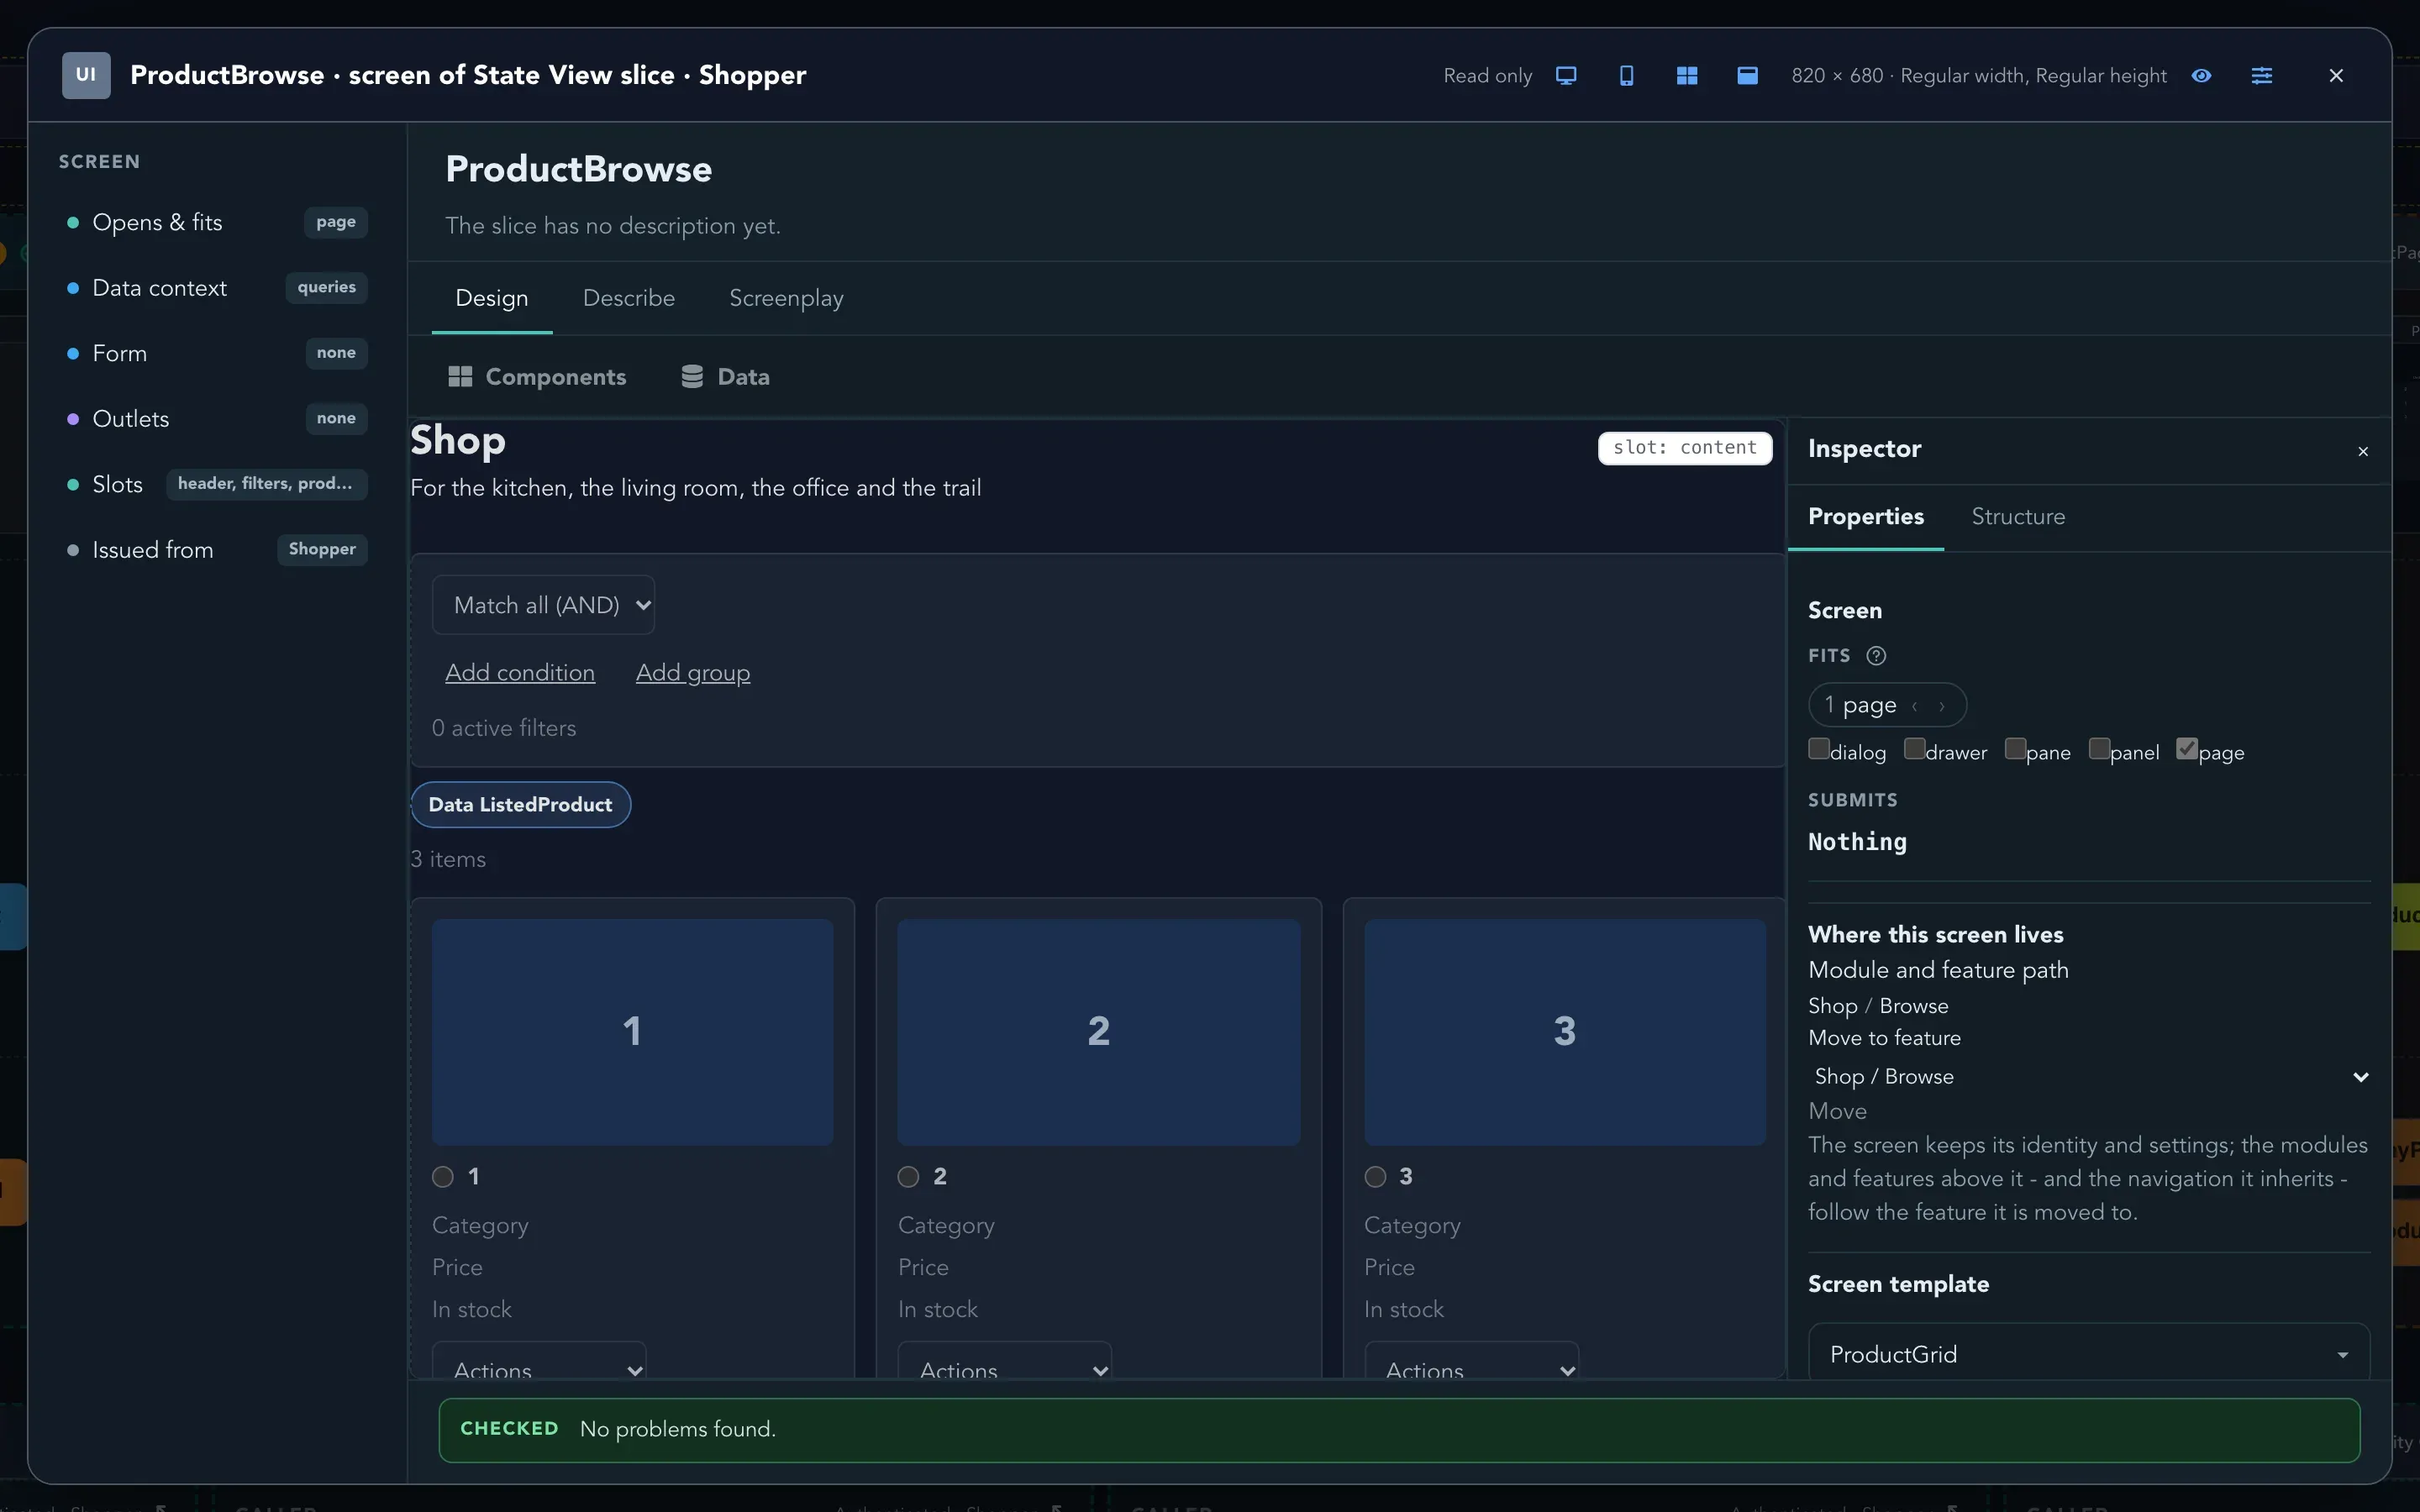
To go further with screens, see Add a screen to a slice and The screen editor.
Part 5: Show what happened (2 minutes)
Section titled “Part 5: Show what happened (2 minutes)”Facts are hard to read on their own. A state view shows them as something a person can look at: here, how many lines the basket has.
-
In the Basket feature, select Add again, choose Add Slice, and then choose State View. Rename the new column to
BasketView. Studio places it to the right of the slice you already have, which matters: a view can only show events produced to its left. -
In the events row of the new slice, select Add existing event, search for
BasketLineAdded, and pick it. The event card appears in the view. It points back at the slice where the event is produced. -
Double-click the green read model card (it is called Read Model) and rename it to
BasketSize. -
Select the BasketSize card to open its editor. The read model starts with an
idproperty, which is how one basket is found. In the card on the right, add a property, name itlineCountand give it the type Number. -
Drag the BasketLineAdded card, on the left, onto lineCount. A small menu asks what the event does: Each time BasketLineAdded happens, lineCount:. Choose Adds one. A line joins the two, and Studio now counts the events.
-
Close the editor. The changes are saved when it closes.
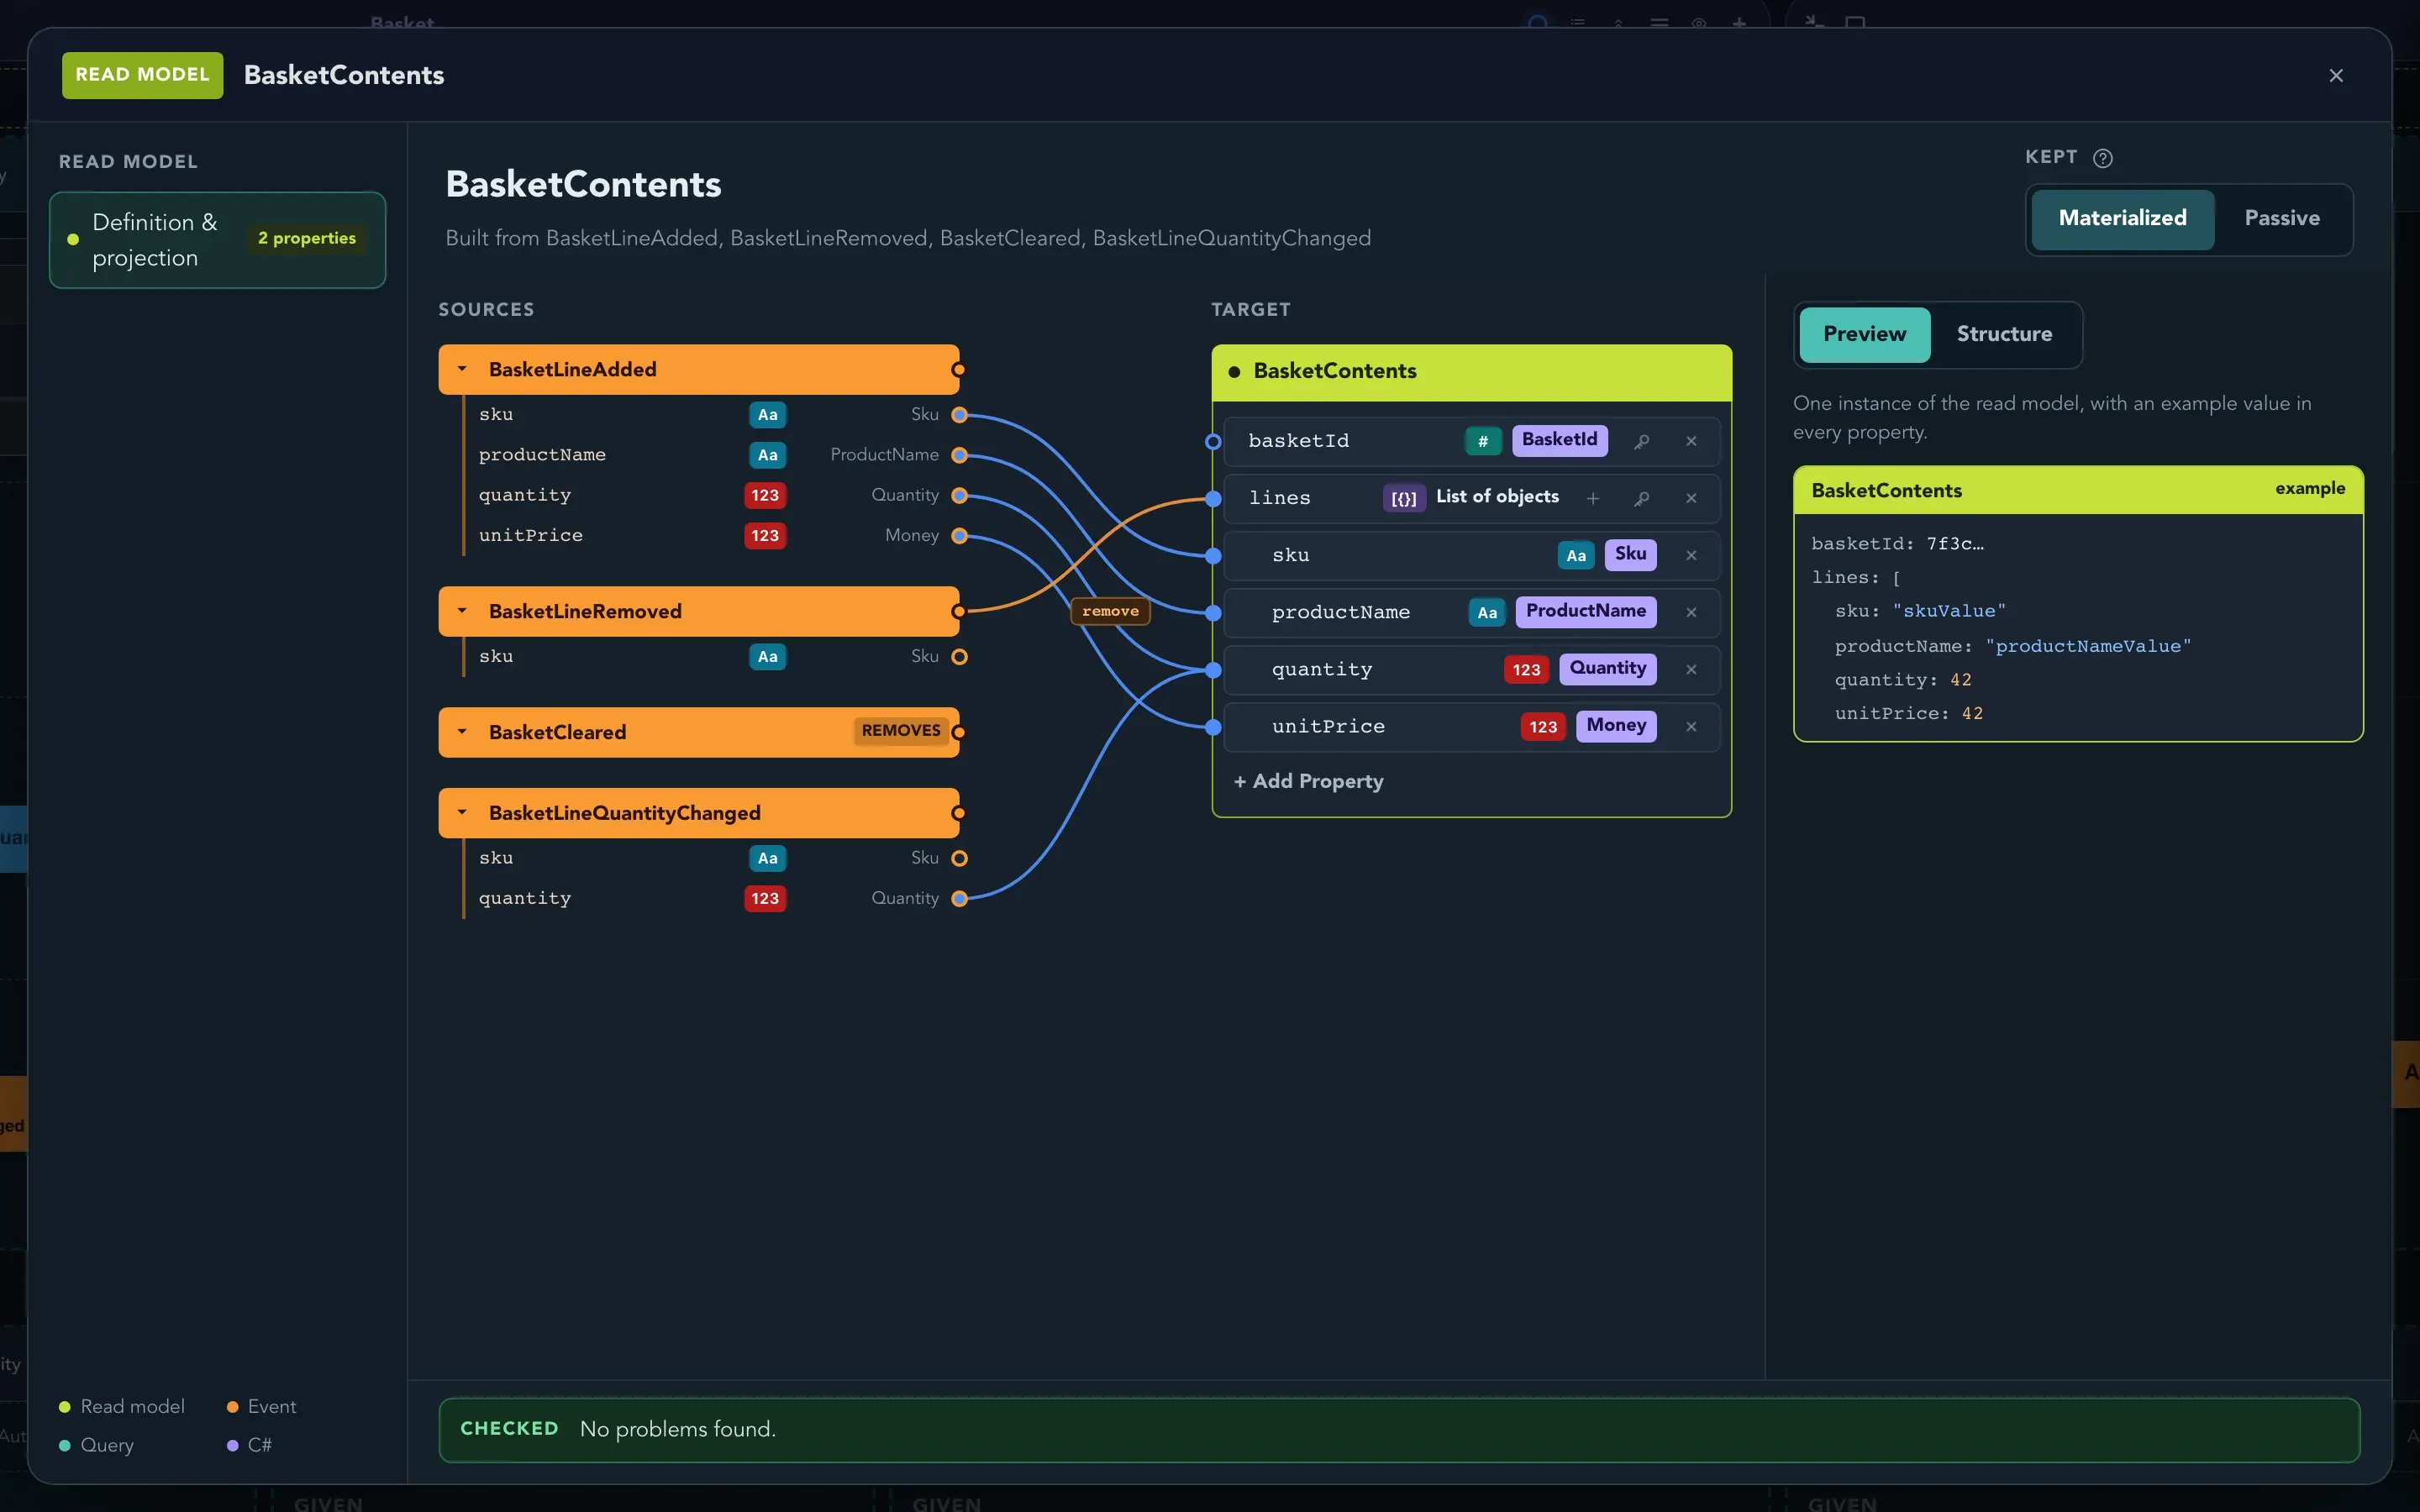
You should see the BasketLineAdded card in the view, joined to the green BasketSize card. The read model is derived state: it can always be thrown away and rebuilt from the events, so it is never a second source of truth. For more on mapping events, see Read models, projections and queries.
Part 6: Write an example (2 minutes)
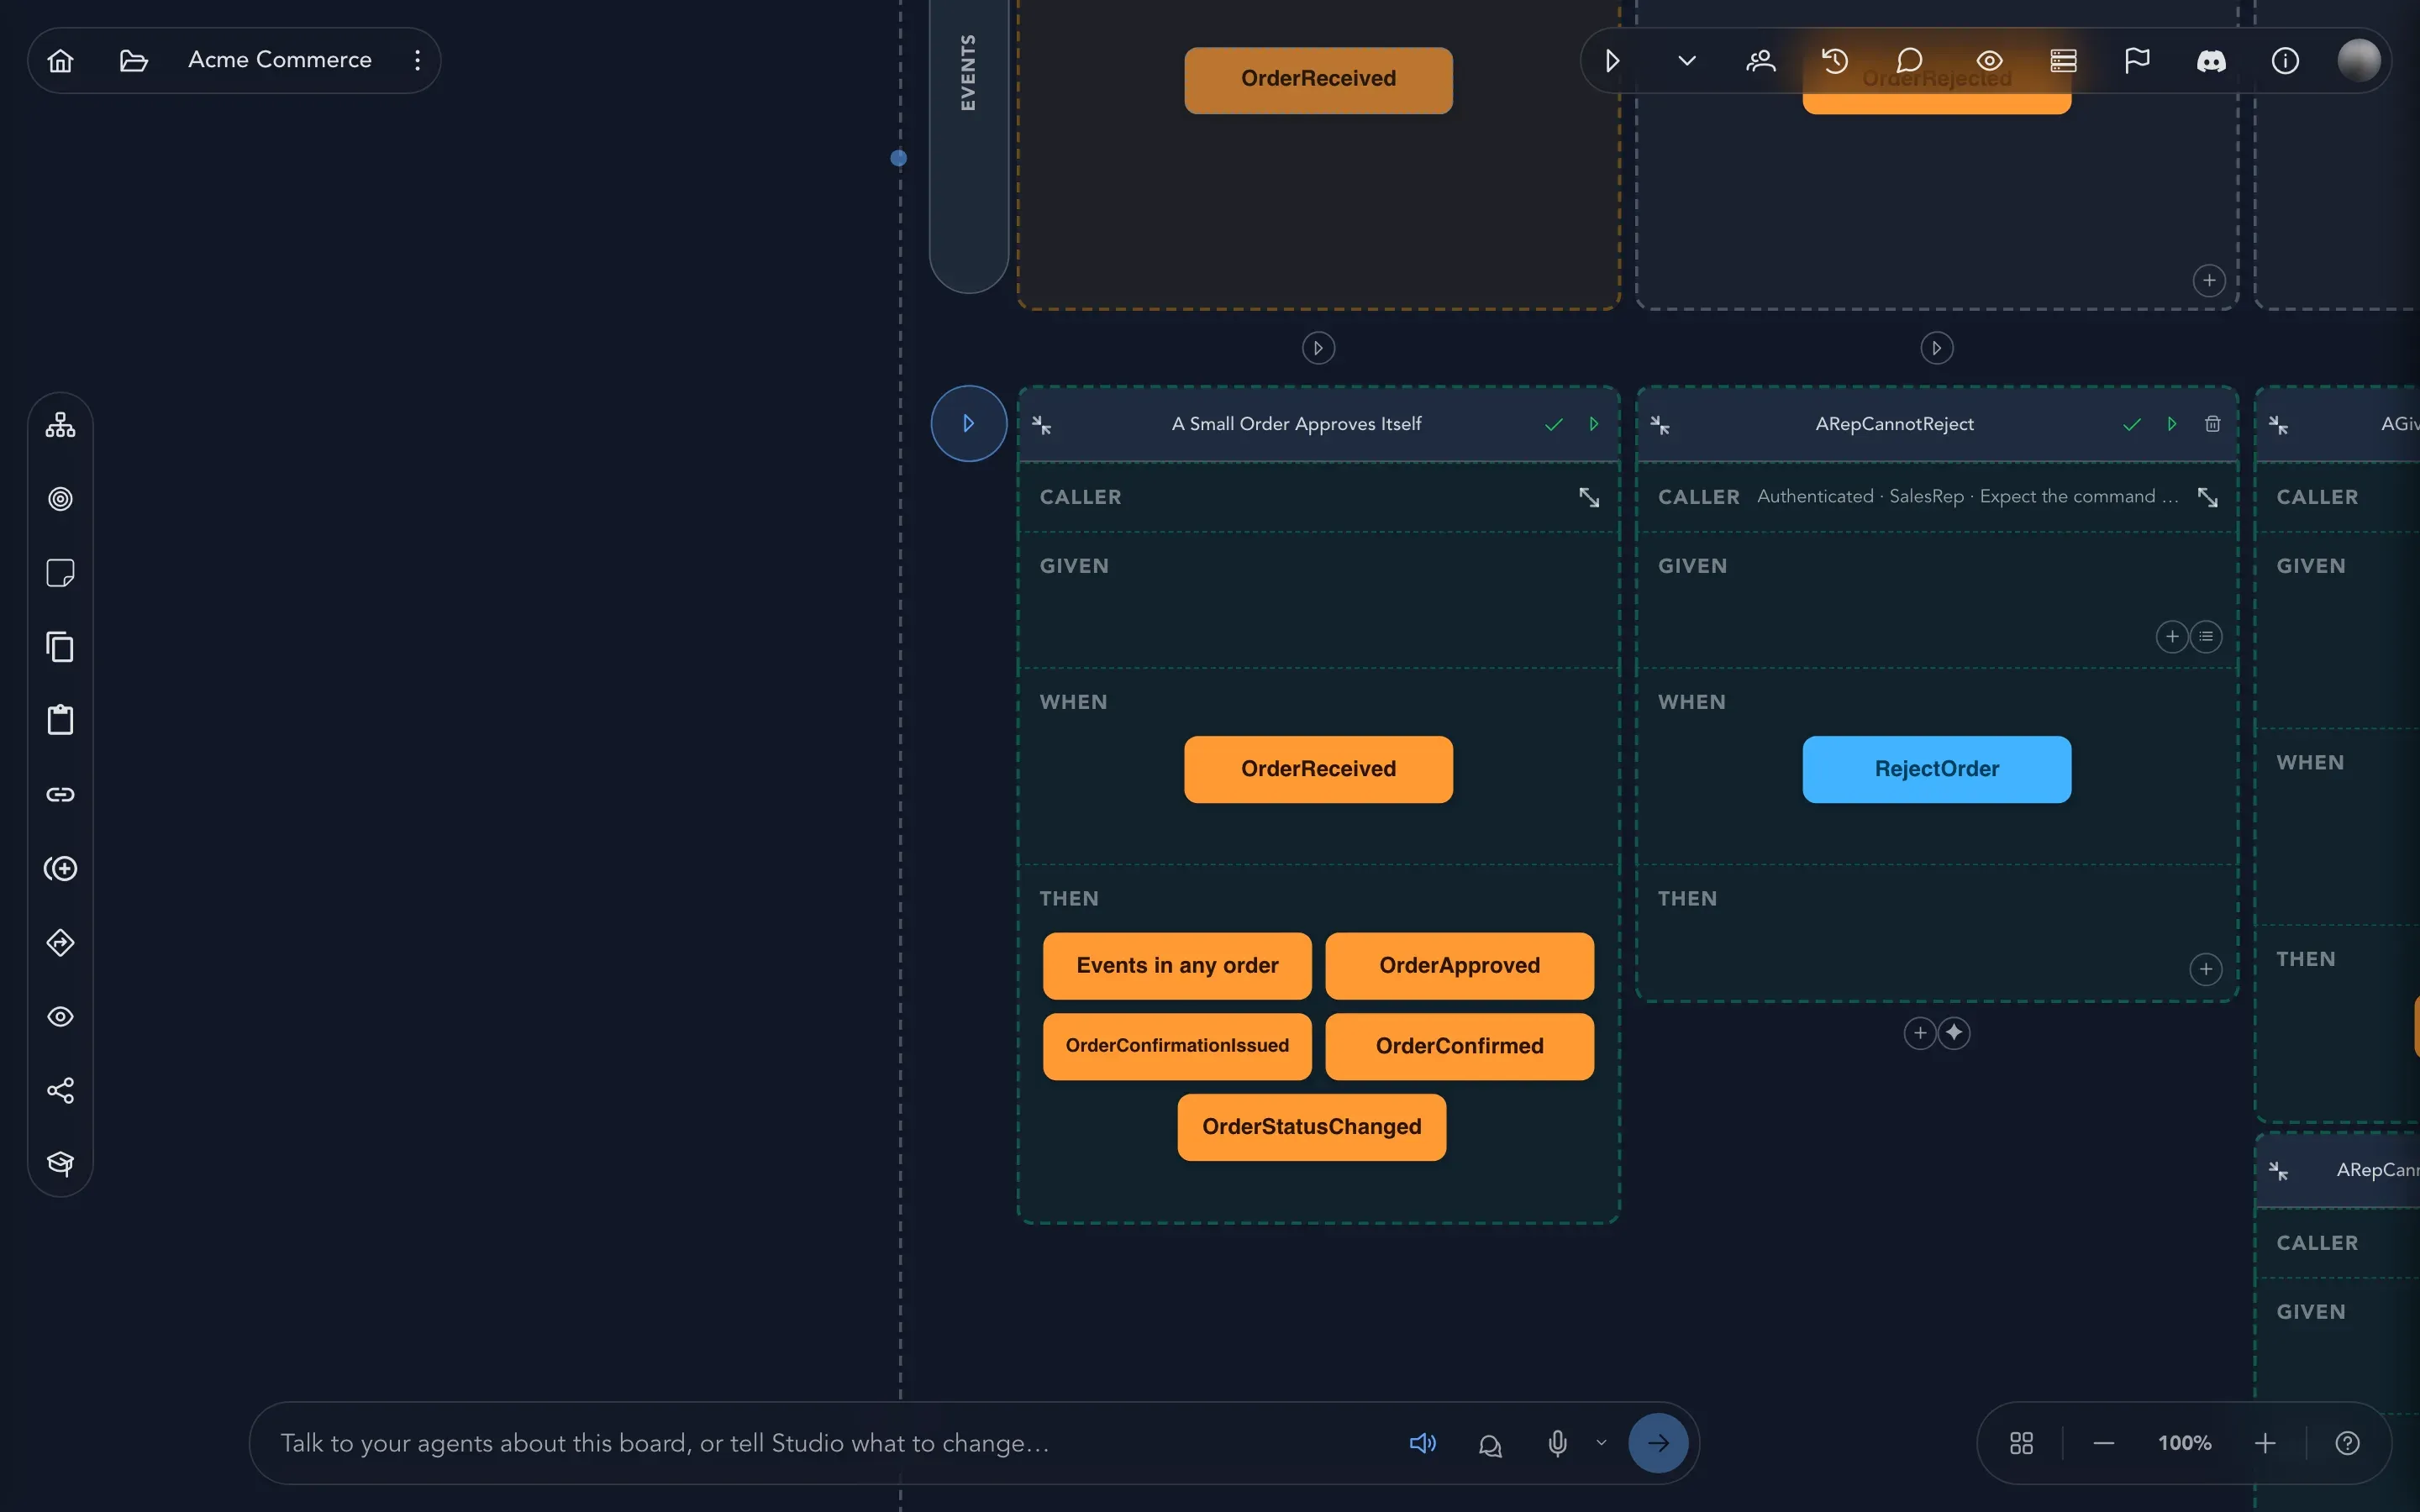
Section titled “Part 6: Write an example (2 minutes)”An example says what should happen, in the form given these facts, when this happens, then this follows. It is how you prove the model does what you meant.
-
Go back to the AddToBasket slice. Under it, select Add Specification. Double-click the name it gets, and rename it to
Adding an item puts a line in the basket. -
In the When row, select the + and choose the command AddToBasket. Open the card and enter values:
basket-1forbasketId,MUG-1forsku, and1forquantity. -
In the Then row, select the + and choose the event BasketLineAdded. Open the card and enter
MUG-1forskuand1forquantity. -
Leave Given empty: nothing needs to have happened before you add the first item.
-
Select Run specification.
Studio runs the example against your model and checks the result. When it passes, the specification shows a green mark, and its status reads Last run succeeded. If it shows a notice about missing required values, open the step it points to and fill in the property it names.
Part 7: Run it (1 minute)
Section titled “Part 7: Run it (1 minute)”Examples check a step. Play runs the whole model as a small working application, so you can try it.
-
In the top bar of the board, select Run Solution, the play button. Studio starts your model in a safe session of its own.
-
When the application appears, run the AddToBasket command with
basket-1,MUG-1and1. -
Select Read models in the Play toolbar and open BasketSize. You should see one entry for
basket-1, with alineCountof 1. Run the command again and the count goes up. -
Select Stop Solution to return to the board.
If Studio refuses to start the model, it tells you why. The usual reason is a warning on the command or event, such as a required value that nothing fills in. Fix what it names and try again. Play is a place to try things: its data lives only for the session, and it is not a deployment. See Check behavior for more.