

Add an automation
An automation is the system reacting to a fact and acting on it, with nobody pressing a button. In Acme Commerce, EmptyBasketAfterCheckout empties the basket once checkout has completed. For the idea, read Automations and translations.
Add an automation
Section titled “Add an automation”-
In the header of a feature, select Add, then Add Slice.
-
Choose Automation: System reacts to events and issues commands.
-
Name the slice, for example EmptyBasketAfterCheckout.
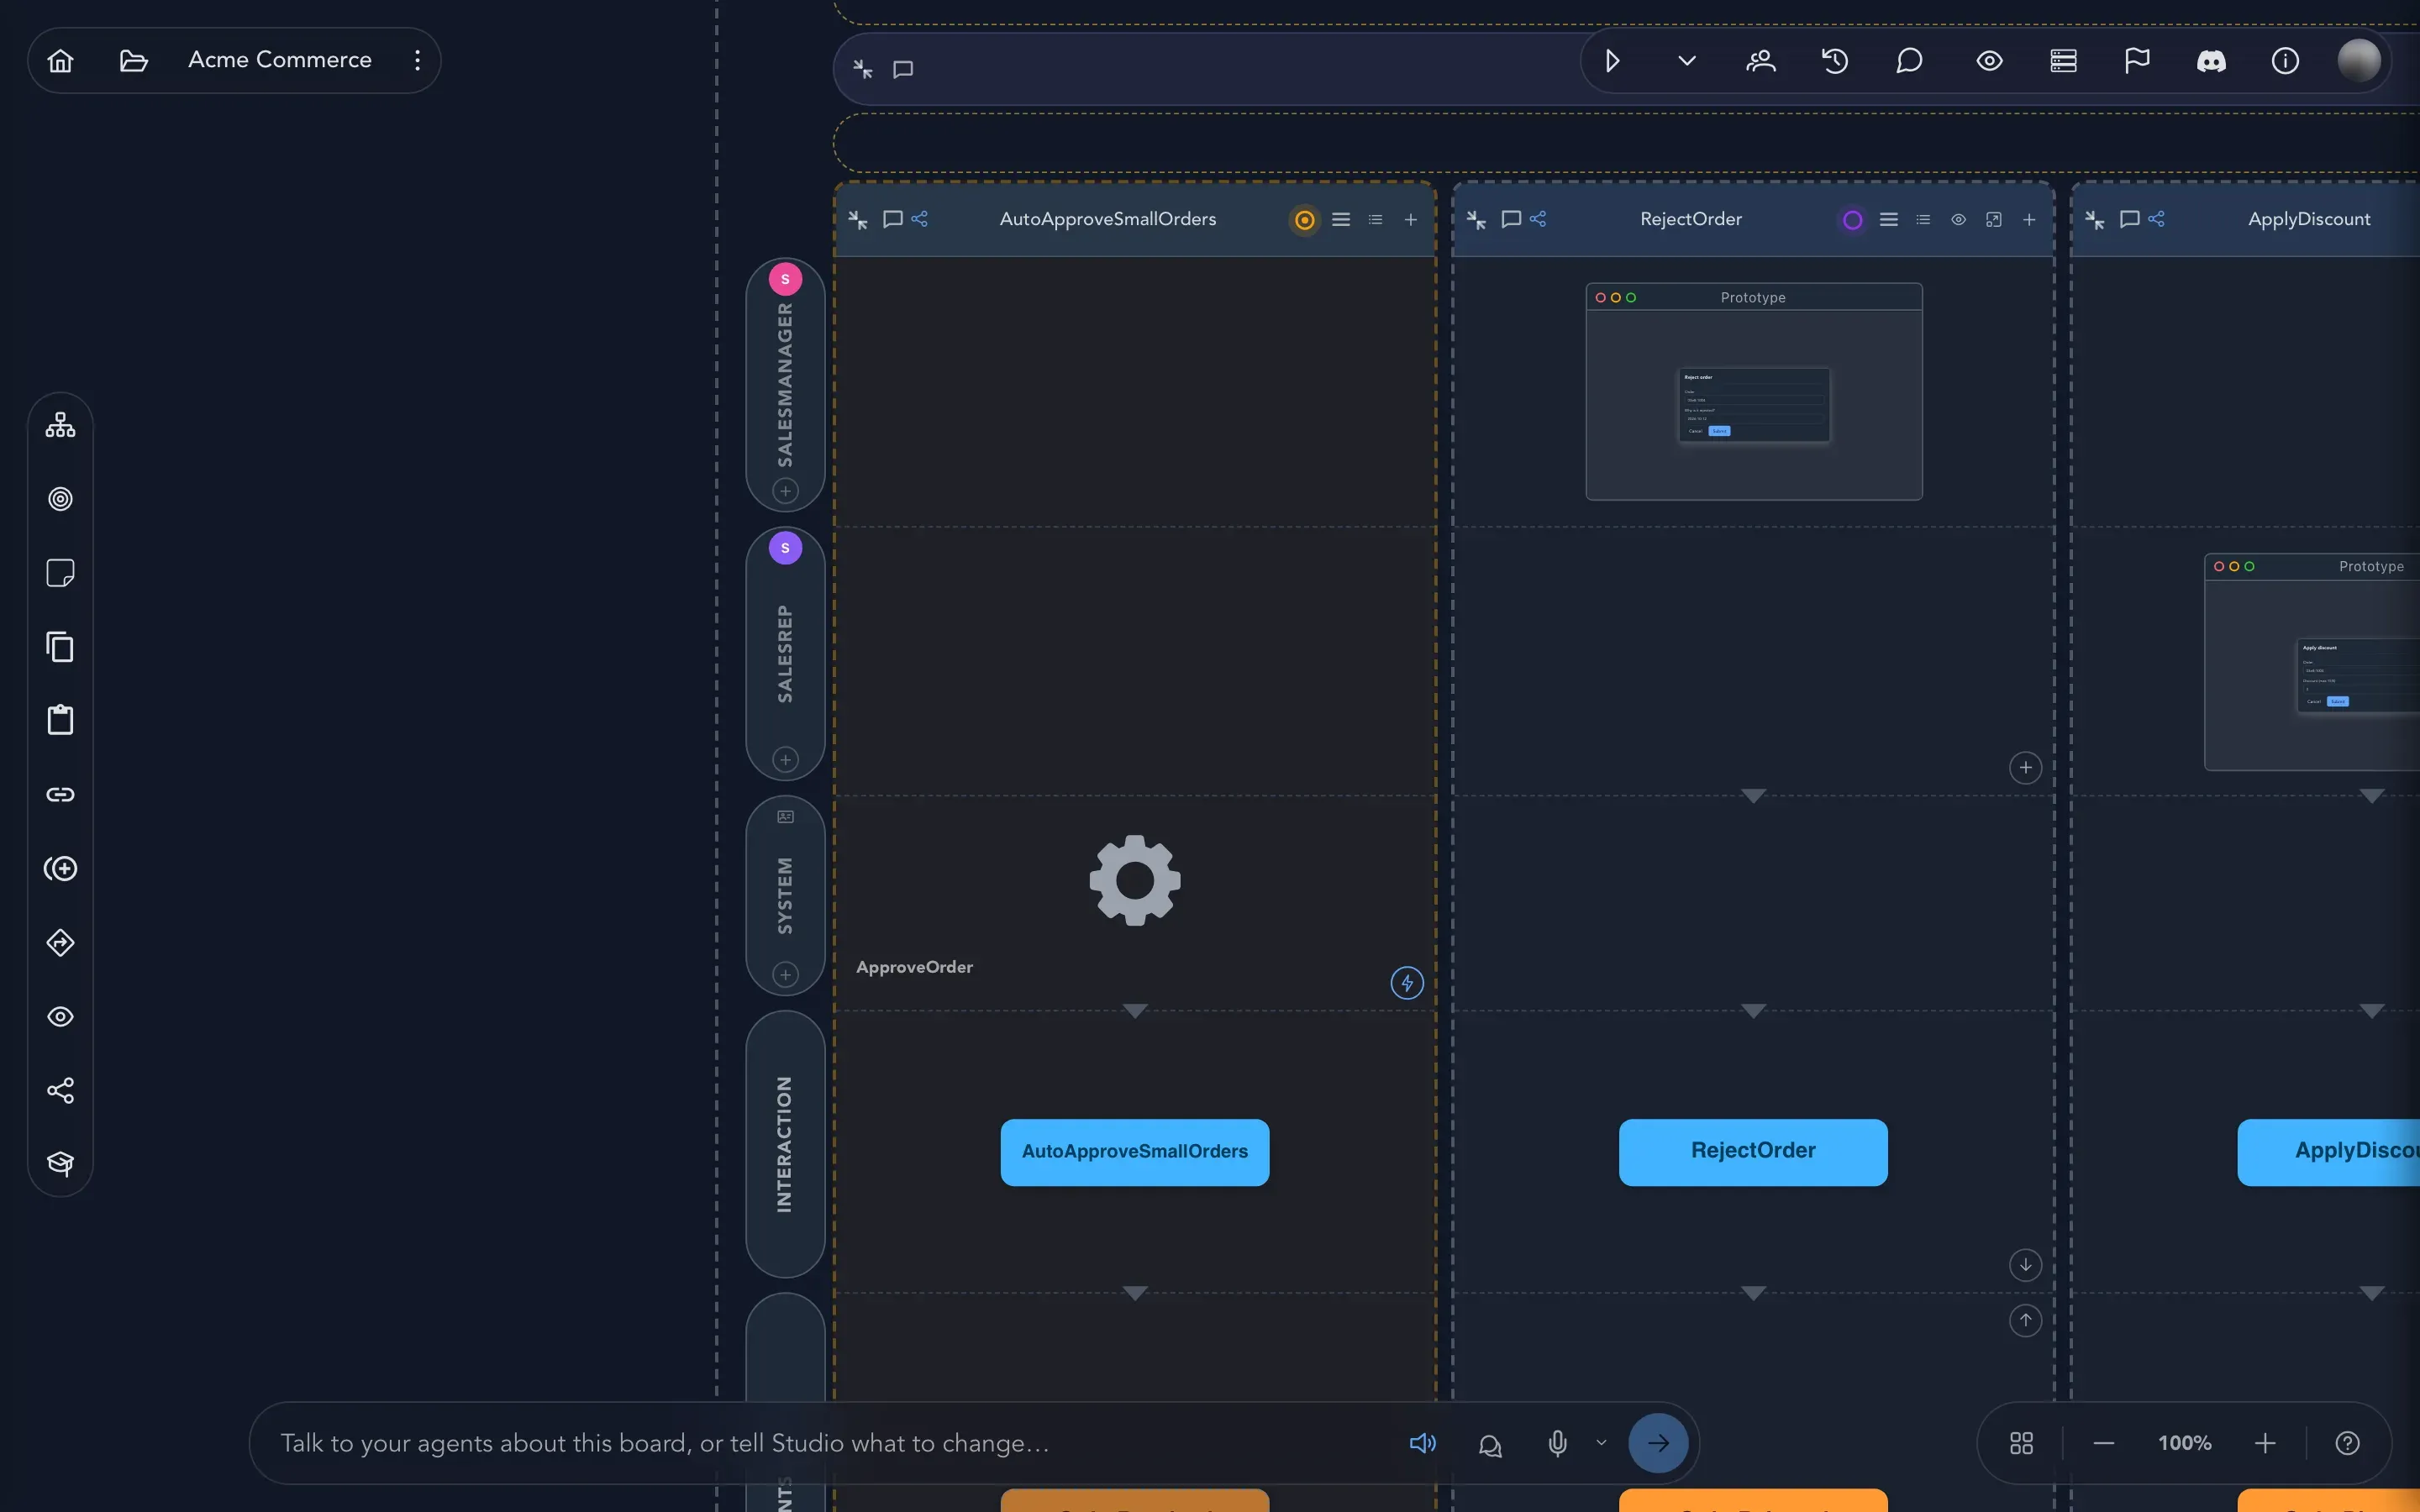
An automation has no screen and no person behind it. Its row belongs to the module’s System Actor, drawn with a cogwheel. A module has exactly one system actor, and every automation in the module shares that row. See Actors and personas.
Choose what triggers it
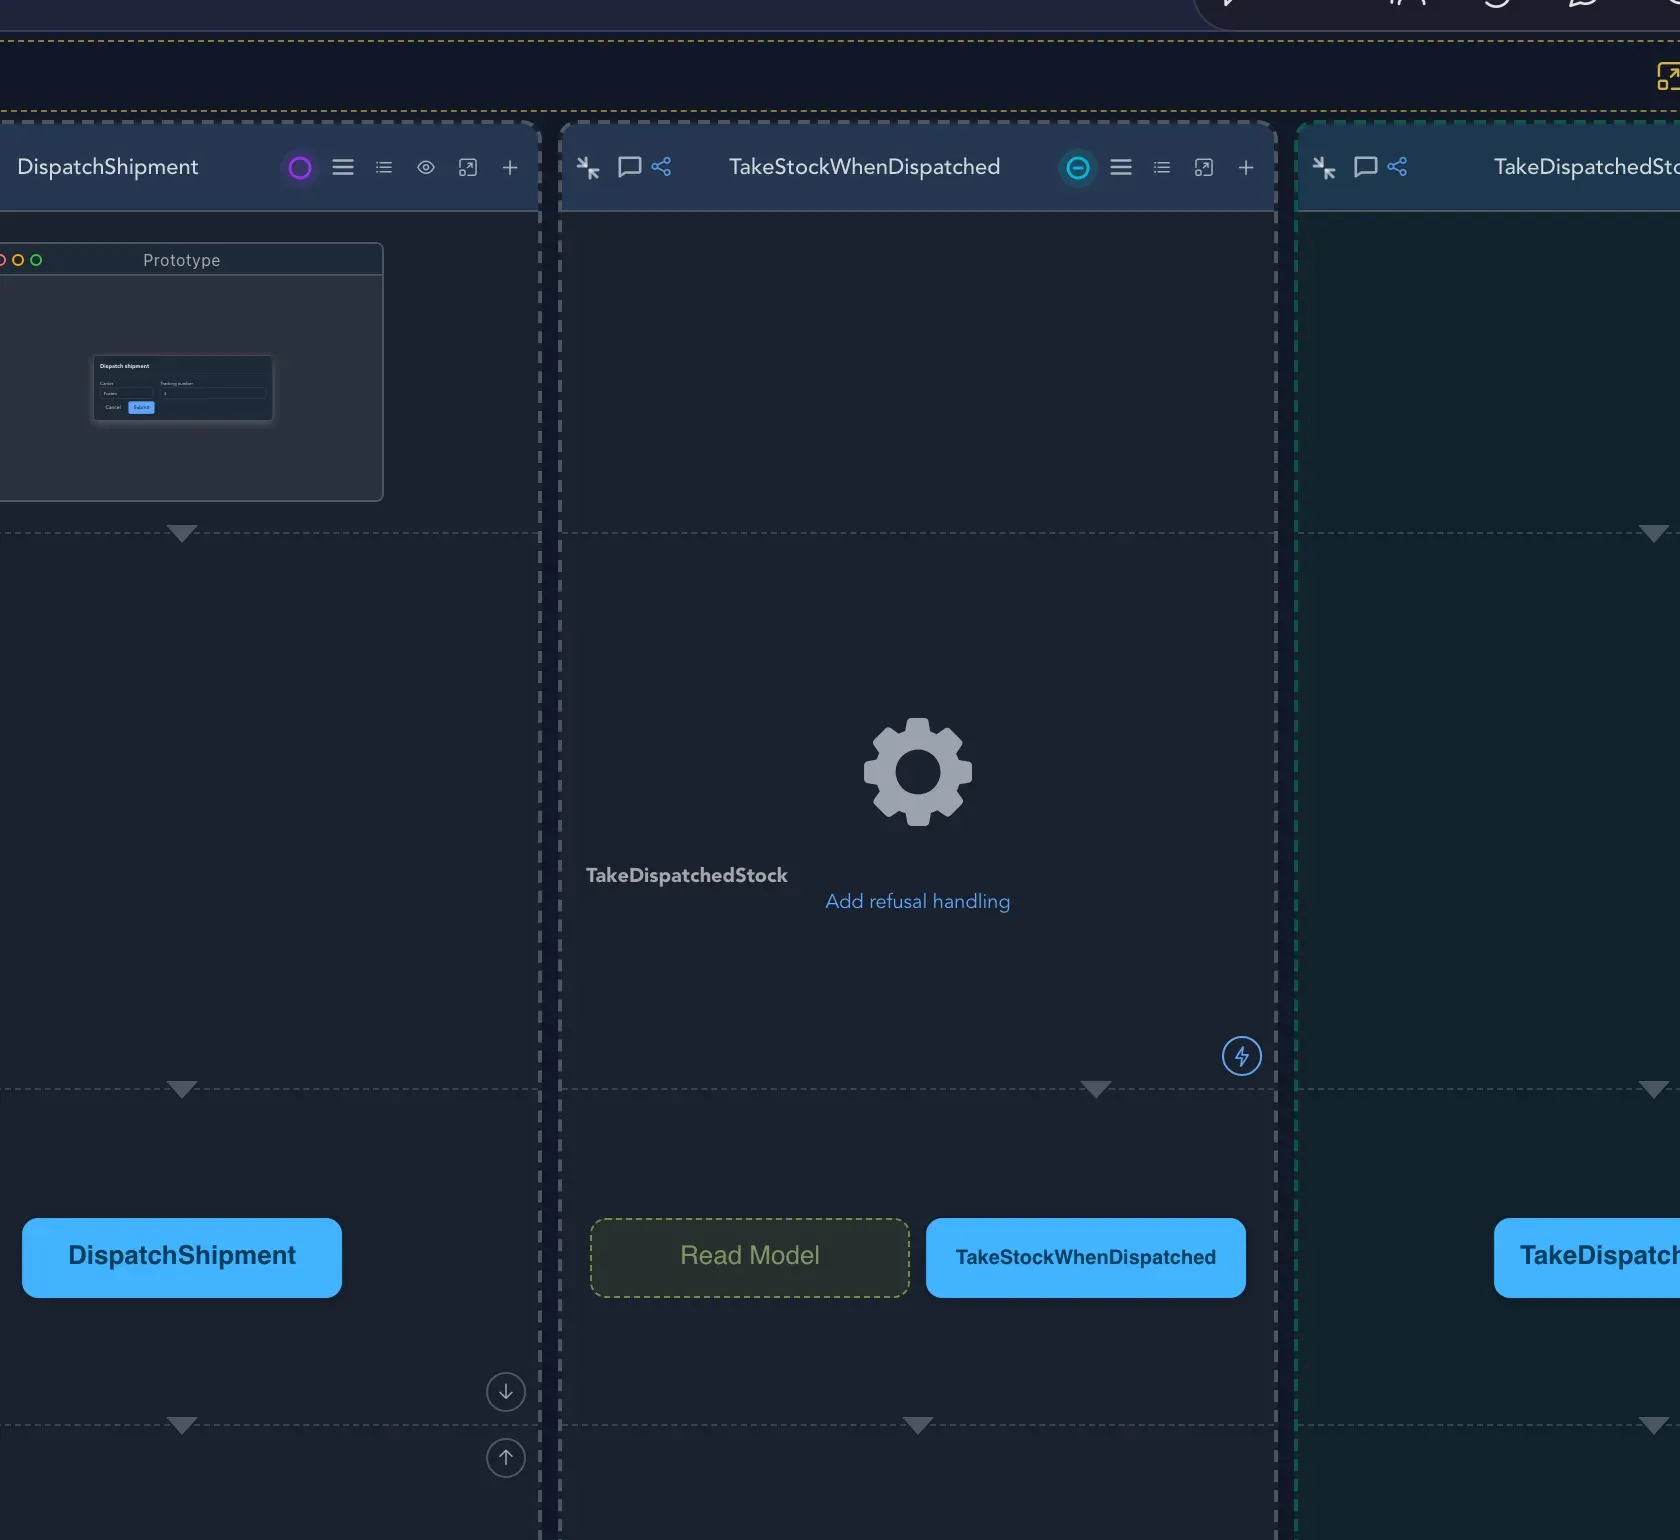
Section titled “Choose what triggers it”An automation needs to know when to run. The small lightning bolt in a circle, in the lower corner of its row, is the trigger. In the picture, TakeStockWhenDispatched sits on the Warehouse board between DispatchShipment and TakeDispatchedStock: the cogwheel is the system actor, TakeDispatchedStock is the command it issues, and Add refusal handling is the link you use below.
-
Select Add trigger.
-
Choose a kind:
- Event: when a specific event happens, such as CheckoutCompleted.
- Timer: on a fixed schedule, such as a nightly clean-up. Pick a schedule template or describe your own in plain words.
- Custom: describe the behavior in your own words and let generation use the description.
-
To change it later, use Change trigger type, Edit trigger or Remove trigger. For an event trigger, Edit trigger opens Event trigger: choose the event under Select trigger event, then select Save. Delete trigger takes the trigger away, and Cancel leaves it as it was.
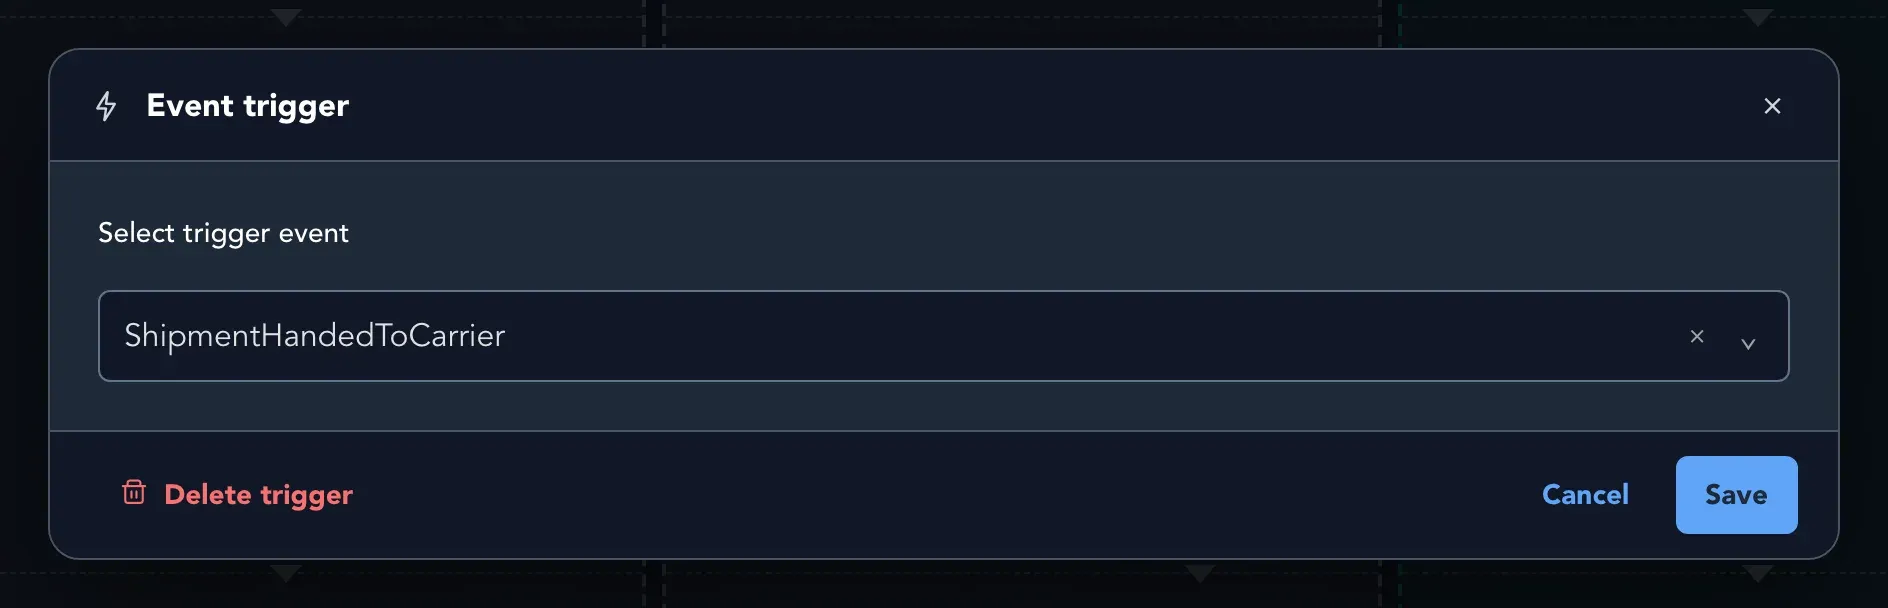
Most of the time an event is enough: something happened, so something else should happen.
Say what happens when a command is refused
Section titled “Say what happens when a command is refused”An automation usually issues a command, and a command can be refused. For each one you can say what the automation does about it.
-
Select Add refusal handling under the command the automation issues.
-
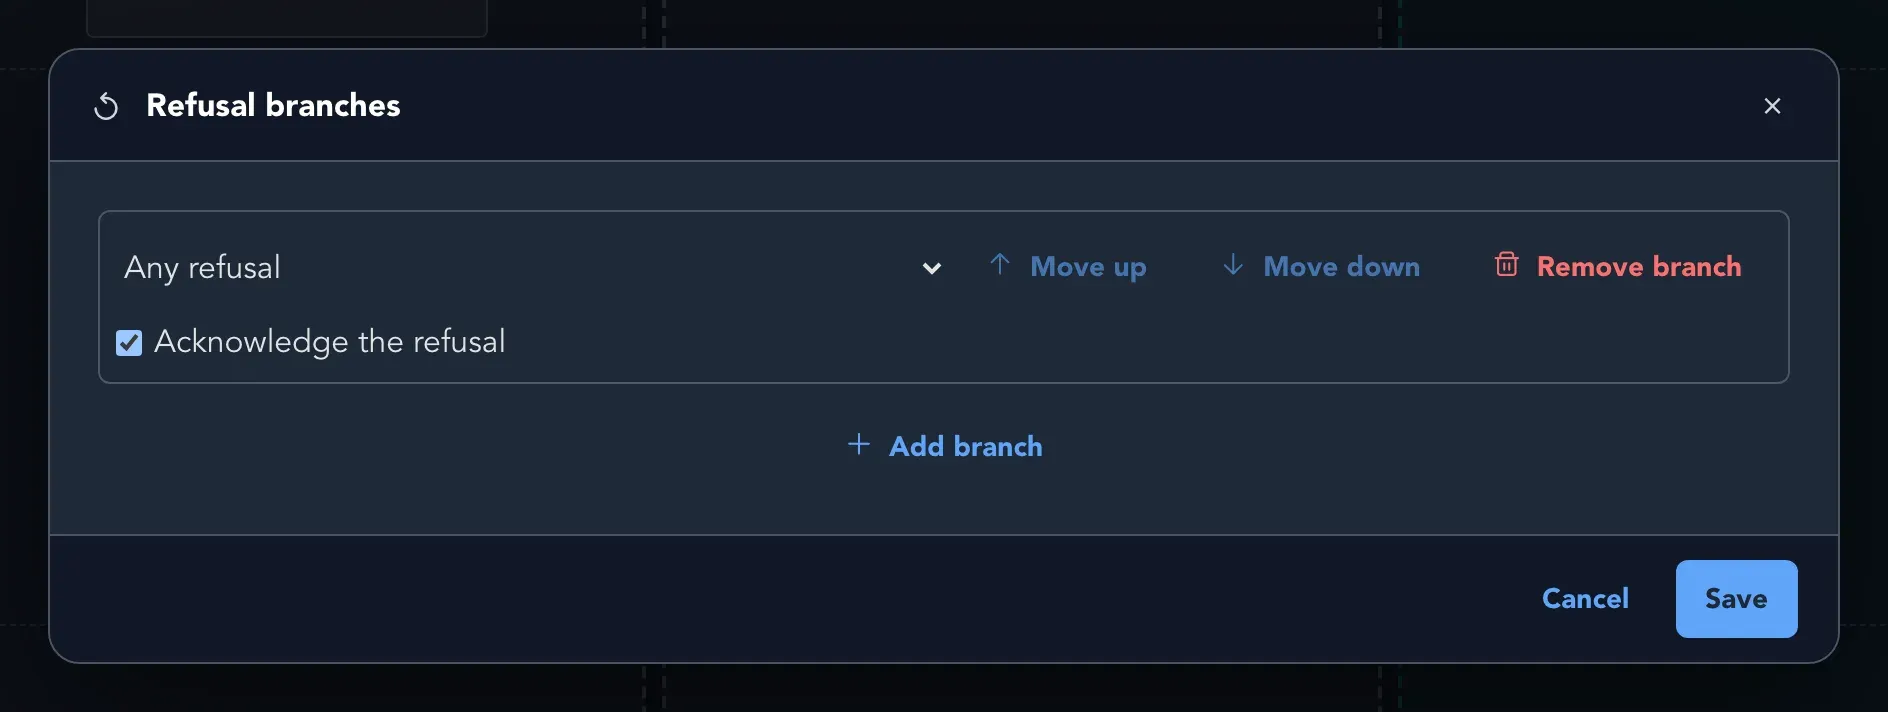
In Refusal branches, pick the kind of refusal: Any refusal, Validation, Constraint or Authorization.
-
Choose Acknowledge the refusal, or add an event with Add event and give the values it carries. Add branch adds a branch for another kind of refusal.
-
Select Save. With no branches, a refusal of the command is not answered.
Check that it worked
Section titled “Check that it worked”The slice shows the cogwheel row of the system actor, its trigger and, below, the event it produces.
Related pages
Section titled “Related pages”- Commands and rules: the commands an automation issues.
- Translations and public events: when the fact comes from another area.
- Check behavior: prove the automation reacts as agreed.
- Slices: the four slice types.