

Policies and roles
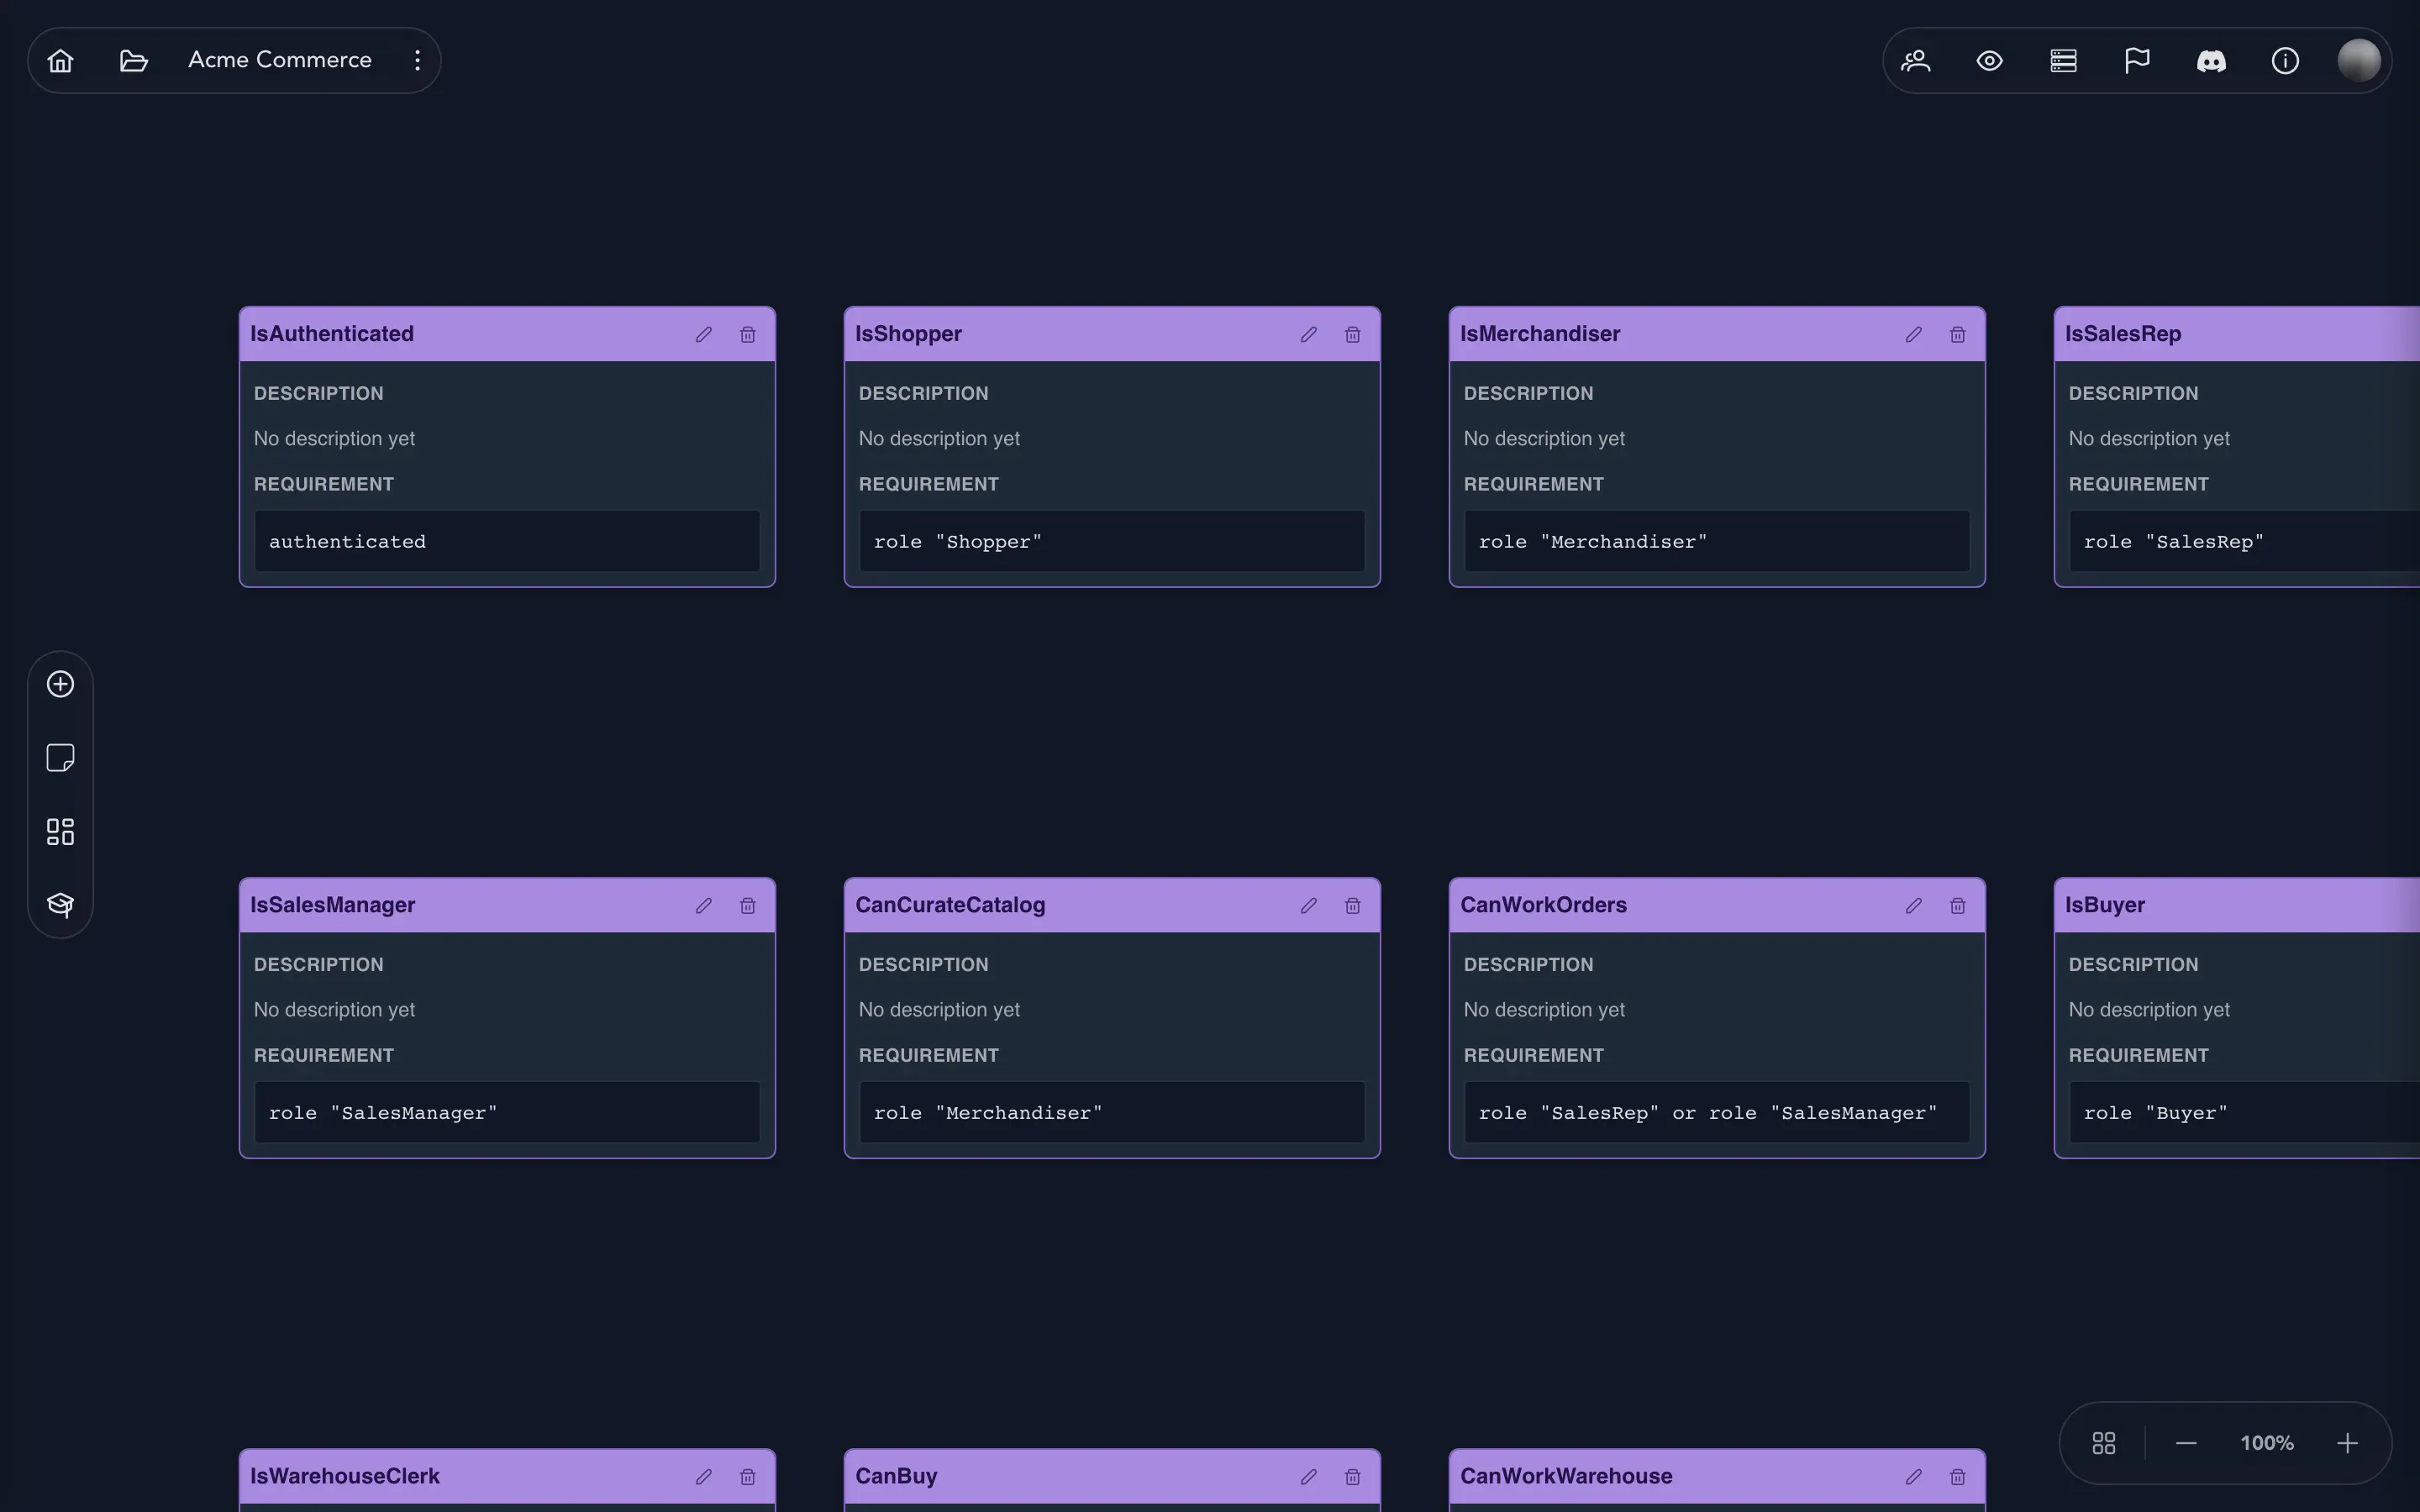
Two ideas answer the question who may do what? A role is something a person holds, such as Shopper or SalesManager. A policy is a named rule that admits some callers and turns the rest away, such as CanWorkOrders, which admits a SalesRep or a SalesManager.
Both belong to the whole application, not to one domain. Commands and queries ask for a policy by name, so a rule is written once and every command that needs it points at it.
Add roles
Section titled “Add roles”Roles are managed in the application’s settings.
- In the project drawer, select the gear on the application row to open Application Settings.
- Open the Roles tab.
- Select Add Role, enter a Name and a Description, and select Add.
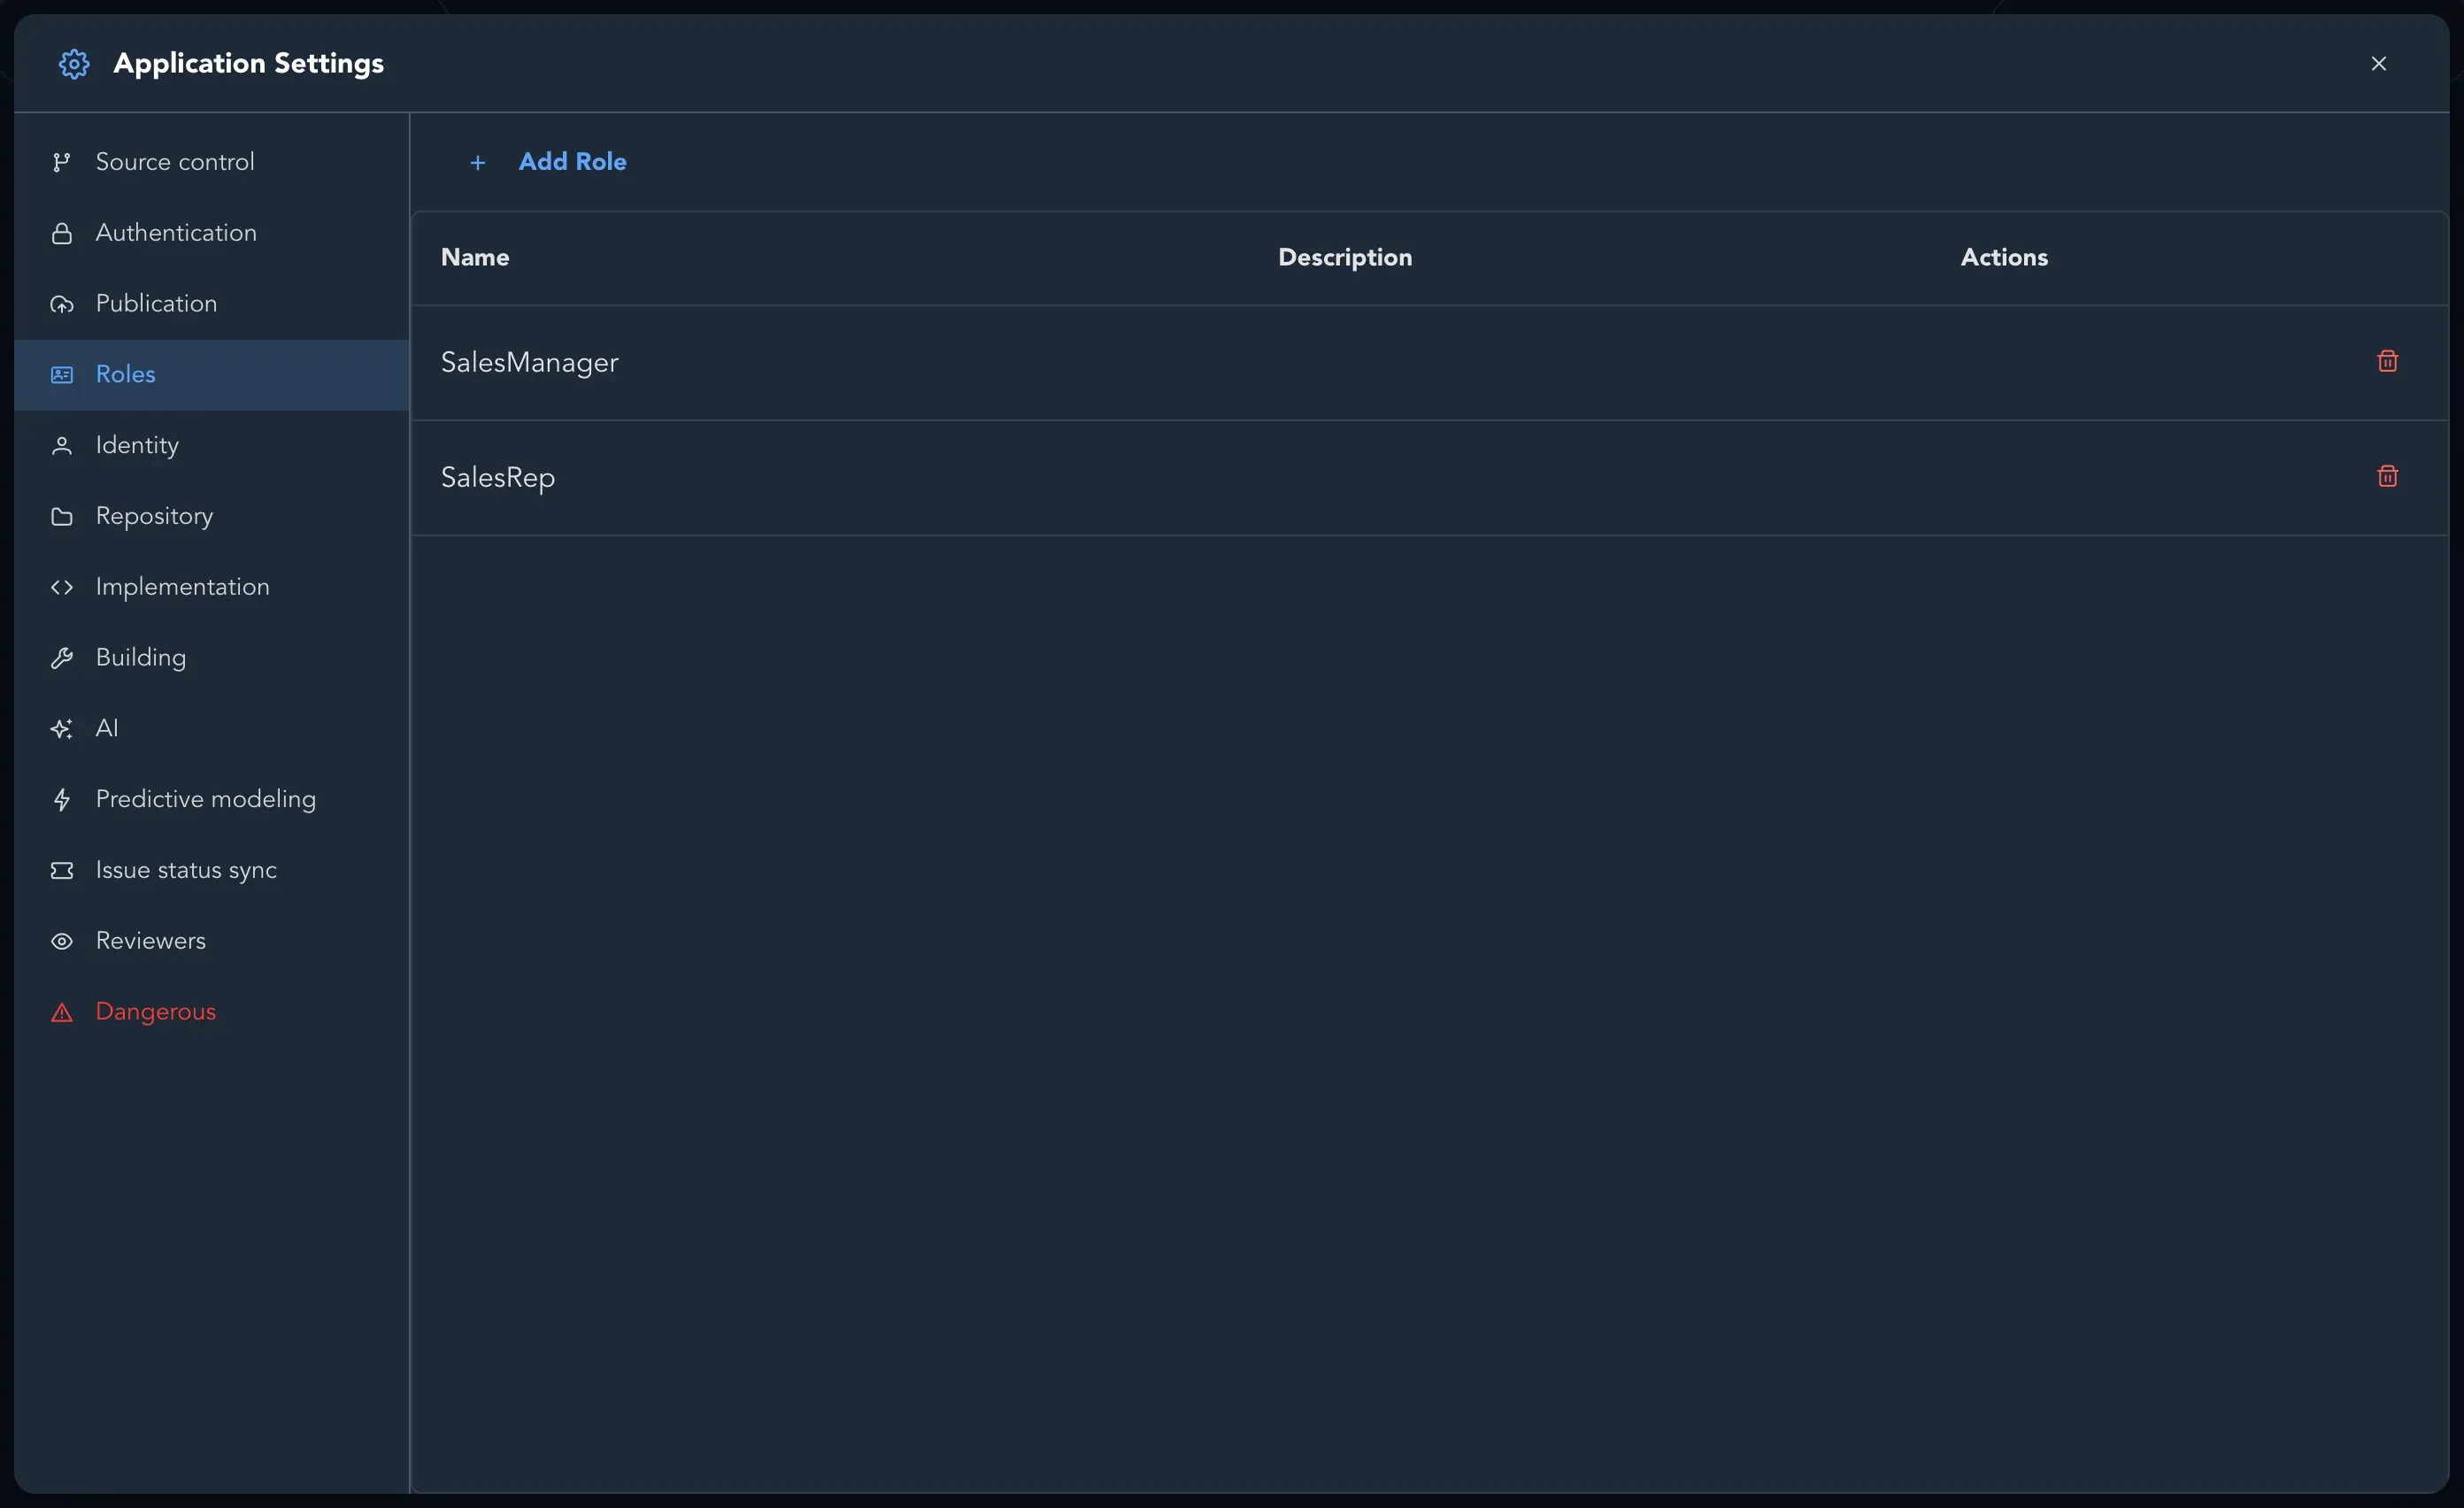
To remove a role, select Remove beside it and confirm. Roles are used by personas, by policies and by specifications that name a caller’s roles.
Add a policy
Section titled “Add a policy”Policies live on their own canvas under the application.
- In the project drawer, select Policies under your application.
- Select Add Policy. A card named NewPolicy appears. If that name is taken, the new one is numbered, such as NewPolicy2.
- Double-click the name and type what the application calls it, for example
IsSalesManager. Press Enter. - Select Edit policy. In the Requirement pane, select Add condition and choose its type: Authenticated, Role or Claim.
- Select Save requirement.
The card shows the requirement the way Screenplay writes it, such as role "SalesManager", so what you read on the canvas is what the model says. A policy with no conditions yet says so, instead of showing an empty box.
Combine conditions
Section titled “Combine conditions”Select Add group to combine conditions. Groups are joined by and or or. A group with more than one condition is shown in parentheses. For example, a policy can admit an accountant, or anyone whose department claim matches the department of the invoice.
Decide with custom logic
Section titled “Decide with custom logic”When a rule is more than conditions can say, a policy can be decided by custom logic instead. The card then shows C# decides, and Edit description and logic opens an editor with the description beside the code. This is a developer’s task, and most policies need only conditions.
Use a policy
Section titled “Use a policy”You do not apply a policy on this canvas. Commands and queries (or their feature or module) ask for a policy by name where you model them on the event model board. A persona can also state the policies that describe it.
Arrange and remove
Section titled “Arrange and remove”- Add Sticky Note puts a note anywhere on the canvas, in any of six colors.
- Arrange, the last tool in the toolbar, tidies the cards into columns.
- To remove a policy, select the cross in its header. You are asked first, because commands and queries may be asking for it by name.