

Add modules and features
A module is one area of your business, and a feature groups related behavior inside it. In Acme Commerce, the Storefront has features such as Basket, Browse, Checkout and MyOrders. This page shows how to build that structure. For why the board is shaped this way, read Modules and features.
Add a module
Section titled “Add a module”-
Select Add Module (the sitemap icon) in the toolbar on the left edge of the board. A new, empty board points you to it.
-
Studio places the module near the middle of your view. Double-click its name to rename it.
-
To drag a whole collection of modules somewhere else, use its handle, labeled Drag to move collection.
To add another module next to an existing one, open the Add menu in the module header and choose Add Module.
Add a feature
Section titled “Add a feature”-
Open the Add menu in the header of a module.
-
Choose Add Feature.
-
Double-click the new feature’s name to rename it.
Features can nest. Open the Add menu in a feature’s header and choose Add Sub-feature to put a smaller group of behavior inside it.
Work with a feature
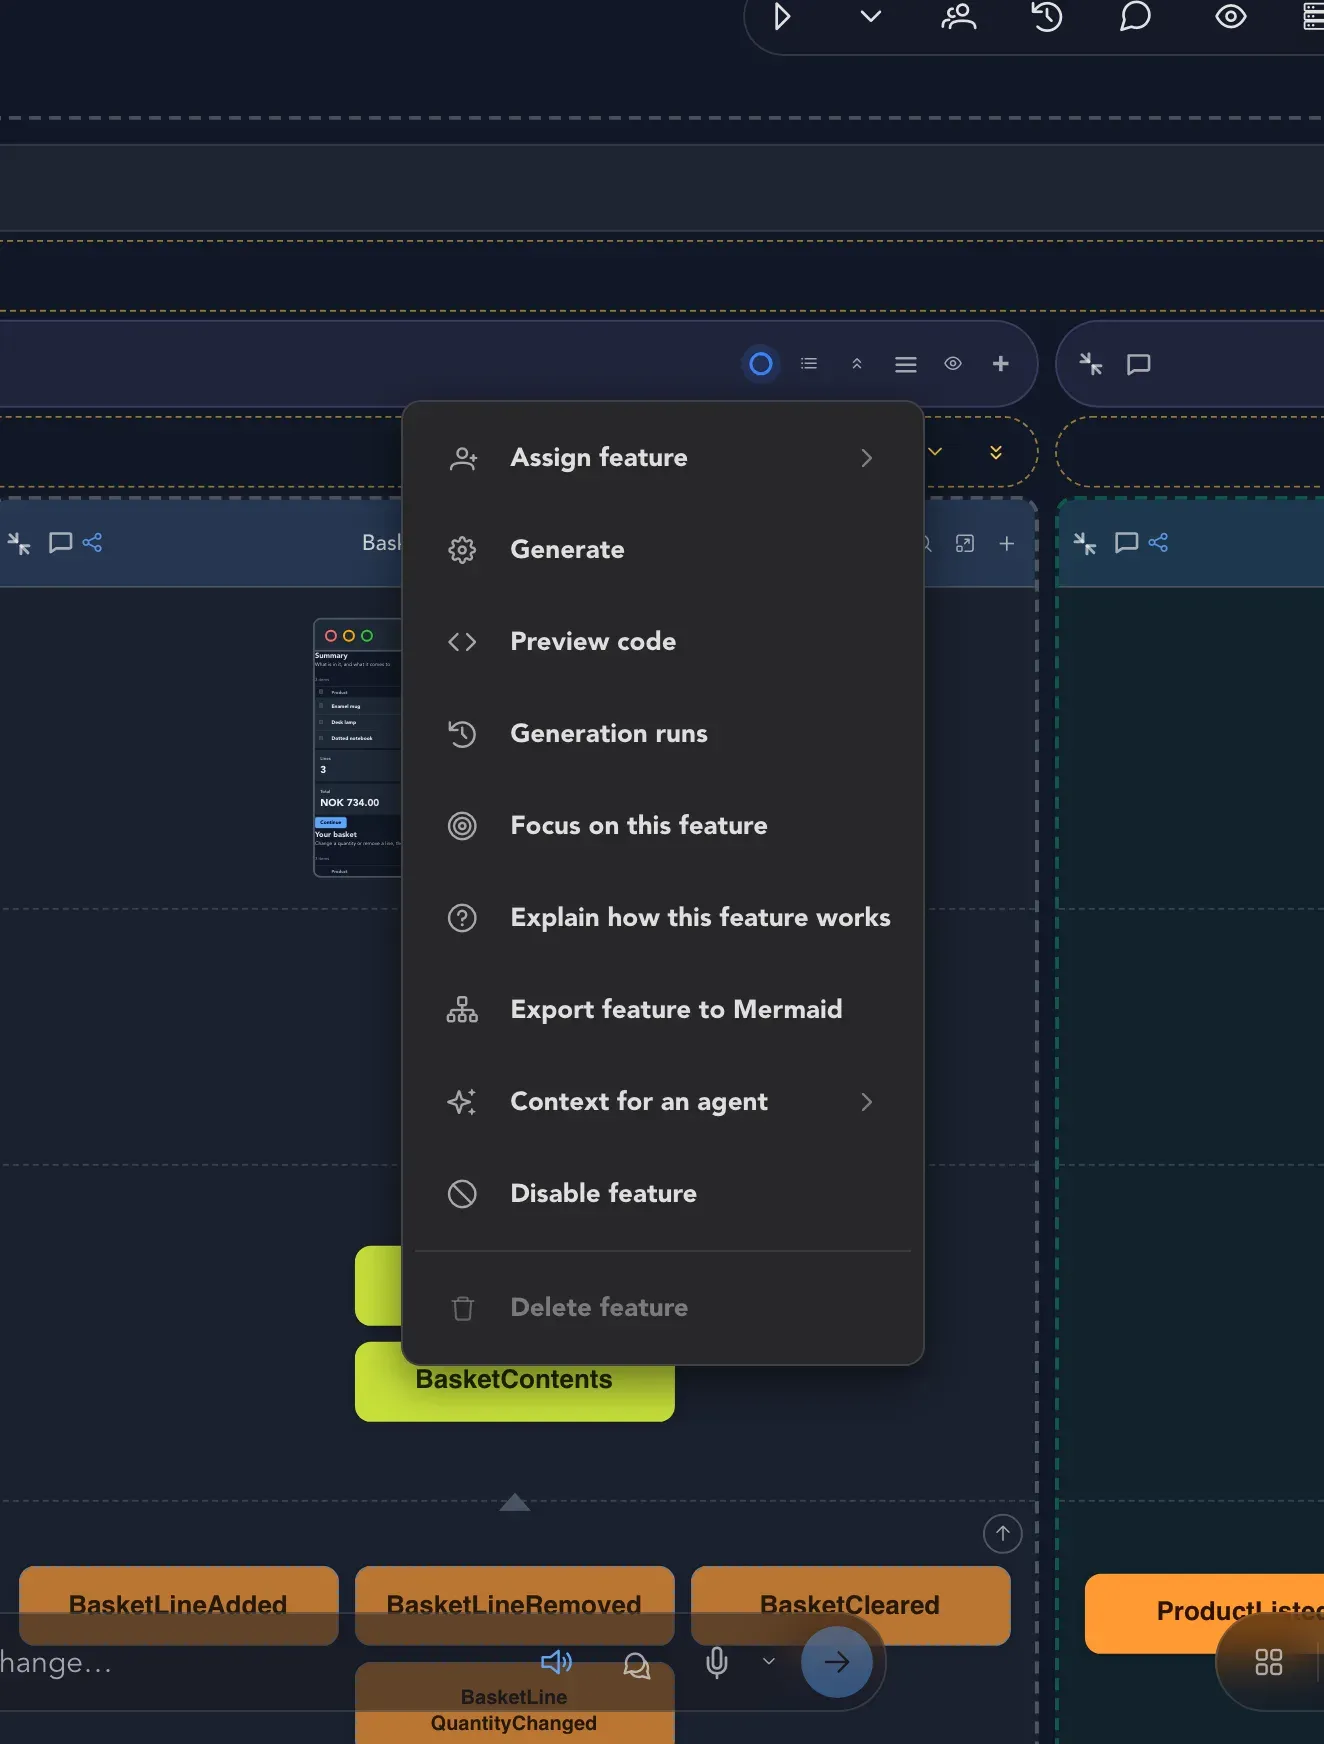
Section titled “Work with a feature”A feature’s options menu holds the actions for the whole group.
| Choose | To |
|---|---|
| Focus on this feature | Draw only this feature. See Find your way around a board. |
| Assign feature | Give the whole feature to a team member. |
| Generate | Ask AI to fill the feature with slices. See Work with AI. |
| Preview code and Generation runs | Look at generated code and earlier generation runs. See Build and deliver. |
| Explain how this feature works | Ask an agent for an explanation. It appears only when AI is available. |
| Export feature to Mermaid | Download the feature as a diagram. |
| Context for an agent | Copy or download the feature’s description for an external AI tool. |
| Disable feature | Turn the feature off without deleting it; Enable feature turns it back on. |
| Delete feature | Remove the feature. |
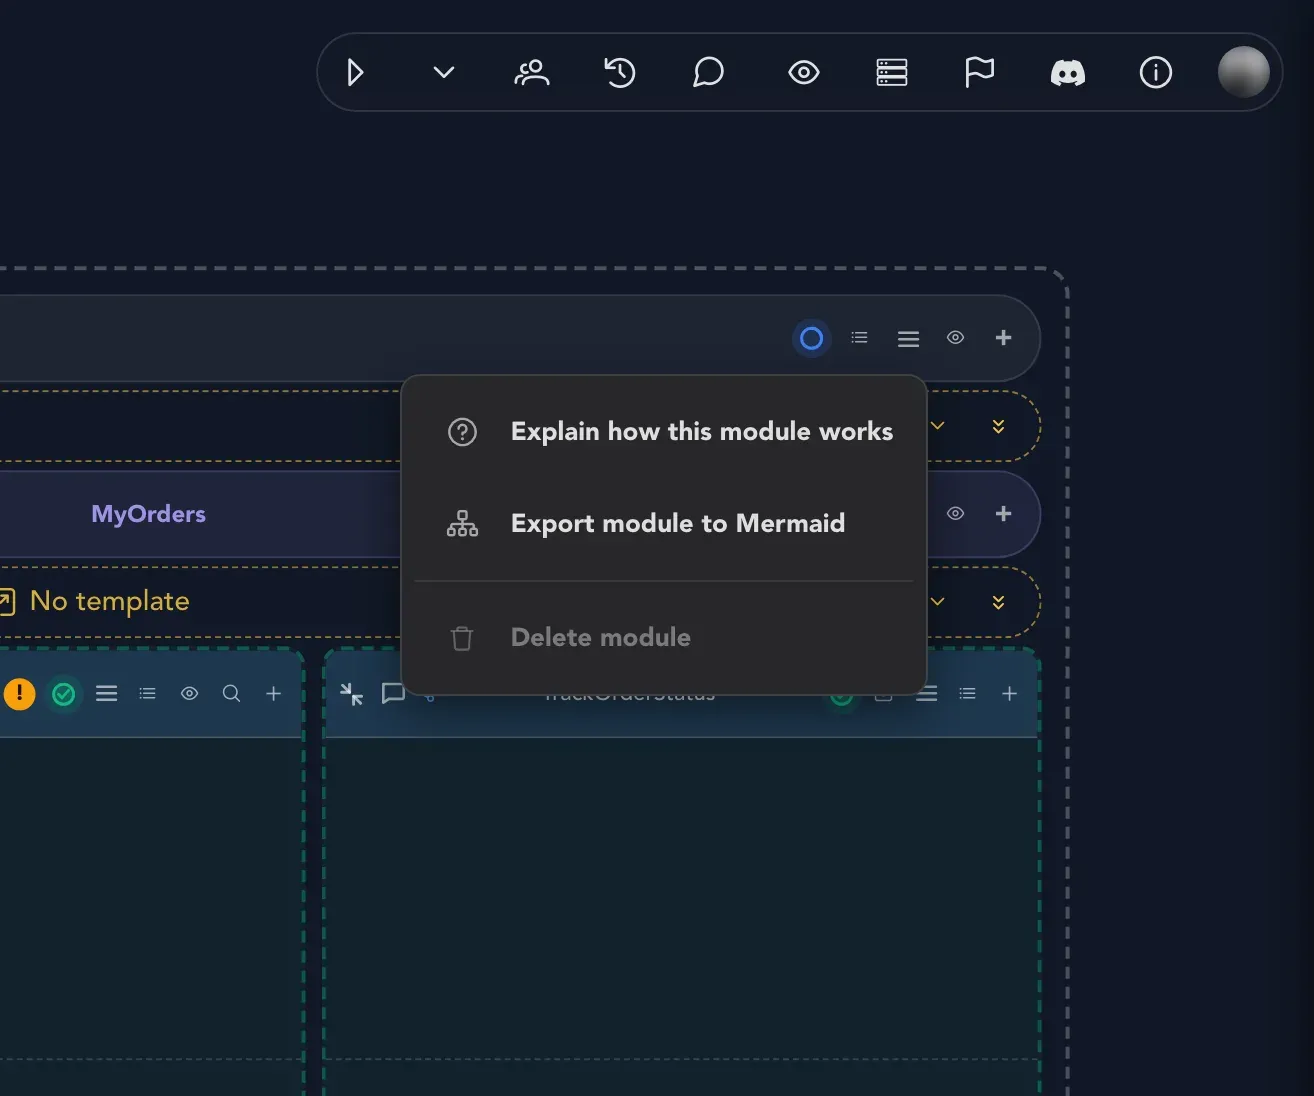
A module’s menu has Explain how this module works, Export module to Mermaid and Delete module.
Set the status of a feature
Section titled “Set the status of a feature”A feature can be raised to Draft, Analysis or Ready for implementation. The working statuses, such as In progress and Done, are set on each slice. All statuses are listed in Statuses and colors.
Connect two modules
Section titled “Connect two modules”Modules do not share a database. They only share facts. Draw the connection first, then name the fact.
-
Find the connect dot on the edge of the module that produces the fact.
-
Drag from the dot to the other module. A line follows the pointer. Drop it on the module that needs the fact, and the flow is drawn.
-
On the slice in the receiving module, select the + on its row and search for the event. Pick it. The slice now refers to the other module’s event.
-
Hover the reference. The rest of the board dims, leaving the event and the slice that produces it.
For facts that cross between applications, see Translations and public events.
Check that it worked
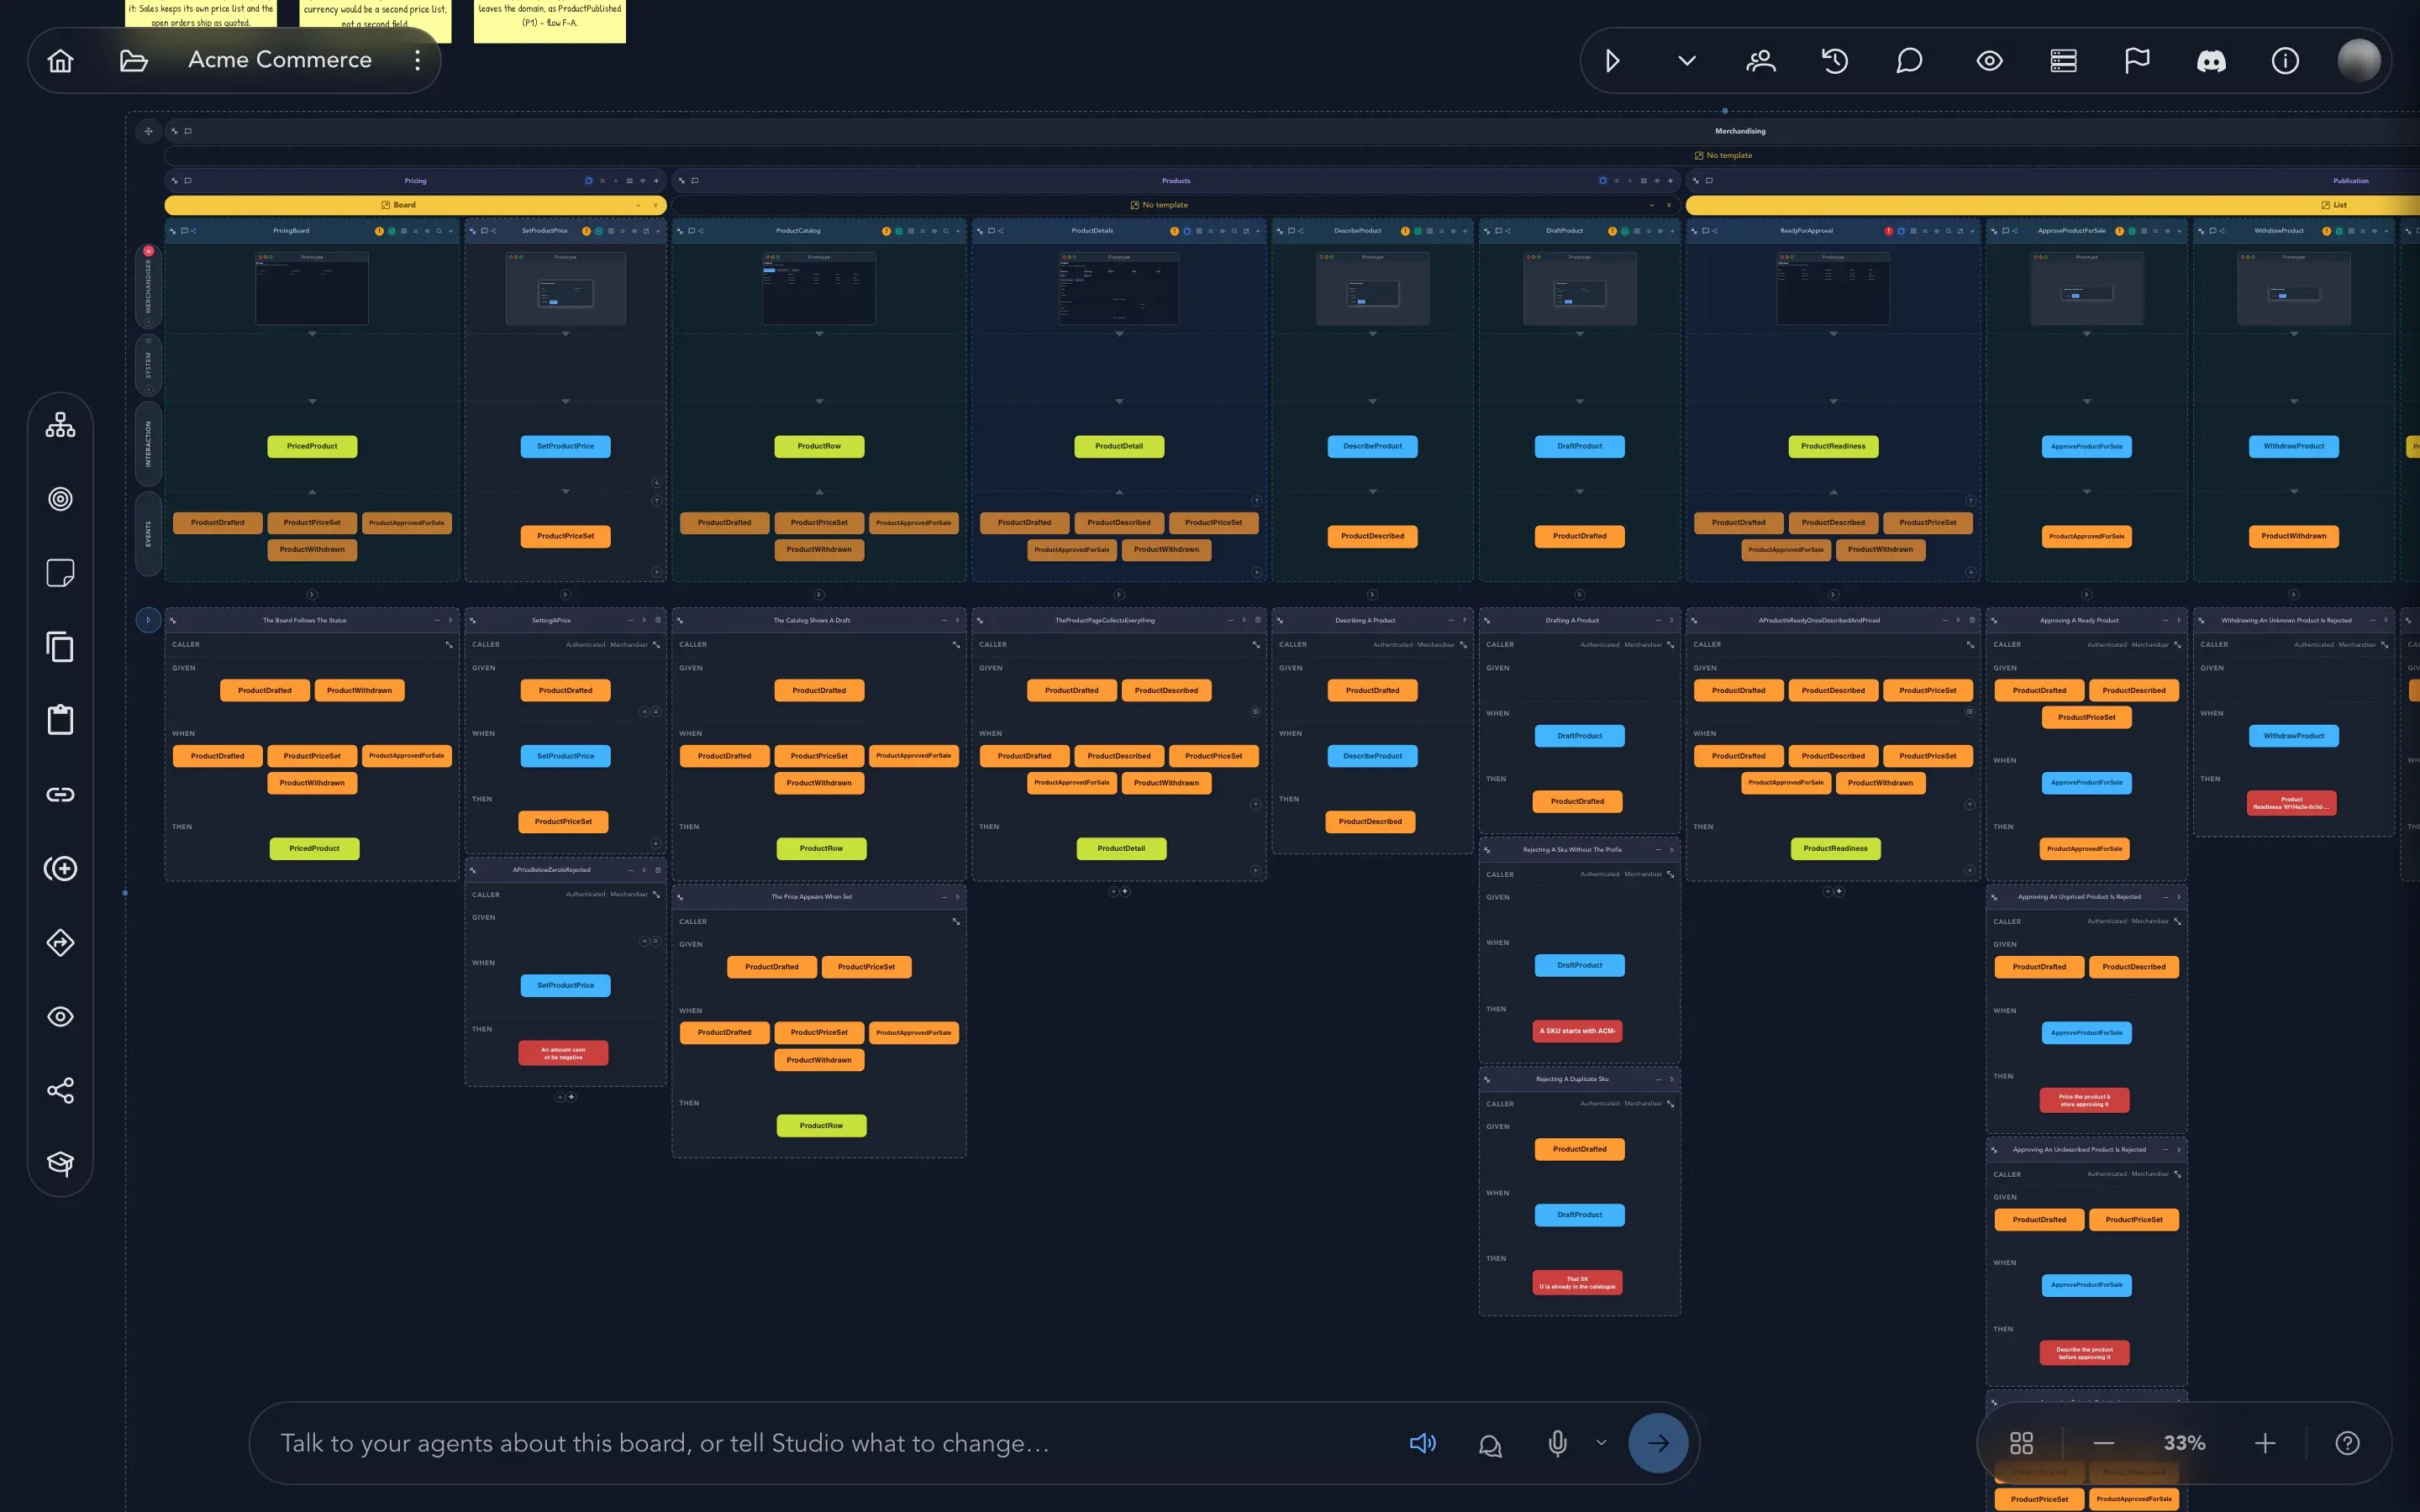
Section titled “Check that it worked”Your module shows up on the board with its features beneath it, and a connection draws a line between the two modules. Open a feature’s header to see its Add menu, comments and status.
Related pages
Section titled “Related pages”- Slices: add behavior to a feature.
- Find your way around a board: focus on one feature when the board gets big.
- Copy, paste and duplicate: copy a feature into another module.
- Modules and features: the idea behind the structure.