

Connect a repository
Every project has a repository: the place where Studio commits generated code, and where a board can keep a copy of its model. By default that is a local repository kept by Studio. Connect a GitHub repository to get branches and pull requests, to keep a board in sync with Git, and to create issues.
Before you start
Section titled “Before you start”- A maintainer of your organization has connected GitHub once, under Settings > Integrations > Source Control, with Connect GitHub. That installs the Studio GitHub App on the GitHub accounts your code lives in. Studio keeps no personal token. See Connect GitHub for the organization side.
- You are allowed to change the project’s settings.
- The GitHub App installation can reach the repository you want. If The installation cannot reach any repository shows up, choose which repositories the installation can reach on GitHub.
Connect a GitHub repository
Section titled “Connect a GitHub repository”-
Open Project Settings and select the Source control tab.
-
Under Source control provider, choose GitHub.
-
If your organization has more than one GitHub installation, choose one under Installation.
-
Under Repository, choose the repository from the list, then select Connect repository.
The tab then shows the Connected repository and tells you where it stands:
- Ready to publish generated branches. Everything works.
- This installation needs to be reapproved on GitHub before Studio can publish generated branches. An organization admin on GitHub must grant the widened permissions. Review on GitHub takes you there.
- This installation is no longer available on GitHub. Reconnect the repository to continue.
- Studio cannot read this installation’s settings on GitHub, so it cannot tell whether it grants what code generation needs.
If your organization has not connected GitHub yet, the tab says so and points to Organization Settings, Integrations.
Use a different repository for one application
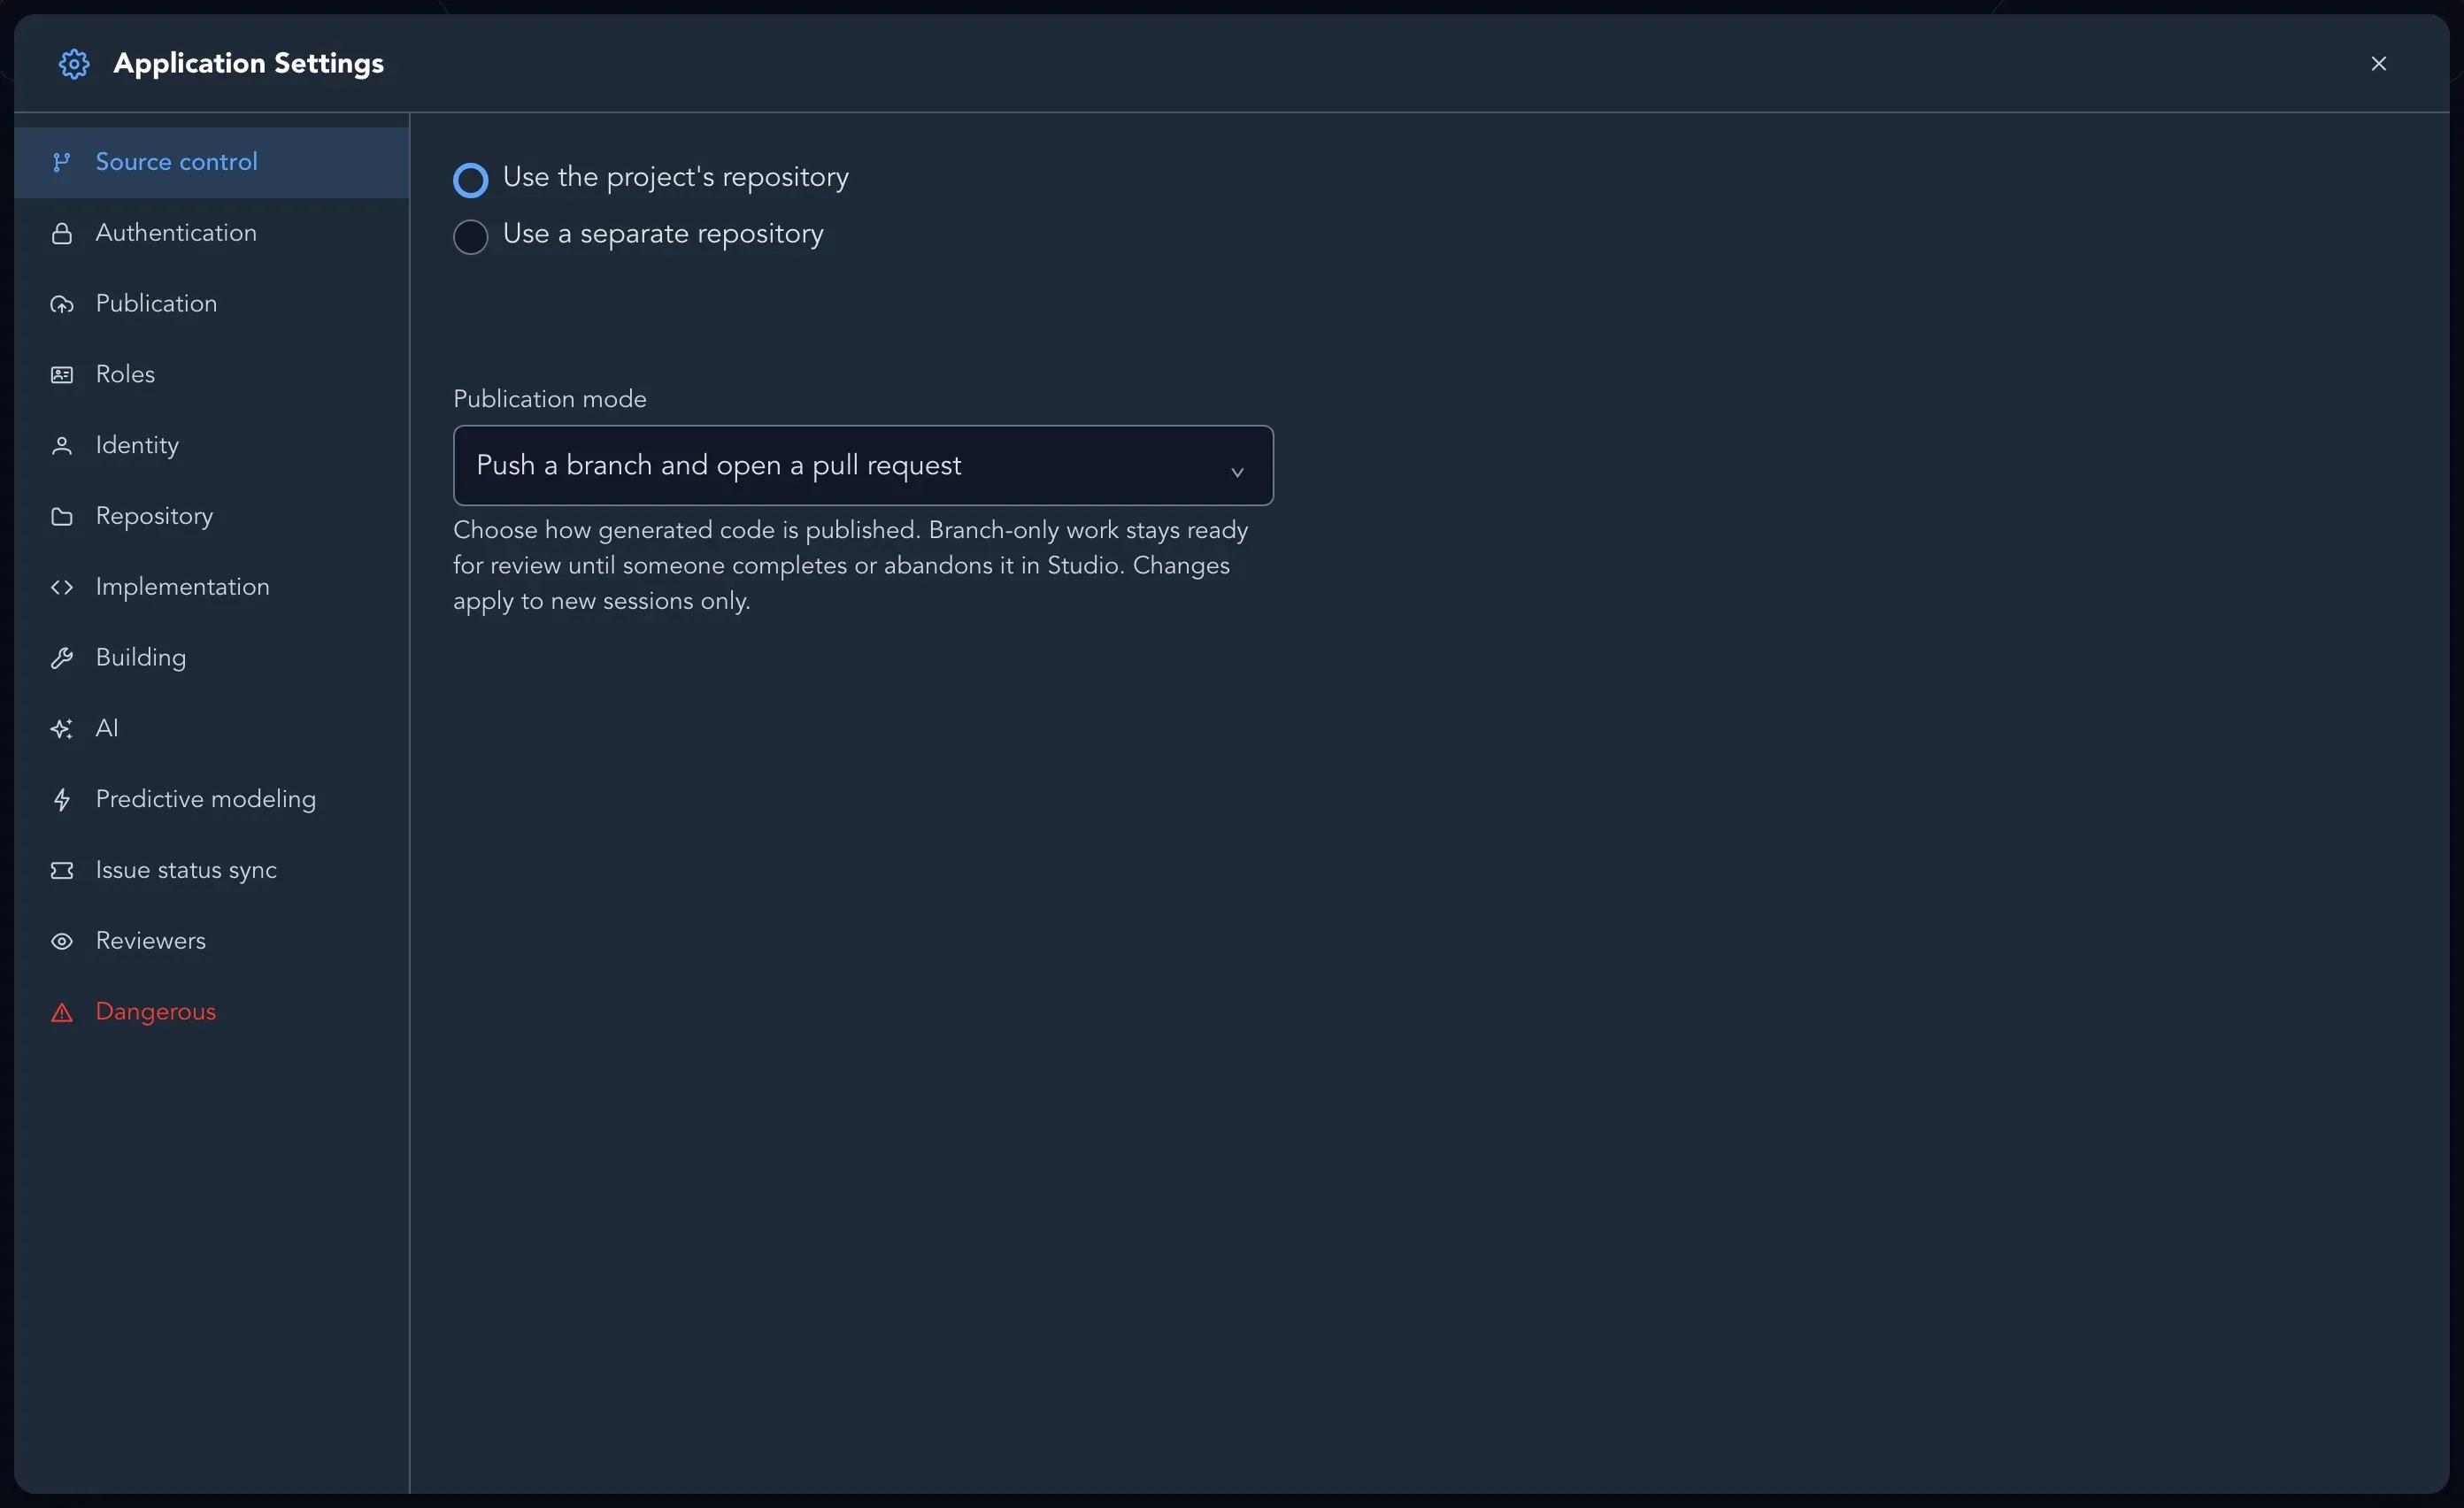
Section titled “Use a different repository for one application”A project’s applications use the project’s repository unless you say otherwise. To give one application its own repository, open its Application Settings, select the Source control tab and choose Use a separate repository. Choose Use the project’s repository to go back. Studio refuses the change while the application has active work sessions: complete or abandon them first.
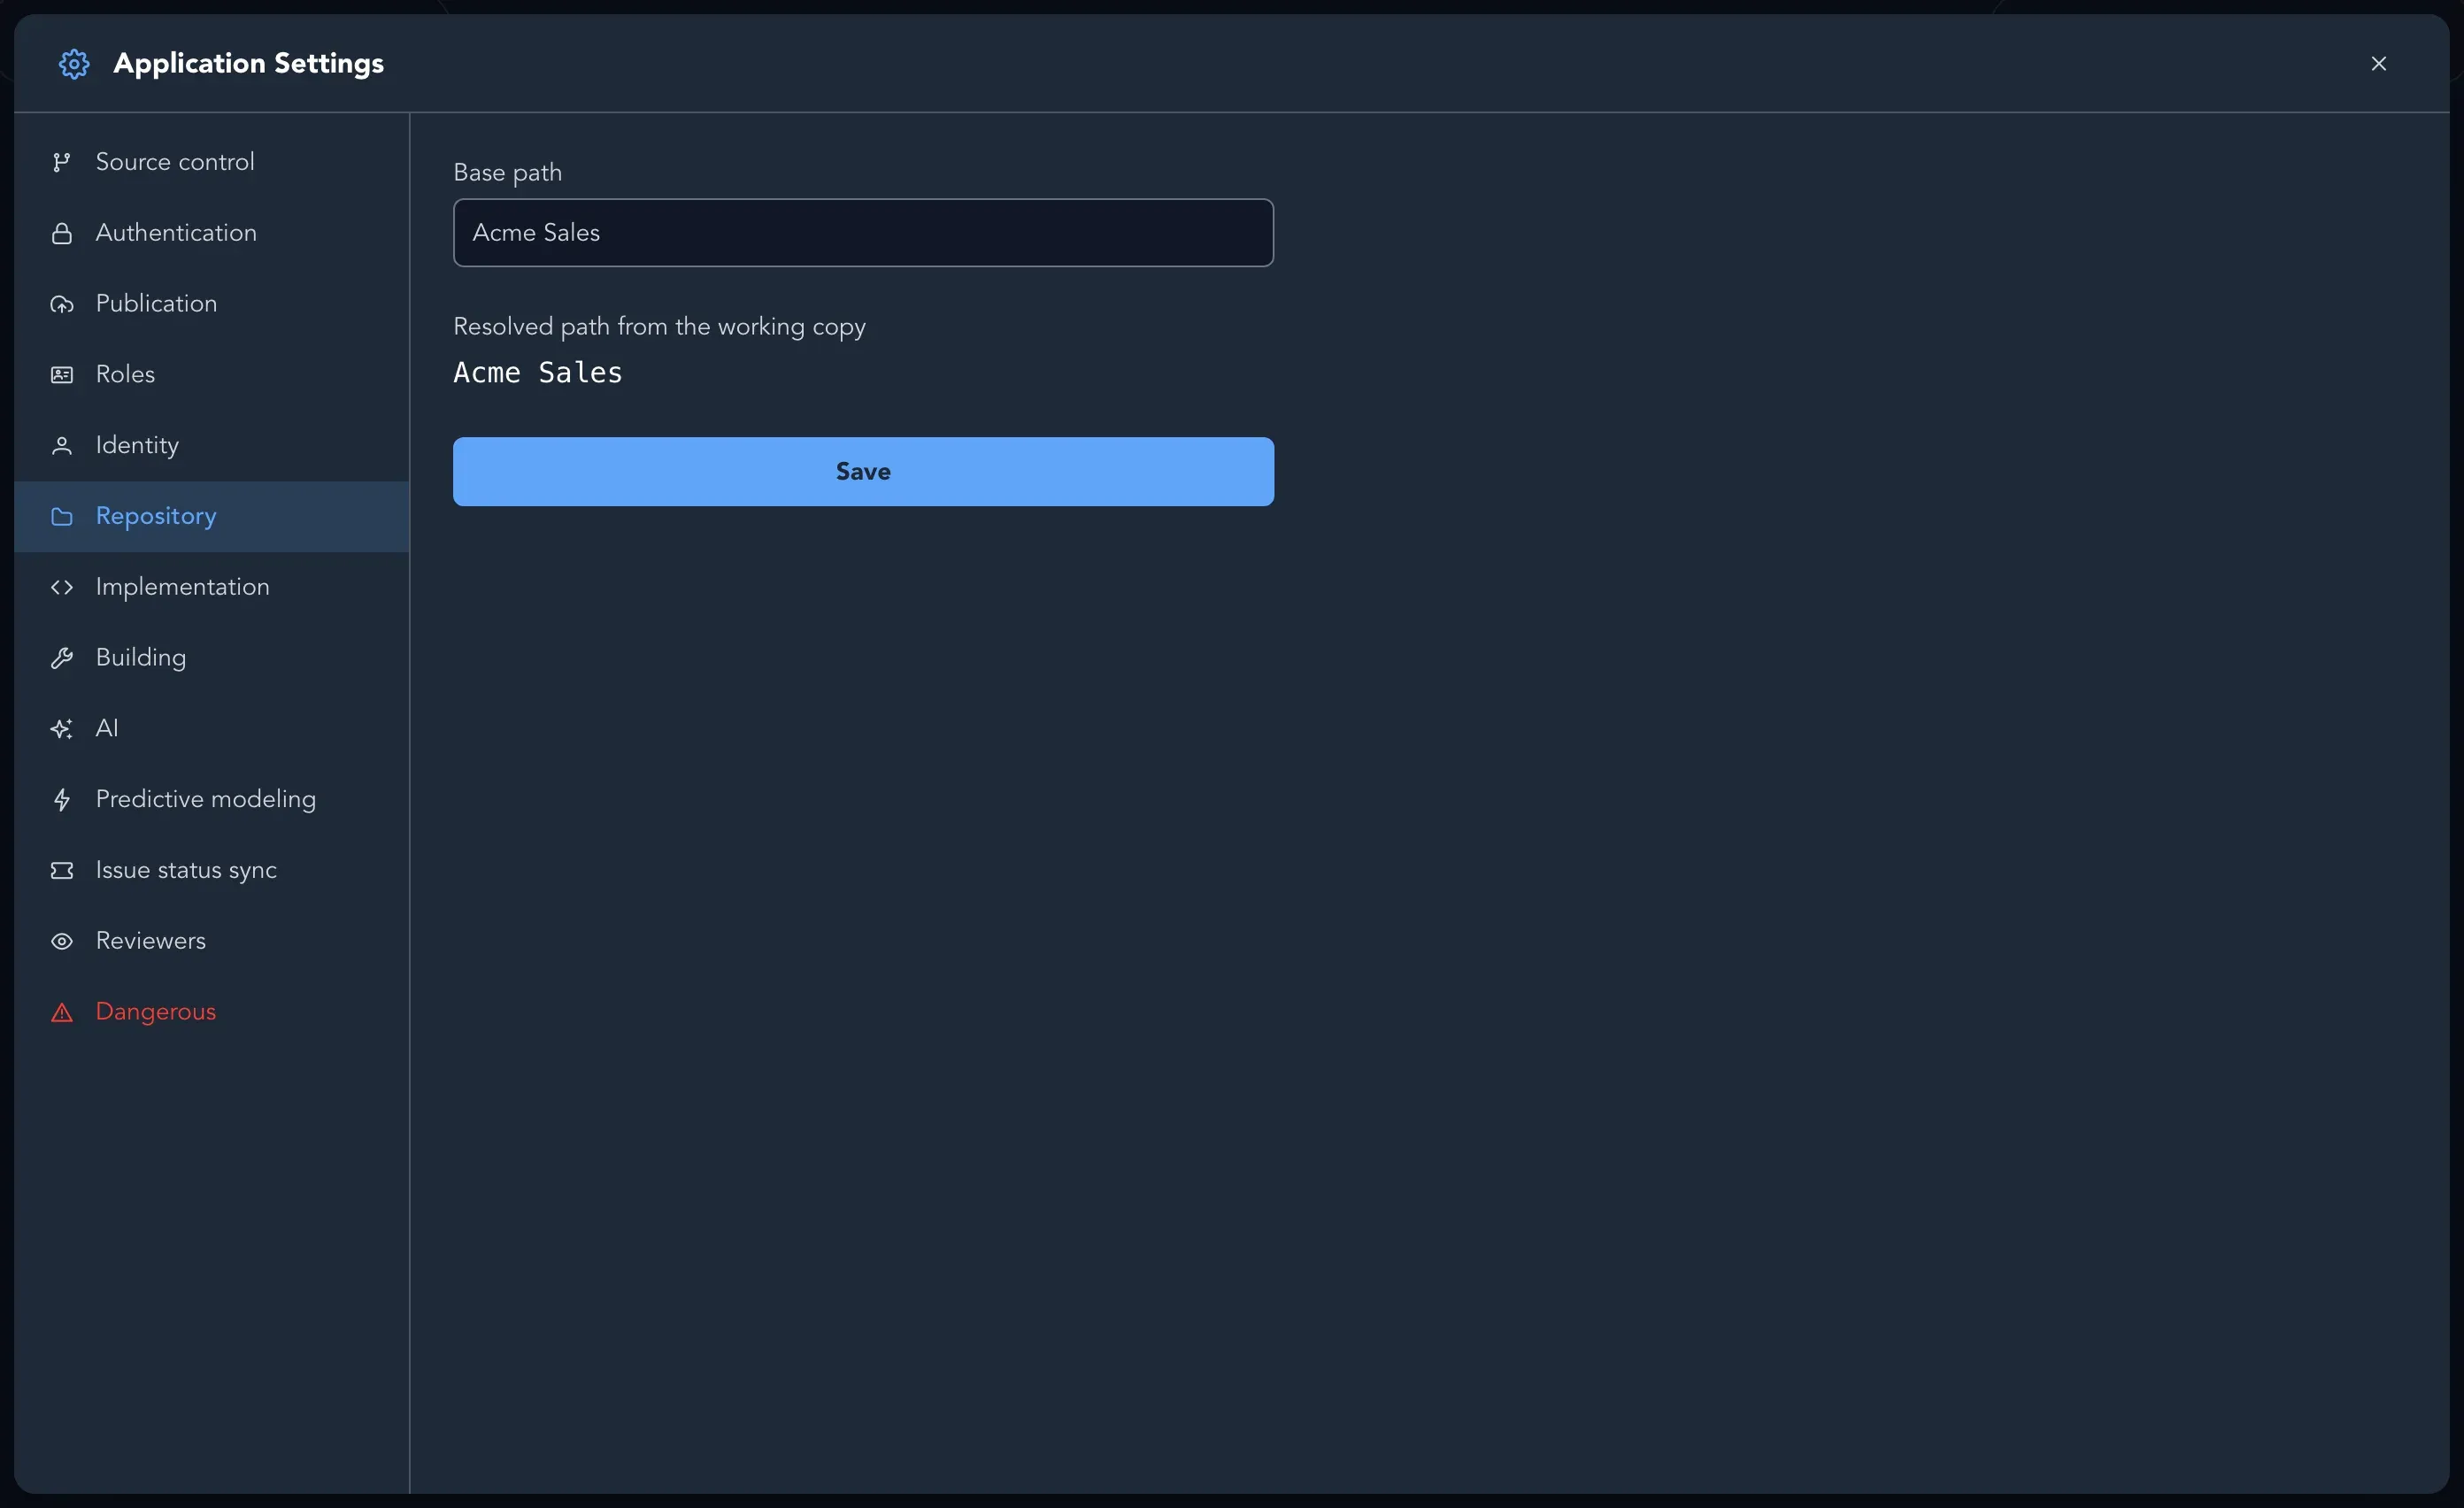
The Repository tab of the same settings holds the Base path: the folder inside the repository where the application lives.
Work with a local repository only
Section titled “Work with a local repository only”Choose None (local repository only) under Source control provider. Studio then works in a local repository and cannot publish branches or open pull requests. Generating code works this way too: the work is committed to a work-session branch and merged into the project’s default branch when you accept it.
GitLab and Azure DevOps
Section titled “GitLab and Azure DevOps”You can name a project’s repository in GitLab or Azure DevOps, from a connection your organization made under Integrations: choose the Connection, then the repository, and select Use this repository. These repositories are not fully supported yet. Studio cannot yet push generated code, open merge requests, receive webhooks, sync boards or run builds with them. See Organization integrations.
Disconnect a repository
Section titled “Disconnect a repository”Select Disconnect on the Source control tab and confirm. Studio returns to the project’s local repository as it was before connecting, and keeps any history the repository already had. Changes already in GitHub stay there.
Choose where issues go
Section titled “Choose where issues go”The same tab has an Issues section. By default a project’s issues go where its source control is. You can send them to a repository of its own. See Link slices to issues.
What happens next
Section titled “What happens next”- Generate code and review the pull request it opens.
- Keep a board in sync with Git to store the model next to the code.
- Link slices to issues and choose where issues go.
- Connect integrations, the organization side of the connection.