

Set up webhooks
A webhook lets another system react to what happens on your boards. Each time something you chose changes, Studio sends a signed message to an address you give it, and tries again with a growing delay when that fails. Use one to start a pipeline when a slice is ready, post to a chat, or keep another tool in step.
Before you start
Section titled “Before you start”- You are a maintainer of the organization.
- You have an
httpsaddress on a public host that can receive the message. Addresses inside a private network and plainhttpare refused.
Add a webhook
Section titled “Add a webhook”-
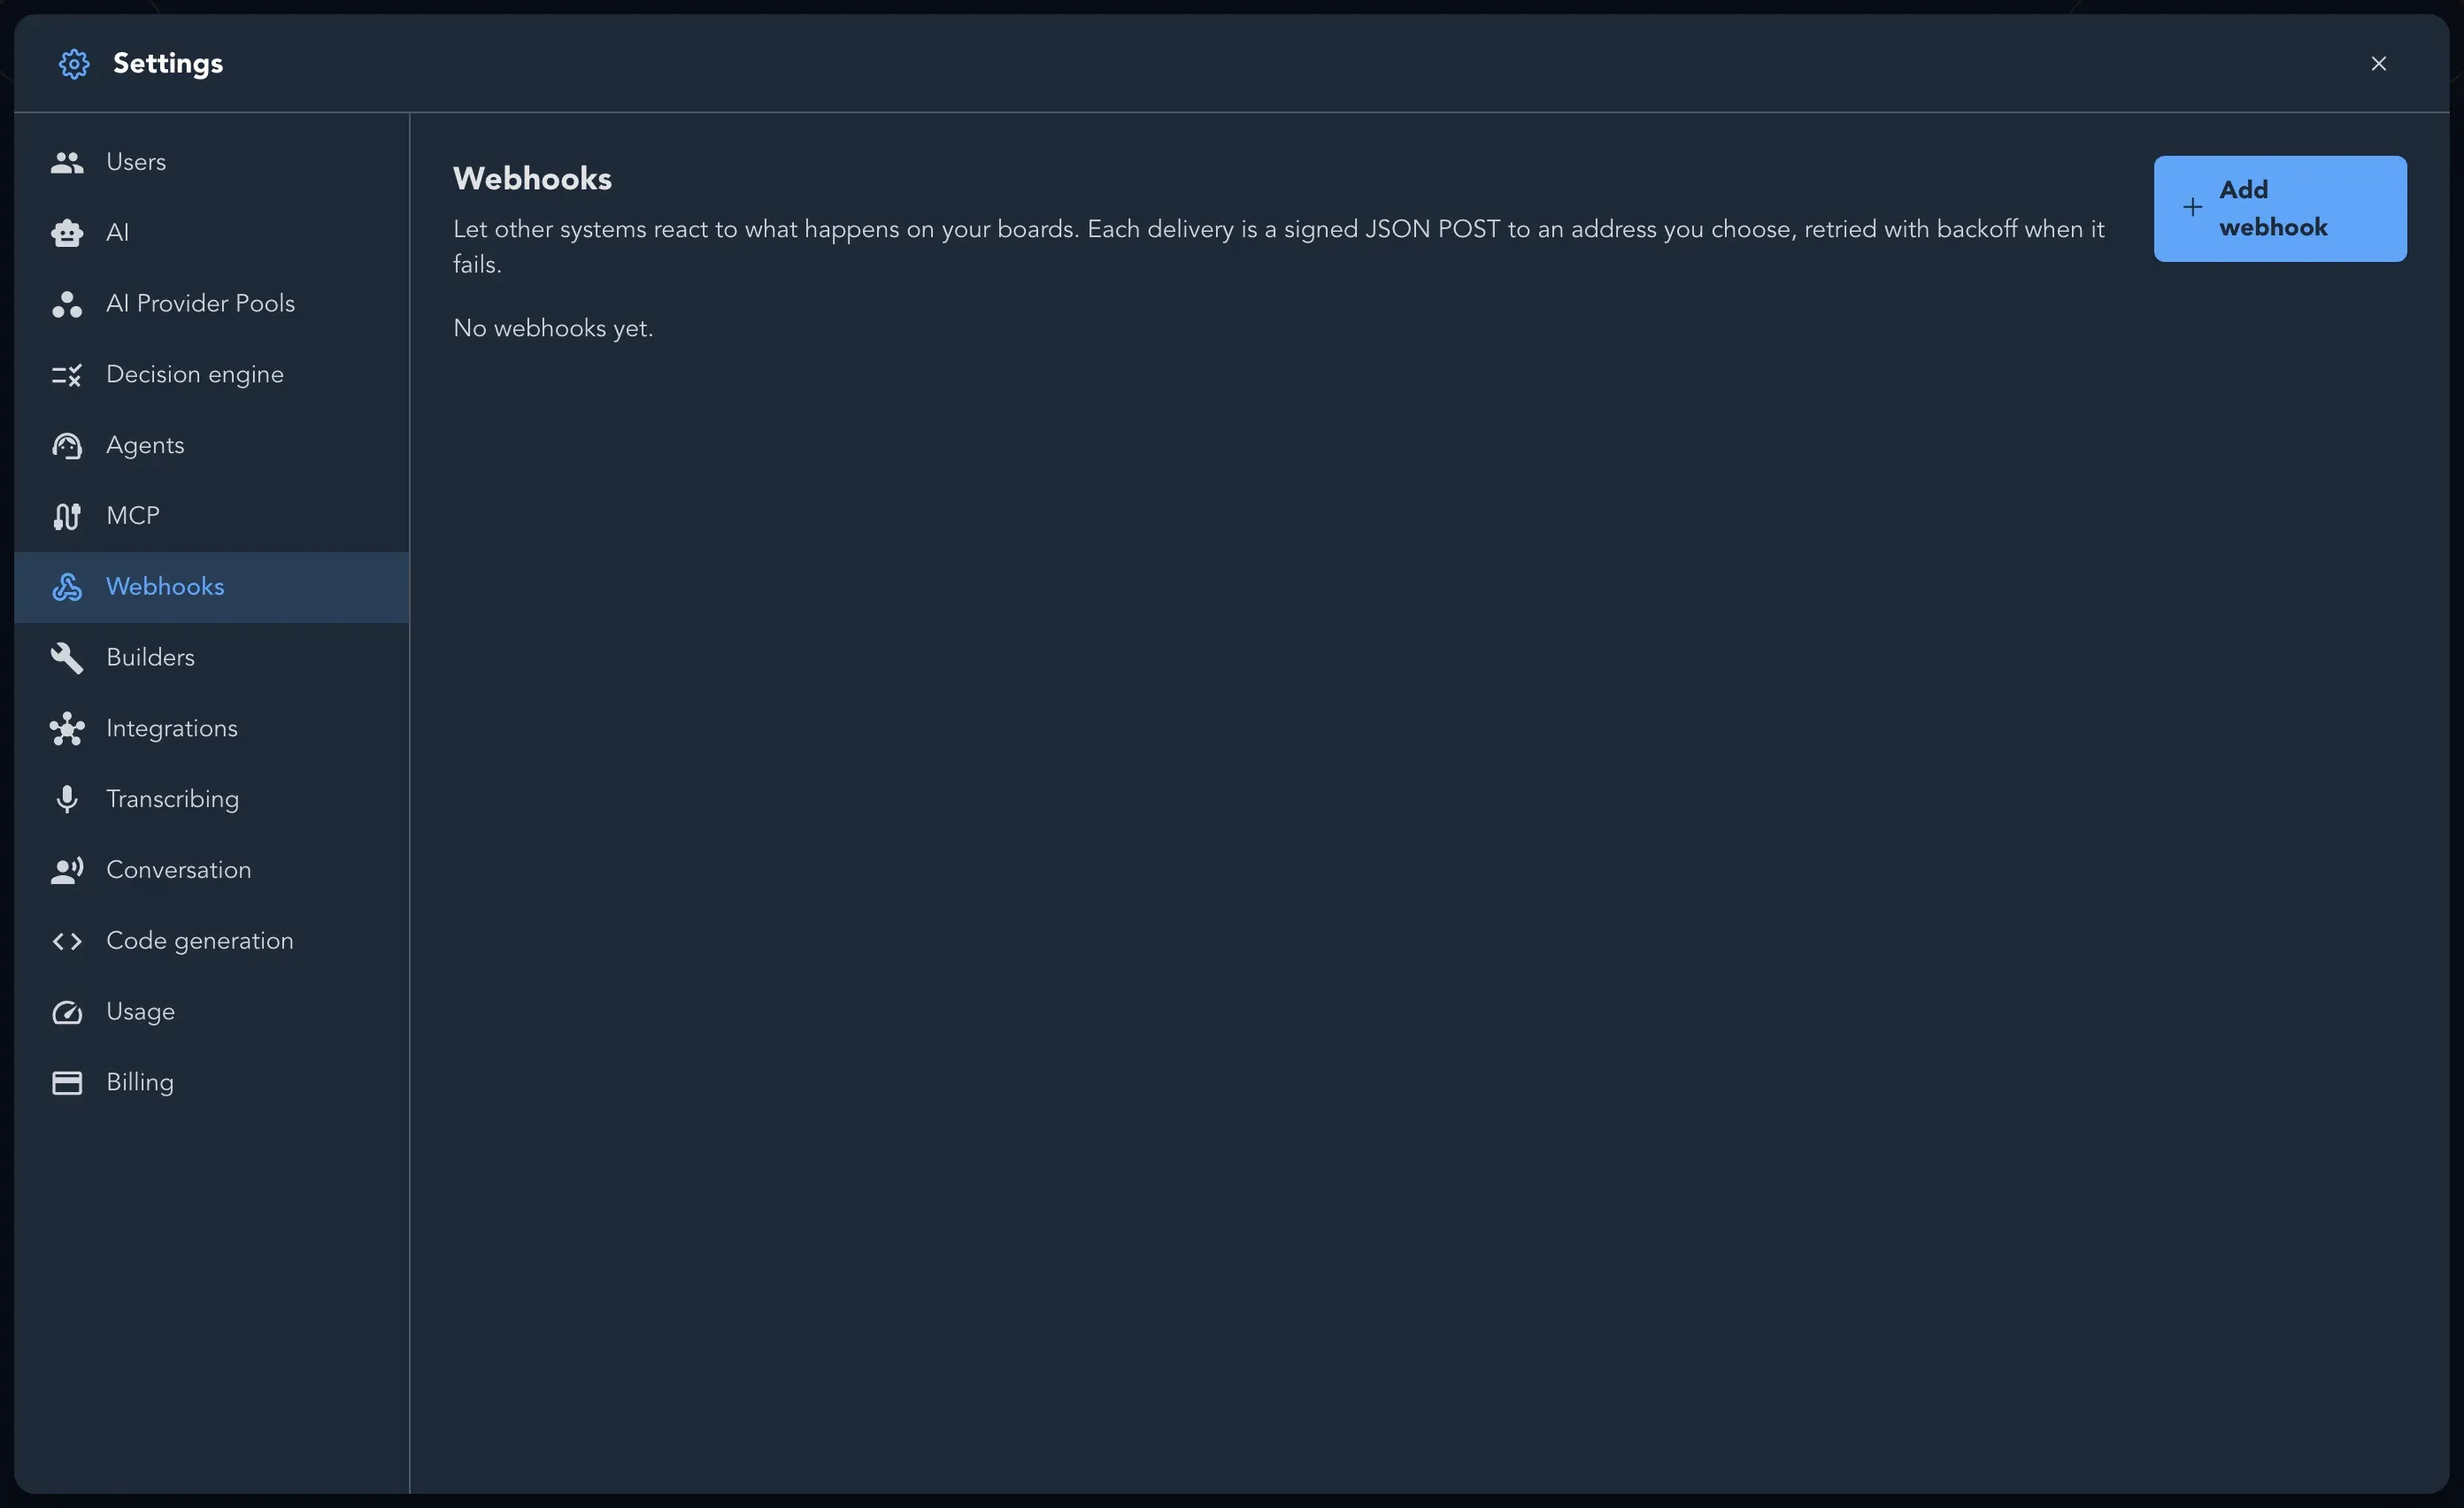
Open Organization settings and select Webhooks.
-
Select Add webhook. The Add a webhook dialog opens.
-
Enter a Name for your own reference, such as CI pipeline.
-
Enter the Address Studio should post to.
-
Narrow what it listens to, or leave everything on Any:
- Board: one board, or any board.
- Kinds of board: which kinds of board to include.
- What changed: the kinds of item, such as a slice or a comment.
- How it changed: added, renamed, removed, moved, updated, status changed, commented or restored.
-
Select Save.
-
Copy the Signing secret now. It is shown only once.
A webhook only receives changes that happen after you add it.
Check that deliveries arrive
Section titled “Check that deliveries arrive”Select Deliveries on a webhook to see what was sent. Each one shows Delivered, Retrying (with the attempt and the time of the next one) or Given up. Hide deliveries closes the list. A new webhook says Nothing has been delivered yet. until something it listens to changes.
Change, rotate or remove a webhook
Section titled “Change, rotate or remove a webhook”- Edit changes the name, address or what it listens to.
- Rotate secret signs deliveries with a new secret from now on. Give the new secret to the receiver straight away.
- Remove stops all deliveries to it.
Build the receiving end
Section titled “Build the receiving end”What a message looks like, how to check its signature and the retry schedule are in the webhooks reference for developers.