

Start from an existing system
Most systems are not new. When one already exists, Prologue reverse-engineers an event model from what the system does, instead of code archaeology and interviews. You get a starting point that you then open and refine on the event model board.
What Prologue observes
Section titled “What Prologue observes”As the system runs, Prologue observes its technical shape: the HTTP endpoints that are called, the database tables and columns that are touched, and the telemetry the system emits.
It captures metadata only: table, column and endpoint names. It never records row values, field contents or any business data. The one setting you control is the OpenTelemetry attribute keys: Prologue records values only for the keys you name.
From that evidence, Prologue’s interpreter reconstructs a structured event model: which commands there must be, which facts they produce and how they flow. Where the evidence is ambiguous, the interpreter asks you a question, and your answers refine the model.
Before you start
Section titled “Before you start”- A system you can observe while people use it. The more activity, or the longer Prologue runs, the better the result.
- A place to install and run the Studio Prologue tool as a continuous service.
- For a database source, the database firewall must allow the address that Prologue connects from. The wizard shows the address.
Start a Prologue
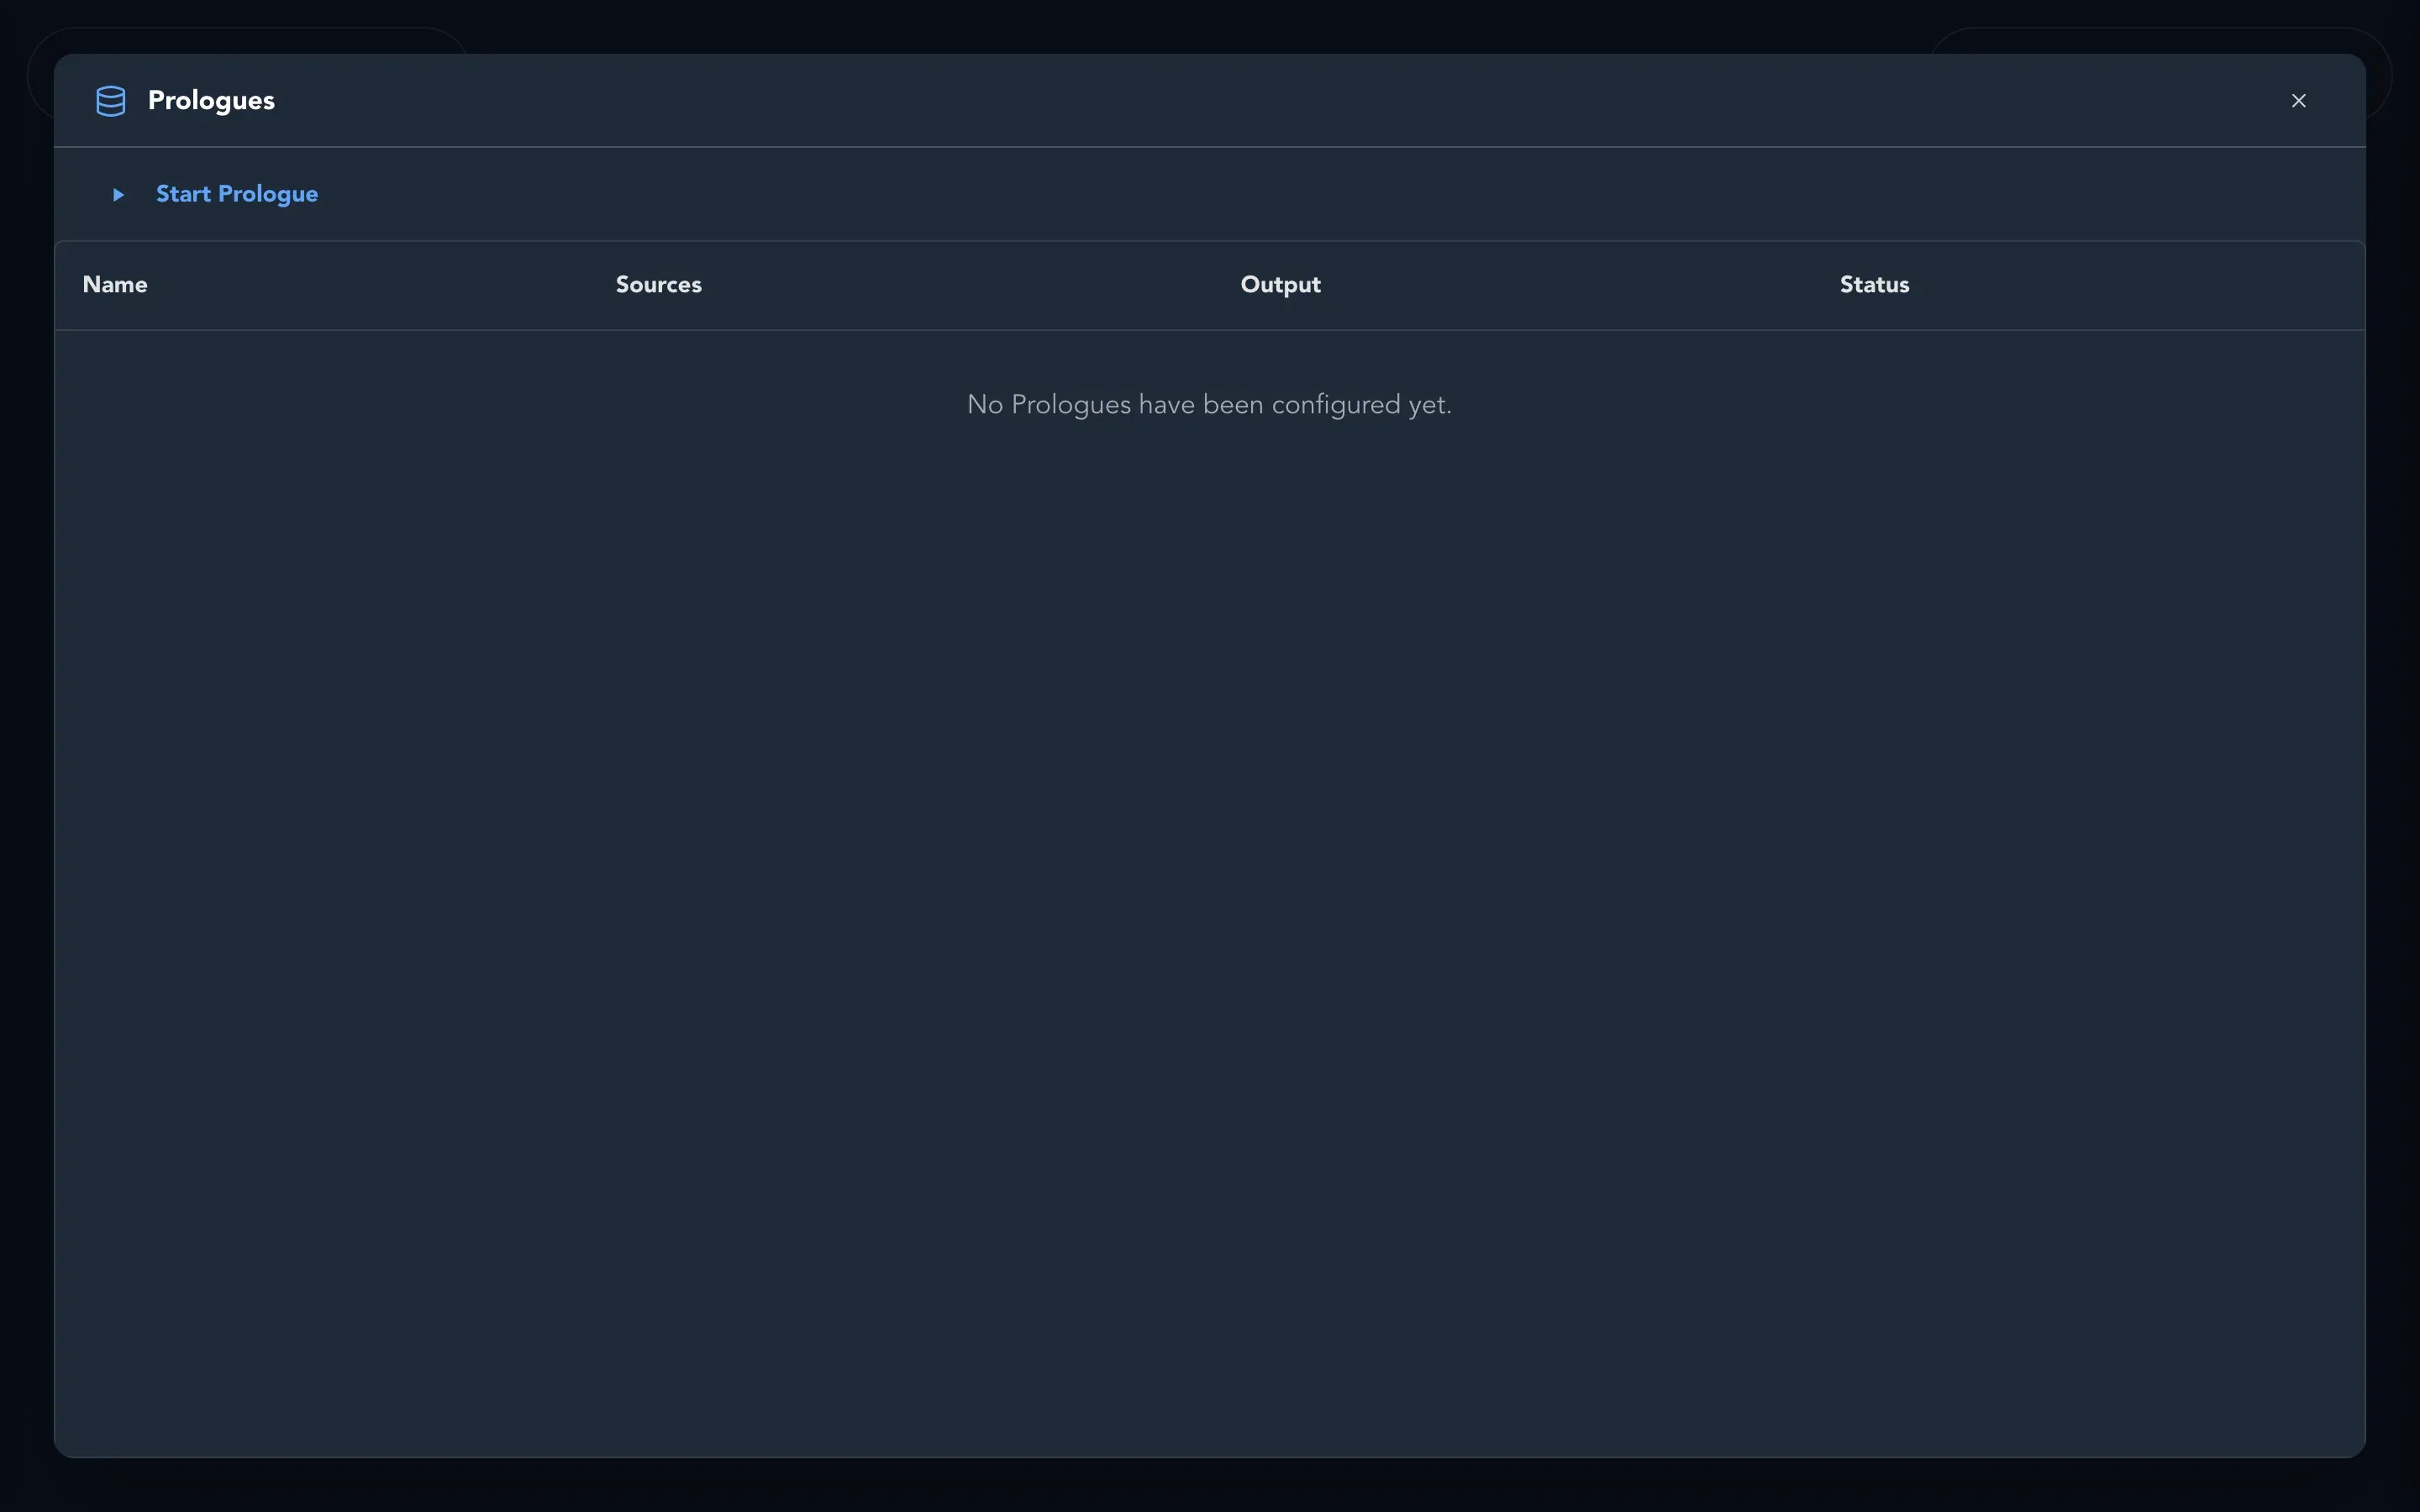
Section titled “Start a Prologue”- In the project drawer, select Prologues under your application. Or choose Start Prologue in Project options.
- In the list, select Start Prologue. Read the short note on what Prologue captures, then give the Prologue a name.
- Choose what to capture from. You can pick more than one source:
- Database: choose SQL Server or PostgreSQL, enter the connection string and select Connect, then choose the tables to include. If Prologue cannot connect, all tables are captured.
- API: give the Base path and optionally the HTTP Methods and the paths to exclude.
- OpenTelemetry: point your OTLP exporter at the Prologue engine. You can limit it to some service names, leave the list empty to capture them all, and say which attribute keys to capture values for.
- Choose where the captured data is written: Rolling JSON files or API.
- On the Setup step, download the Prologue configuration from the link shown. The tool and documentation links open the general Cratis documentation site at www.cratis.io, not a Prologue-specific download page. Install the Studio Prologue tool in your environment with the downloaded configuration and run it as a continuous service.
Follow it through its stages
Section titled “Follow it through its stages”The list shows each Prologue with its Status:
| Status | What it means |
|---|---|
| Recording | The tool is observing the system. |
| Ready for extraction | The capture can now be interpreted. |
| Extracting… | The interpreter is reconstructing a model. |
| Waiting for answers | The interpreter has questions for you. |
| Extracted | The model is ready to import. |
Select Start extracting when it is ready. When the interpreter has questions, the Prologue shows a count and an Answer questions button, and Studio tells you when new ones arrive. Each question offers answers to choose from, or Other to answer in your own words. Later leaves it for now.
Bring the model in
Section titled “Bring the model in”When the Prologue is extracted:
- With Rolling JSON files output, select Import results and choose the capture files the tool produced to bring the results into Studio. The list shows import progress, and Resume import if one was interrupted.
- Or select Download Screenplay to get the model as a Screenplay file.
Open the result on the event model board and refine it like any other model.